5.4
Installation Steps
Preparation
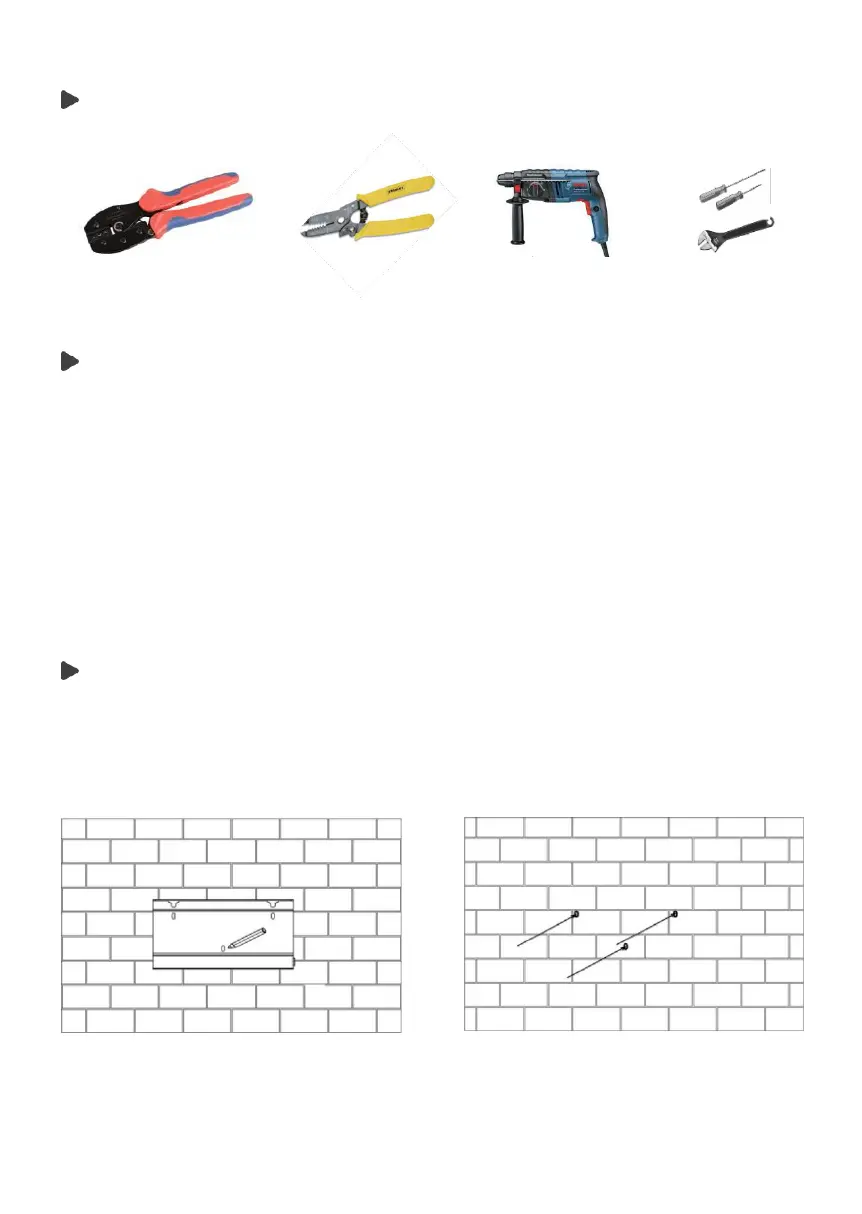
Tools shown below are needed before installation.
Installation tools: crimping pliers for binding post, stripping pliers, screwdriver,
manual wrench and electric drill (drill bit set 8mm).
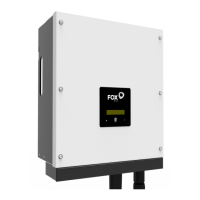
Step 1: Screw the wall bracket on the wall
a)
Use the wall bracket as a template to mark the position of the 3 holes on the wall.
b)
Drill holes with electric drill, make sure the holes are deep enough (at
least 50mm) for installation, and then tighten the expansion tubes.
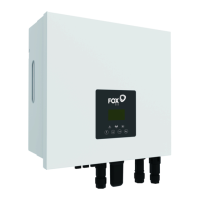
c)
Install the expansion tubes in the holes and tighten them. Then install the
wall bracket by using the expansion screws.
Step 2: Match the inverter with wall bracket
d)
Hang the inverter over the bracket, move the inverter close to it, slightly
lower the inverter, and make sure the 2 mounting bars on the back are fixed
well with the 2 grooves on the bracket.
a)
b)