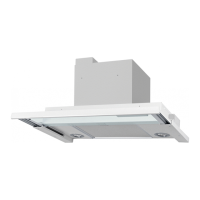
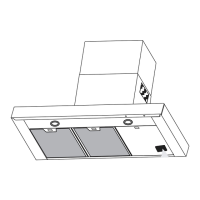
Fig. 3
Move the cooker hood brackets without ful-
ly tightening the screws and adjust the
brackets so that they fit the sides of the
cupboards, Fig. 3A. Hang the cooker hood
in the pre-installed screws in the side of the
cupboard. Tighten the screws in the bracket
and on the wall, Fig. 3B. Lock the brackets
into position using the locking screws, Fig.
3C.
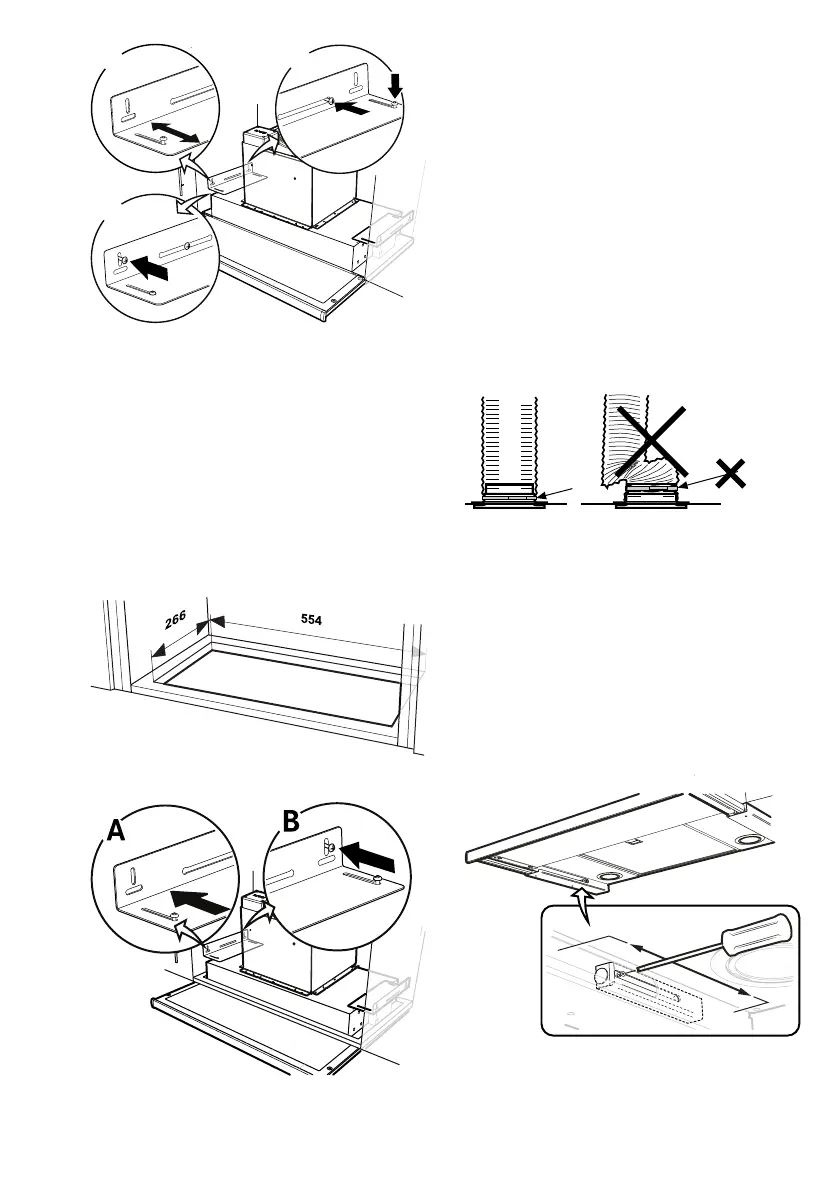
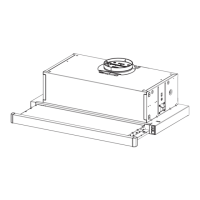
Installation in cupboards with bases.
Fig. 4
Fig. 5
The cooker hood is installed using
brackets.
Using a saw, cut out a hole in the base of
the cupboard, Fig. 4. Attach the brackets as
far into the cooker hood as possible. Insert
the cooker hood up into the hole in the
base of the cupboard. Pull out, Fig. 5A, and
use screws to fasten the brackets to the si-
des of the cupboard, Fig. 5B. Tighten the
brackets in the cooker hood.
Connection to exhaust flue
Connect the cooker hood with a pipe or
tubing Ø160 mm. If the connection is
Ø125 mm a reducing coupling sleeve must
be used.
Fig. 6
Attention!
When using connecting tubing, the tub-
ing must be stretched and installed di-
rectly adjacent to the connection, Fig. 6.
Removal of protective plastic
Remove all protective plastic from the filter
and any other parts of the product.
Adjusting the pull-out front.
Fig. 7
991.0519.298/D000000006916/180380/2021-10-06 13