F3Dn Service Manual Parts Replacement / Section 2.19
For Technical Support, Call 800-537-2653. Copyright 2006 Franke, Inc. All rights reserved.
Main Control Board Chip
Replacement Photos Continued…
[Part No. 18000812]
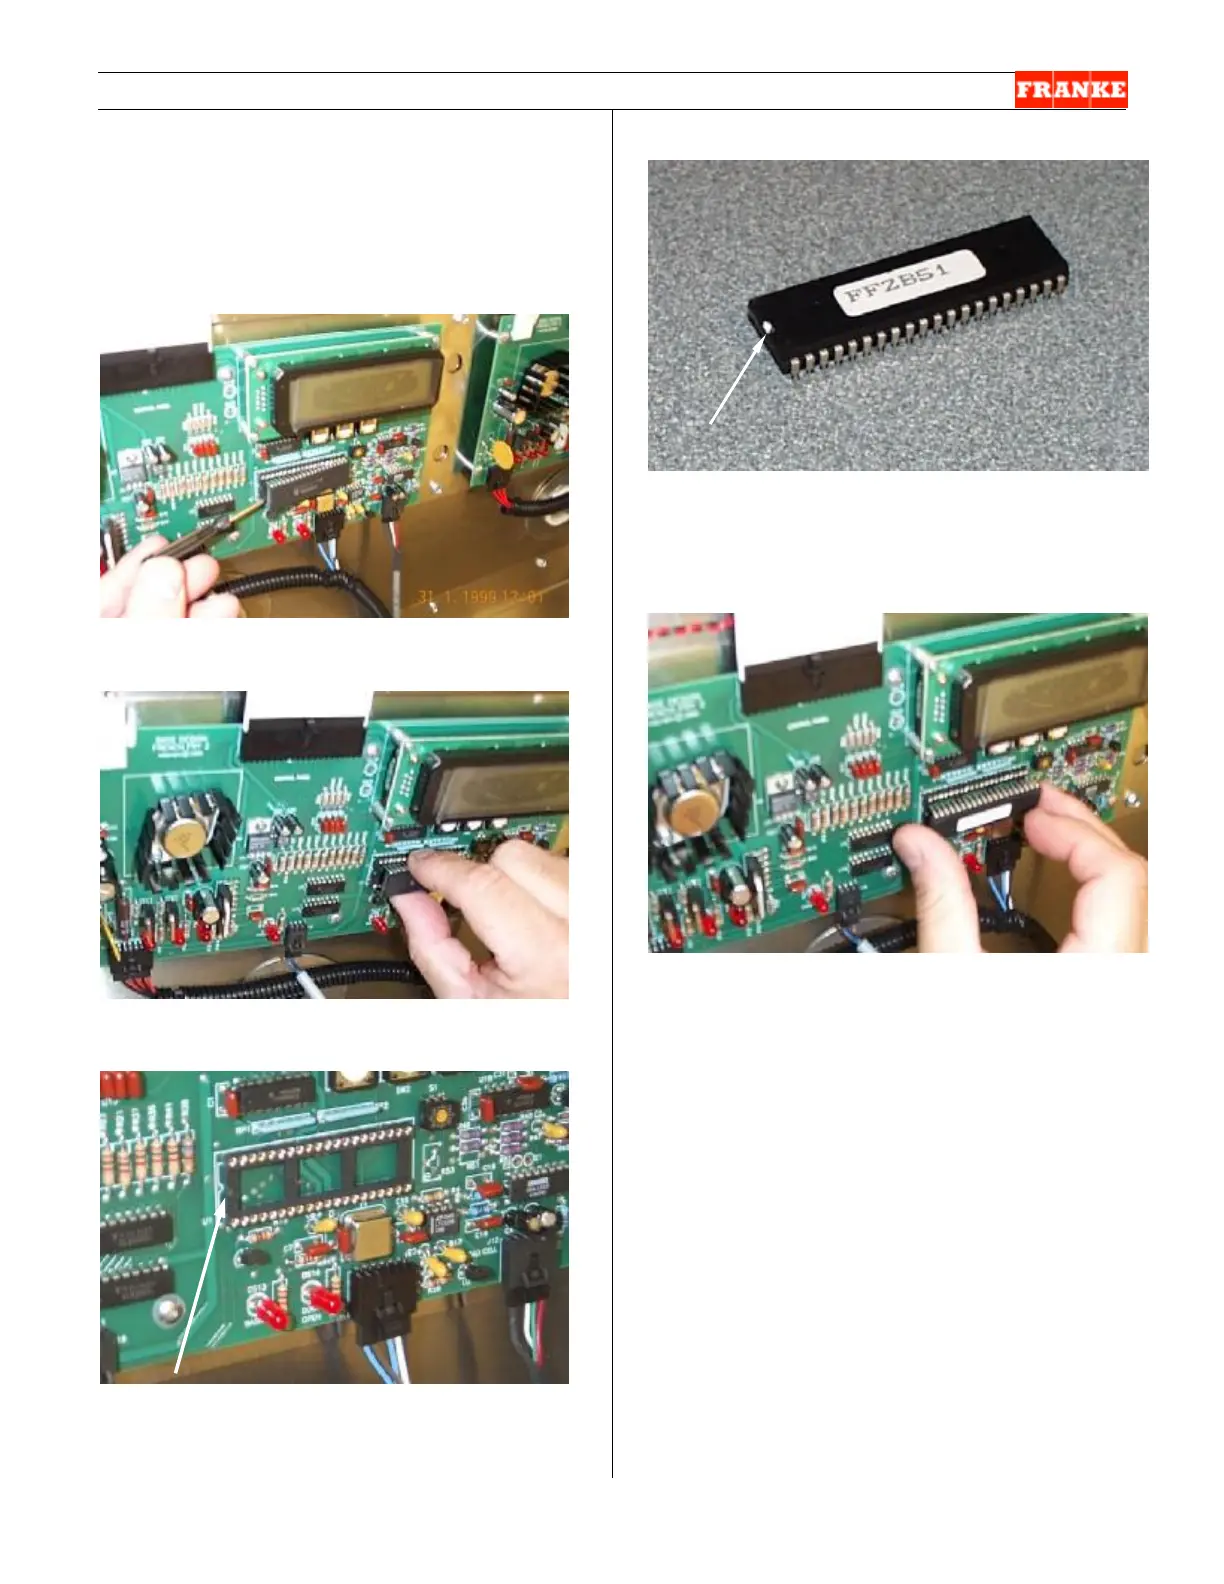
[Photo 4]
Gently pry the chip from the saddle.
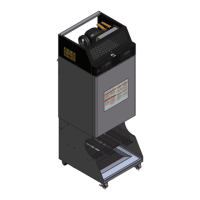
[Photo 5]
Once the chip is loose, it can be pulled straight out.
[Photo 6]
Chip saddle with the chip removed. Note the semi-
circular notch on the left aligns with a similar notch on
the chip.
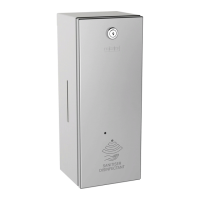
[Photo 7]
Note semi-circular notch on one end of chip. This
must align with the notch on the saddle. (The notch is
not white – it is shown white for illustration purposes.
Chip version number is printed on white label.)
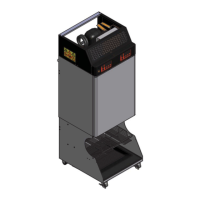
[Photo 8]
Carefully insert the new chip into saddle, making sure
that notches align and that all pins align with
corresponding slots.