3
PNP Assembly instructions
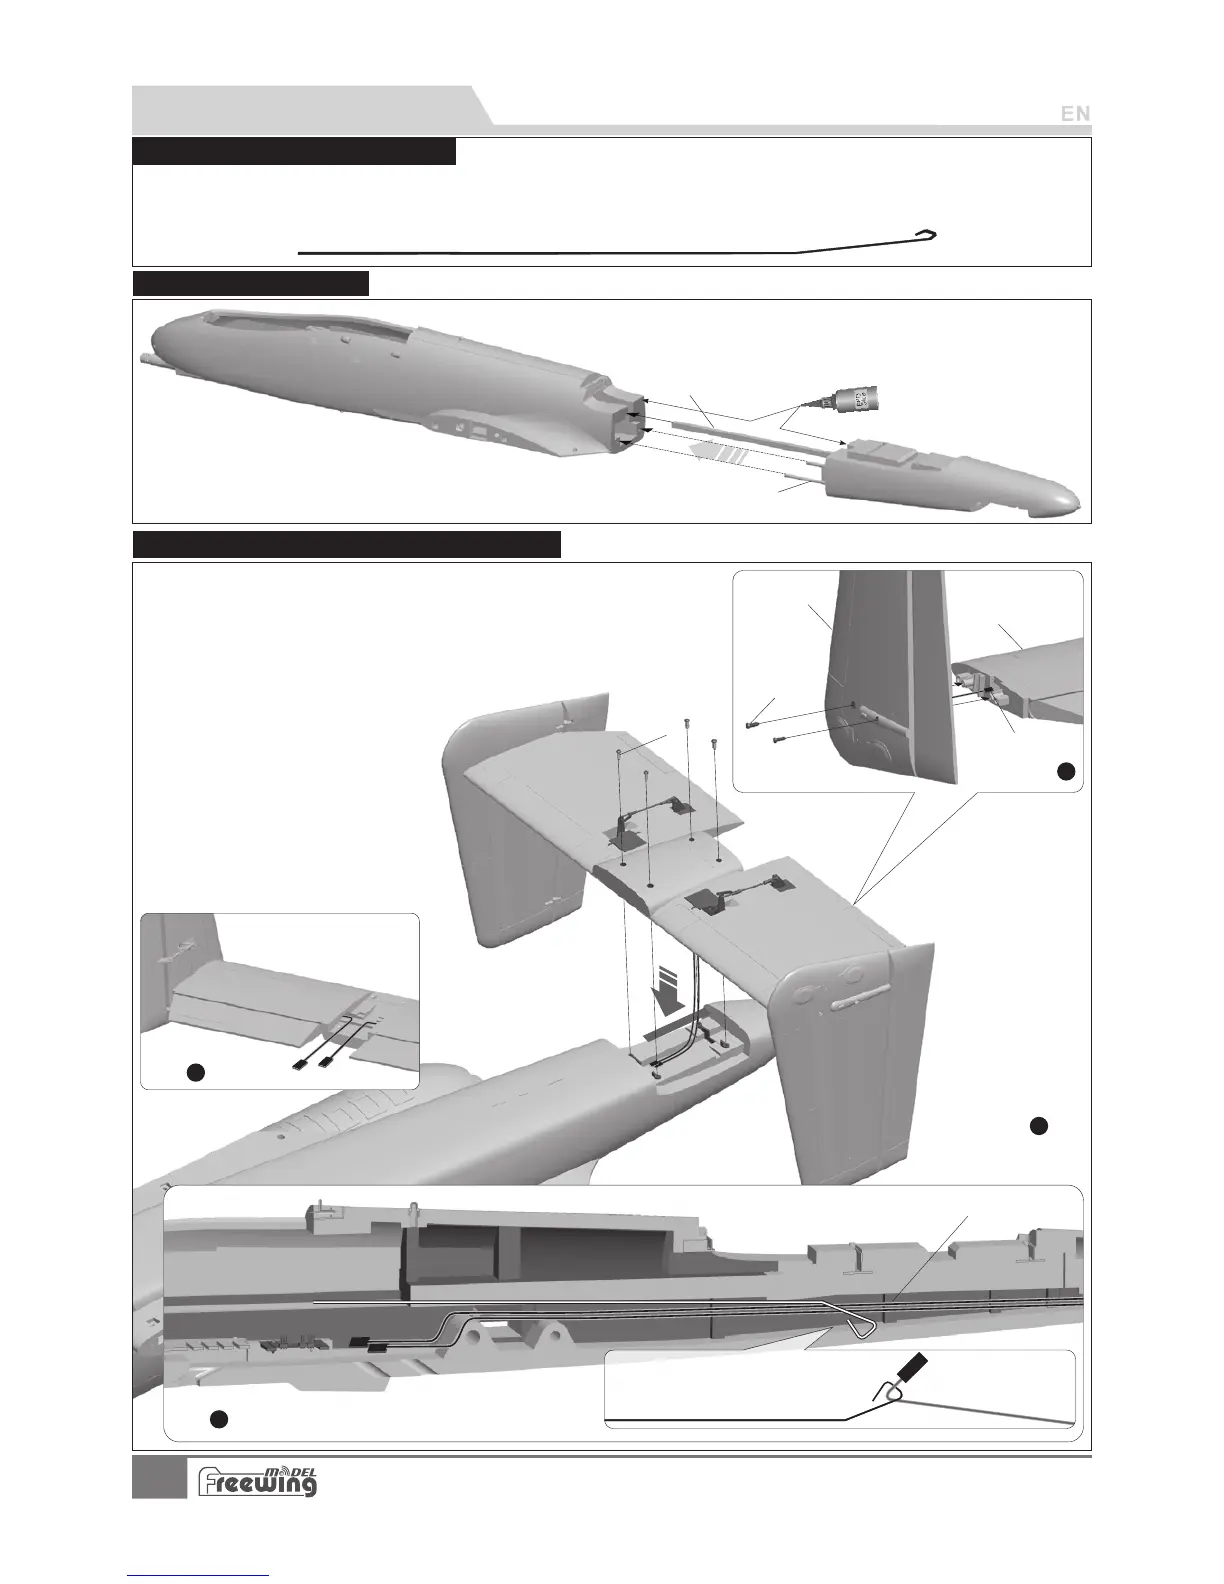
Use glue to assemble the front/rear fuselage.
A-
B-
Carbon tube (Ø6x200mmmm)
Carbon square tube (8.5x8.5x800mm)
A
B
Step
4
Step
3
Battery compartment
Elevator/rudder servo cable
Traction steel wire
Step
1
A
B
C
D
As shown in the photo:
1.Attach the vertical stabilizer to the horizontal stabilizer and use the
2 screws to attach the left/right vertical stabilizer.。
2.When installing the vertical stabilizer, pull the rudder servo cable wires
through the inside trough。
3.Use the metal wire to pull the elevator/rudder servo cable wires through
4.
to the battery compartment.
Attach the horizontal stabilizer to the
rear of the fuselage and use the 4
screws to secure it.
A- Screws (PA3x8 4pcs)
B- Vertical tail
C- Horizontal tail
D- Servos wire
E- Screw s (PA3x8 4pcs)
E
Step
2
Steel wire use instructions
Our tests show that excessively long servo extension lines increase the rise of poor connections that can lead to servo
brown outs or failure, causing accidents during flight. Instead, this kit contains a steel wire that can be used to pull the
main wing/elevator and rudder servo wires through the airplane to the battery compartment, eliminating the need for
extension wires.
Fuselage Installation
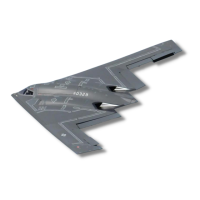
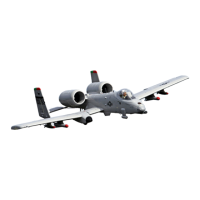
A-10 Thunderbolt II
Item No.:FJ311
Horizontal stabilizer / Vertical stabilizer assembly