57 PB
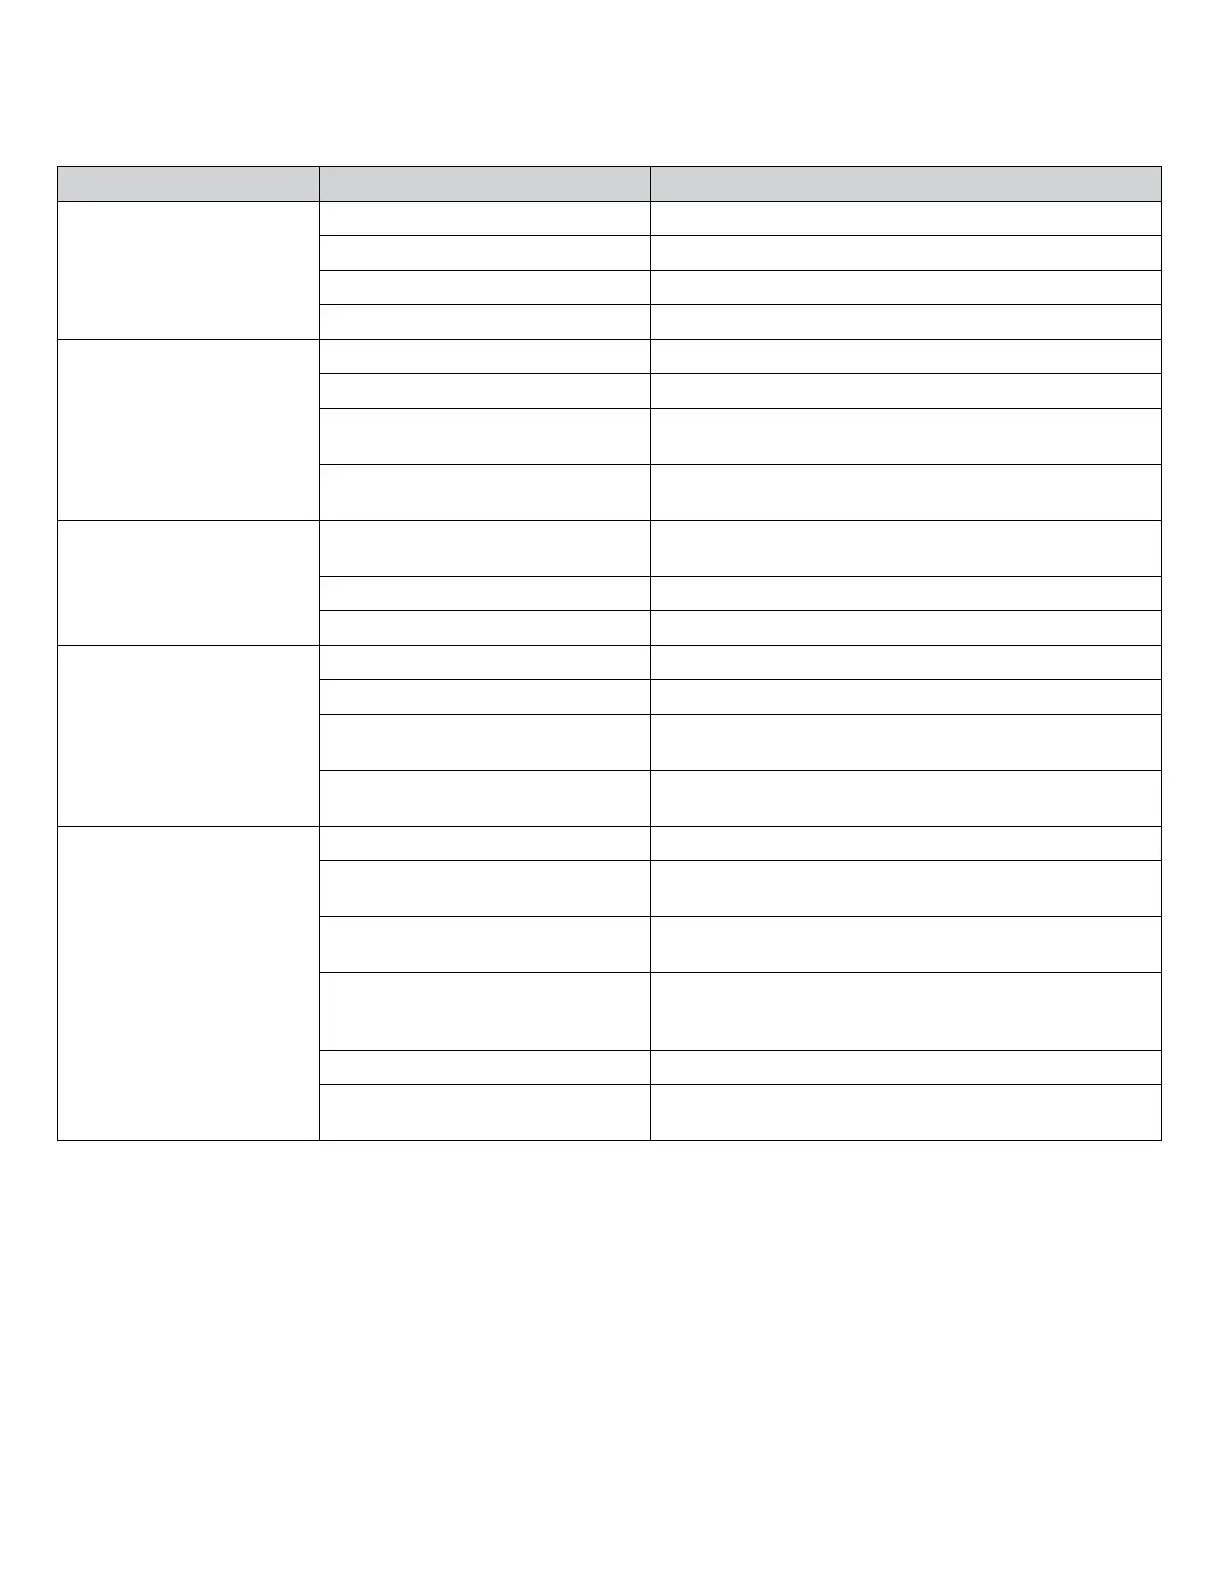
TROUBLESHOOTING
COMPLAINT CAUSE SOLUTION
Electronic control
board does not turn unit off
Compressor relay contacts stuck Replace electronic control board
Incorrect wiring Refer to appropriate wiring diagrams
Unit undersized for area to be cooled Refer to industry standard sizing chart
Defective thermistor Replace thermistor or electronic control board
Compressor runs for short
periods only.
Incorrect wiring Refer to appropriate wiring diagram
Shorted or incorrect capacitor Test capacitor and replace if needed.
Restricted or low air ow through
condenser coil or evaporator coil
Check for proper fan speed or blocked coils. Correct as
needed.
Compressor running abnormally hot
Check for kinked discharge line or restricted condenser.
Refrigerant overcharge. Check amperage, connections.
Unit does not turn on
No power
Check power supply. Check LCDI plug. Check wire
connections. Check if panel is locked.
Incorrect wiring Refer to appropriate wiring diagram
Defective thermistor Replace thermistor or electronic control board
Noisy operation
Poorly installed Refer to Installation Manual for proper installation
Fan blade striking chassis Reposition - adjust motor mount
Compressor vibrating
Check that compressor grommets have not deteriorated.
Check that compressor mounting parts are not missing
Improperly mounted or loose cabinet
parts refrigerant tubes
Check assembly & parts for looseness, rubbing & rattling
pipes, etc.
Water Leaks into Room
Evaporator drain pan overowing Clean obstructed drain trough
Condensation forming underneath
base pan
Evaporator drain pan broken or cracked. Reseal or replace.
No chassis gasket installed. Install chassis gasket
Poor installation resulting in rain
entering the room
Check installation instructions. Reseal as required
Condensation on discharge grille
louvers
Dirty evaporator coil. Clean coils (See Routine Maintenance)
Environmental phenomena: point supply louvers upward. Put
on high fan.
Chassis gasket not installed Install gasket, per Installation manual
Downward slope of unit is too steep
inward
Refer to installation manual for proper installation
Tips continued

 Loading...