Do you have a question about the Frigidaire FAS157P1A1 and is the answer not in the manual?
Verify window opening meets minimum and maximum width requirements.
Ensure all window parts are structurally sound to hold screws.
Confirm storm window clearance or adjust installation method.
Ensure no exterior or interior obstructions hinder airflow.
Verify electrical outlet matches unit's power requirements.
Remove packing material, protecting floor and unit during handling.
Choose optimal window placement for efficiency and clearance.
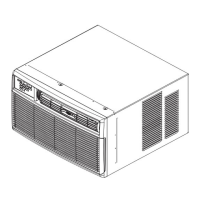
Steps to safely remove the air conditioner chassis from its cabinet.
Attach the top channel and double-sided seal to the cabinet.
Install left and right side accordions to the cabinet using screws.
Mount support brackets and install the sash sealing strip.
Secure the cabinet to the bracket assembly and position it correctly.
Reinstall chassis, secure accordions to sash and shutters.
Attach the front panel and grille to the cabinet.
Cut foam for sealing and consider drain hose installation for specific models.
Choose a suitable wall location, considering structural loads and airflow.
Create the wall opening and build a wooden sleeve for installation.
Place and secure the cabinet into the prepared opening, ensuring proper slope.
Instructions for using optional support brackets, especially for thinner walls.
| Type | Window |
|---|---|
| Cooling Capacity | 15, 000 BTU |
| Energy Efficiency Ratio (EER) | 10.7 |
| Voltage | 115V |
| Power Supply | Electric |
| Operating Range | 90°F |