6
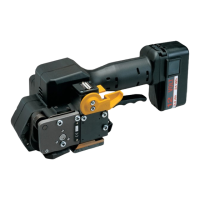
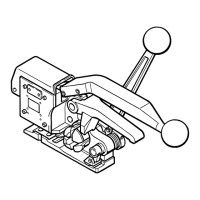
4 OPERATING ELEMENTS
5 OPERATION
5.1 Installation
Do not expose the tool to rain!
For safety reasons the battery is delivered uncharged.
Charge the battery before working. See separate operating instruction of the battery charger.
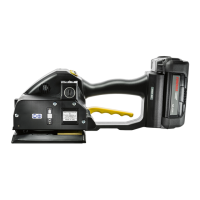
Inserting the battery
Insert the battery from bottom to top into the tool both
unlatching push buttons latch.
Depending on the application, the battery can also be
inserted from top to bottom in order achieve a better
handling.
Removing the empty battery
If the red LED starts lighting while a tensioning or
welding procedure, the capacity of the battery is
exhausted. All electric functions of the tool are blocked.
The seal efficiency is insufficient.
Warning! Straps with insufficient seal strength must be removed from the package!
The battery must be recharged.
Push the unlatching push buttons at both sides of the battery.
Push the battery out of the tool in the opposite direction of insertion.
Switch rocker
Lever
Unlatching push button
LED
Handle lever
LED
Red Charge the battery.
Yellow Cooling time is running, the
lever must be held in welding
position.
Green Cooling time elapsed, turn the
lever in start position.