7
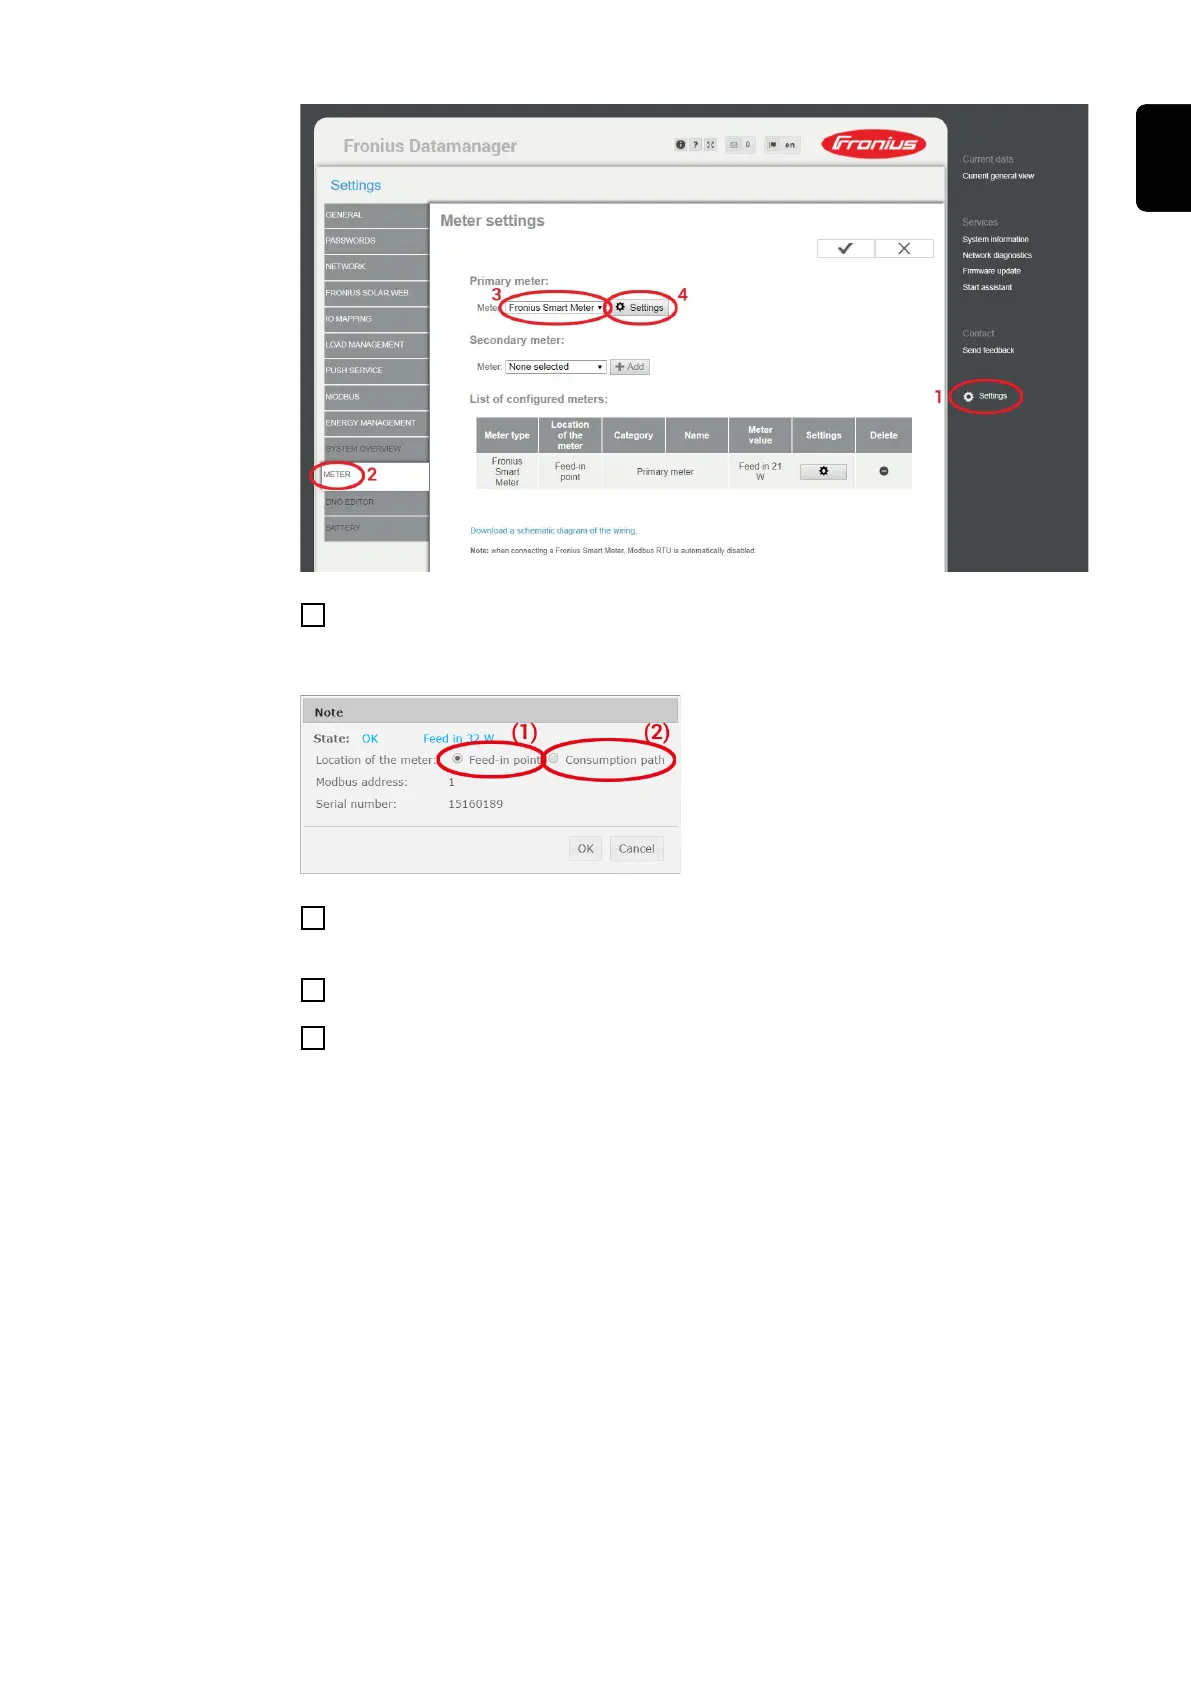
Set the position of the meter – feed-in point (1) or consumption point (2) – in the pop-
up window. For more information on the position of the Fronius Smart Meter, see
Positioning on page 7.
8
Click "OK" when the status OK is displayed. If the Timeout status is displayed,
repeat the procedure.
9
Click on the checkmark in the upper right corner to save the settings.
10
The Fronius Smart Meter is fully configured and ready for use.
The "Current general view" menu item displays the power of the PV modules, self-con-
sumption, the energy fed into the grid and the battery charge (if available).
19
EN
 Loading...