(c) Fronius Australia Pty. Ltd, 2015 8/10
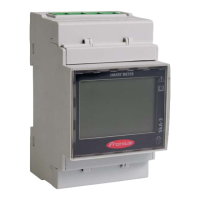
Wiring detail for 3-Phase Smart Meter 63A/3PH and Datamanager V2
(Diagram 5)
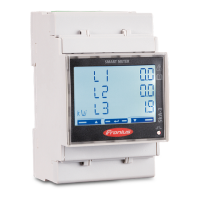
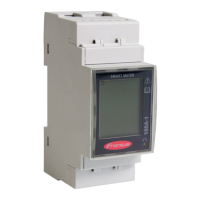
Wiring detail for Single Phase Smart Meter 63A/1PH*** and Fronius Datamanager V2
(Diagram 6)
Modbus termination switch on the Datamanager
The internal bus termination 120-Ohm resistance (for Modbus RTU) needs to
be switched to ON to be activated.
Please Note:
The termination resistance must be activated for the first and last device in an
RS-485 bus.
* The 120 Ohm terminating
resistor comes with the meter
*** Please note that the
connections 33, 34, 35 on the
Fronius Smart Meter are in
reverse order to those shown
in diagram 6!
* The 120 Ohm terminating
resistor comes with the
meter
** It is important to connect
the Neutral.

 Loading...