7
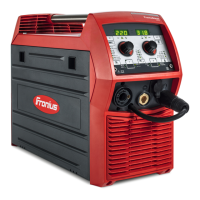
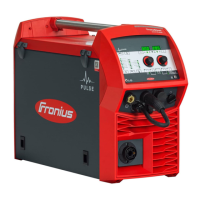
Use the appropriate selection dial to set the welding parameter.
The value of the parameter is displayed on the digital display located above.
The sheet thickness, welding current, wire speed, and welding voltage parameters are
directly linked. It is sufficient to change one of the parameters, as the remaining paramet-
ers are immediately adjusted accordingly
All welding parameter set values remain stored until the next time they are changed. This
applies even if the power source is switched off and on again. To display the actual weld-
ing current during welding, select the welding current parameter.
8
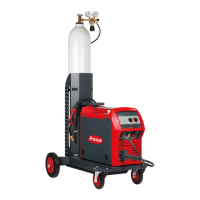
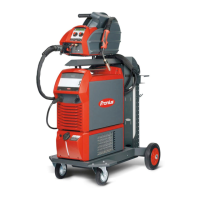
Open the gas cylinder valve
9
Adjust quantity of shielding gas:
- Tap the Gas-test button
- Turn the adjusting screw on the bottom of the gas pressure regulator until the
manometer displays the desired quantity of gas
- Tap the Gas-test button again
CAUTION!
Danger of injury and damage from electric shock and from the wire electrode
emerging from the torch.
When you press the torch trigger:
▶
Keep the welding torch away from your face and body
▶
Wear suitable protective goggles
▶
Do not point the welding torch at people
▶
Make sure that the wire electrode does not touch any conductive or grounded parts
(e.g., housing, etc.)
10
Press the torch trigger and start welding
69
EN-US
 Loading...