Frymaster L.L.C., 8700 Line Avenue 71106, P.O. Box 51000, Shreveport, Louisiana 71135-1000
318-865-1711 FAX 318-862-2394
Printed in the United States Service Hotline
Page
11
1-800-24-FRYER
9.3 Procedures
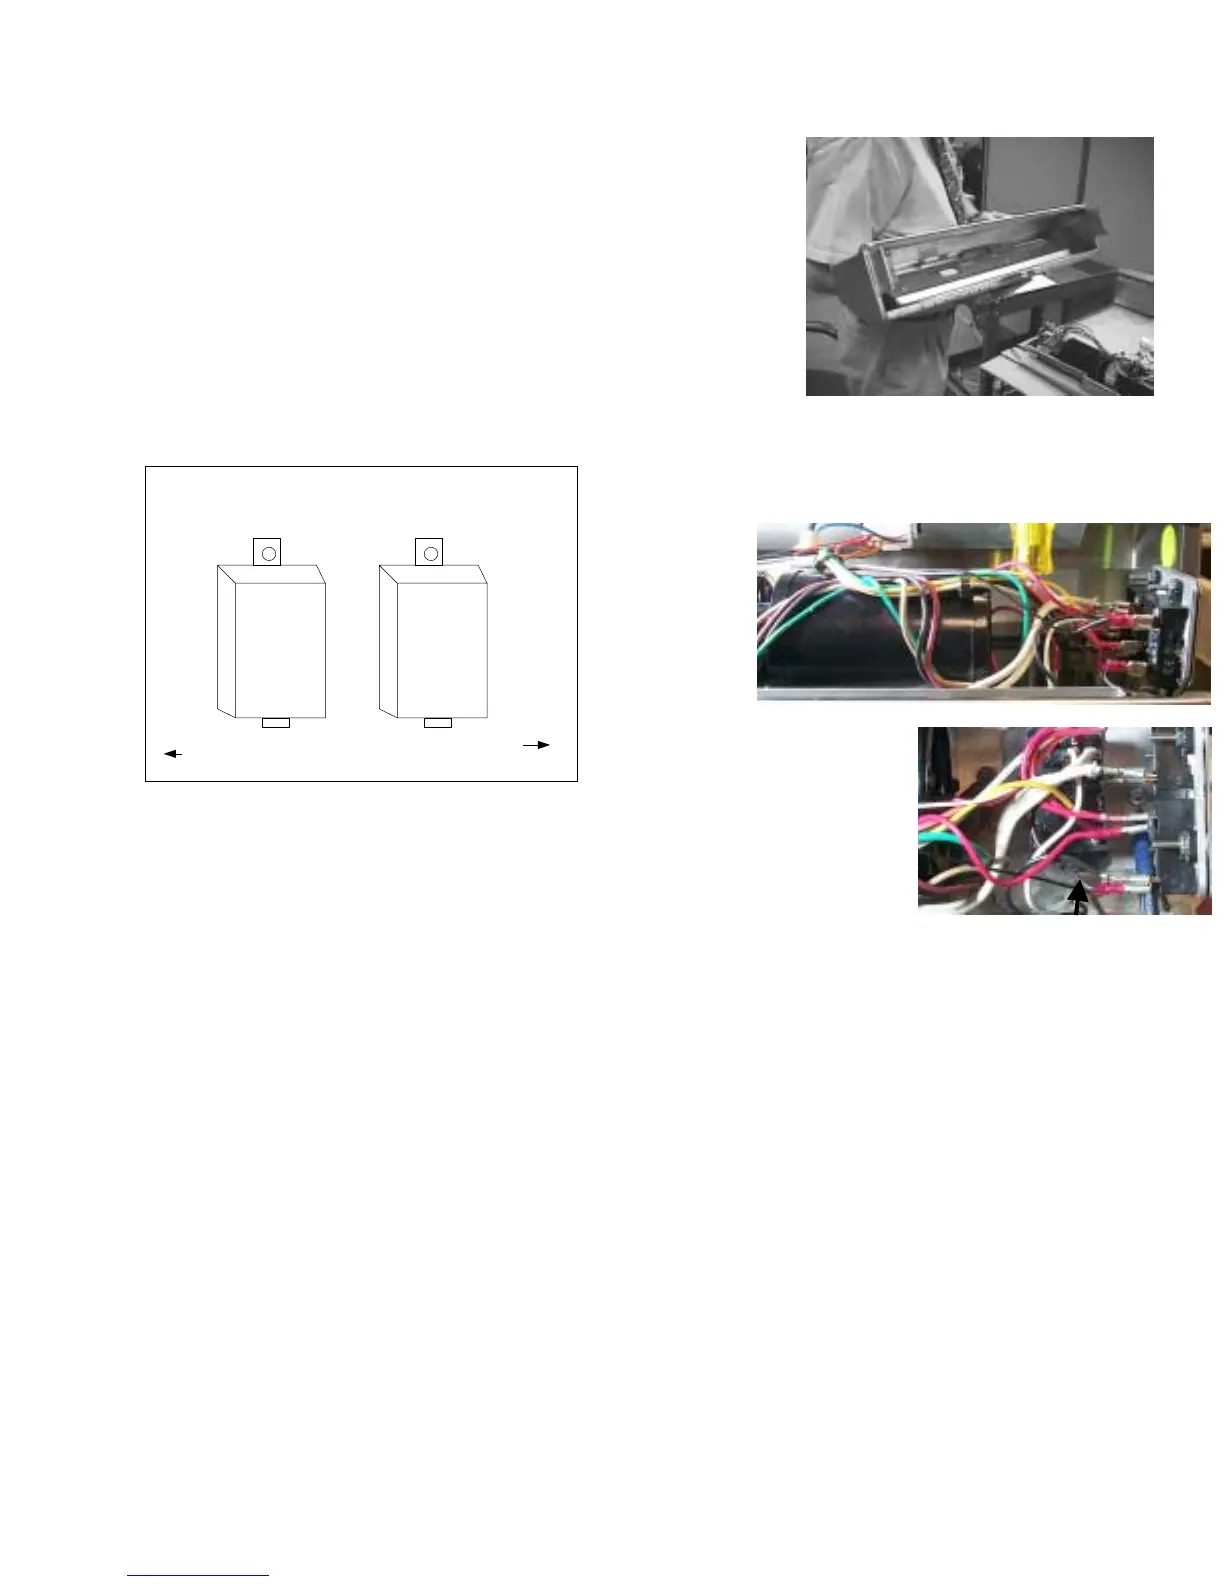
1. Accessing the interior of the HLZ (Set up for
testing):
a. Disconnect power cord from outlet.
b. Turn unit on its side. Remove the five access
screws located on the bottom of the unit.
c. Then set the unit back down on its base. Place
paper towels on the heater plate to protect it from
scratching. Remove the cowl assembly and lay the
cowl on the heater plate while troubleshooting.
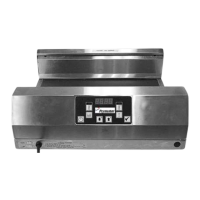
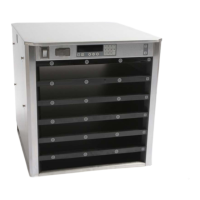
2. Replacing Solid State Relays:
a. Avoid miswiring. Examine the terminals carefully and take notes to avoid miswiring.
b. Remove the plate holding the relay assembly. The nuts holding the relays in place are
easier to reach with the assembly out of the unit.
c. Remove the two nuts holding relays to plate.
d. Apply heat sink compound and install new relay.
e. Reverse this procedure to reinstall.
The relays are
best replaced
by removing
the plate that
holds them in
place. Two
5/16 nuts hold
the plate in
place.
1
2
34
240VAC
12A
1
2
34
240VAC
12A
Heater plate
relay
Air heater
relay
Heater Plate
Front of HLZ
The cowl assembly is held on by
five screws, which are removed
from the bottom of the unit.