Innovation · Expertise · Agility
1.3.2 Mounting the Switch on a Workbench
In most cases, users do not have a standard 19-inch rack. Therefore, the most common method
is to place the switch on. Although it is easy and simple, you shall pay attention to the following
:
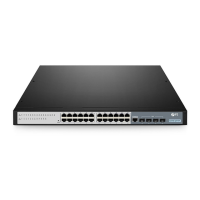
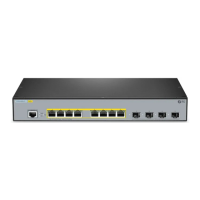
Step1: Attach the four rubber pads to the recessed areas on the bottom of the switch,as shown
in Figure 3
Figure
3:
Desktop installation
Step2:Place the switch flat on the table to ensure that the air around the switch can flow well
Hardware Installation and Parts Replacement
Switch Hardware Installation and Maintenance Guide
1.3.3
Mounting the Switch Against a Wall
Wall
Installation:
•
Before
drilling
holes
on
a
wall,
ensure
that
there
is
no
circuitry,
water
pipe,
or
gas
pipeline
in
the
wall
area
to
be
drilled
to
avoid
bodily
injury. Wall
Installation
•
Do
not
place
any
flammable
or
explosive
objects
above
or
under
the
equipment,
and
do
not
obstruct
the
equipment
with
foreign
objects
within
a
1
m
radius.
•
Ensure
that
no
holes
are
drilled
that
face
upwards
to
prevent
water
ingress
and
equipment
damage.
•
Ensure
that
screws
are
securely
installed .
Otherwise ,
the
equipment
may
fall
due
to
tension
after
cable
connection,
causing
equipment
damage
or
even
bodily
injury.
•
Do
not
place
the
switch
in
a
place
subject
to
vibration,
impact
and
instability,
and
do
not
place
the
switch
in
a
place
that
is
too
high,
otherwise
it
may
cause
personal
injury
or
equipment
damage.
•
Pay
attention
to
the
fixation
of
the
external
cables
of
the
switch
during
installation
to
avoid
the
switch
falling
off
due
to
the
heavy
external
cables.
8
 Loading...