Innovation · Expertise · Agility
10
• Insert the power module smoothly. When inserting, pay attention to the orientation of the power
panel and ensure it is inserted correctly.
• If you encounter resistance or difficulty while inserting, you must retract the module being inserted,
recheck the alignment between the power module and the guide rail, and then insert it again.
1. Please take proper electrostatic protection measures before installation, such as wearing an anti-
static wristband or gloves.
2. During the installation of optical modules, do not touch the pre-pad of the optical module directly with
your hands.
3. Do not directly insert optical modules with fiber into the optical ports of the equipment. Install the
optical module first and then connect the fiber.
4. Dust plugs should be installed on unused optical interfaces temporarily. Dust plugs are installed on
the optical ports when the equipment is shipped.
5. When installing optical modules, please ensure they are inserted horizontally. If it can not be fully
inserted in one direction, do not force it. Flip the optical module 180 degrees and reinsert it.
Hardware Installation and Parts Replacement
Switch Hardware Installation and Maintenance Guide
Procedure
1. Wear an anti-static wristband or anti-static gloves. If you wear an anti-static wristband, ensure that
one end of the wristband is grounded and the other end has contact with your skin.
2. Remove the dust plug from the optical interface.
3. Properly store the removed dust plug for future use.
4. Install the optical module into the optical interface.
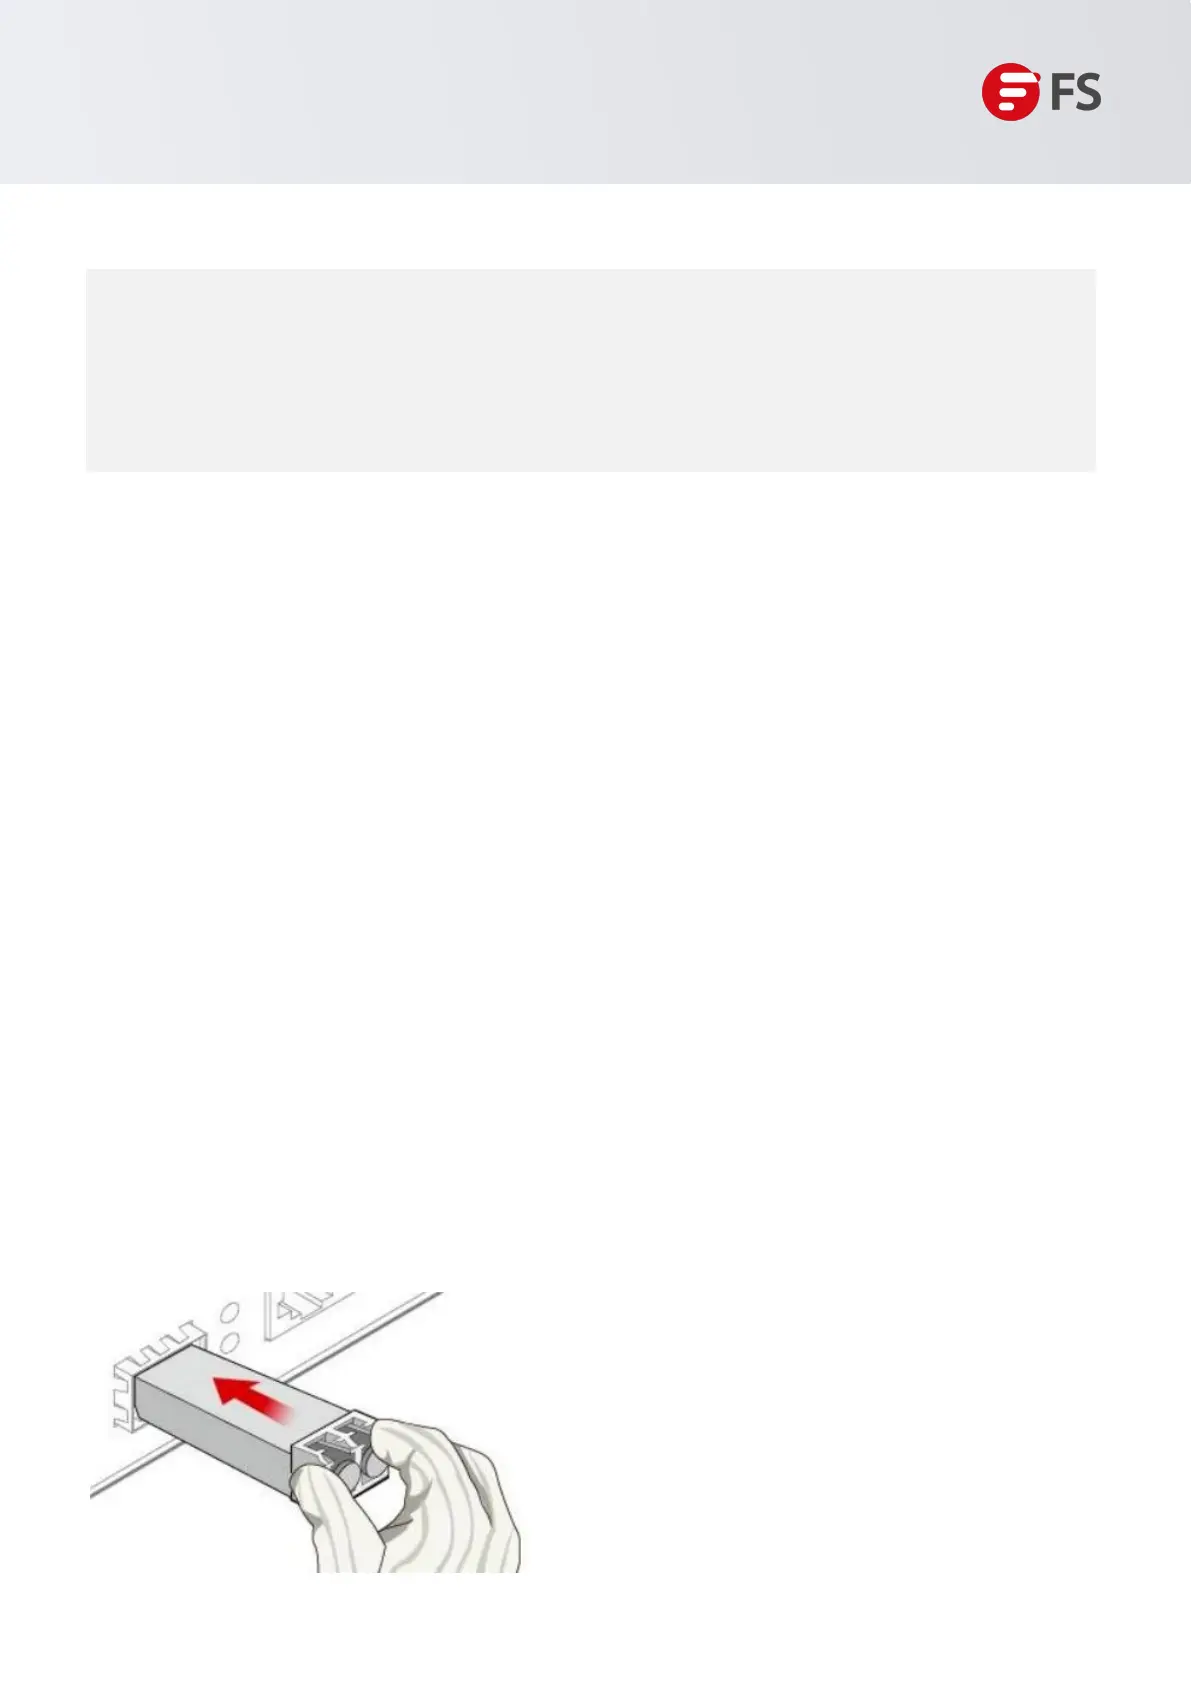
5. Slide the optical module smoothly along the optical interface until it is fully inserted. After correct
installation, the optical module's spring clip will make a "click" sound.
Figure 6: Installing an Optical Module
1.4.3 Installing an Optical Module
 Loading...