Innovation · Expertise · Agility
6
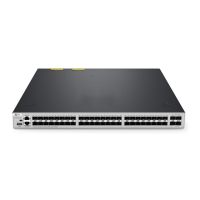
Before installing the S5860 series switch in a cabinet, please check whether the racks are properly positioned.
If the racks are too closeto the front door of the cabinet, you may not be able to close the front door after
plugging in the Ethernet and fiber cables .The front panel of the switch should be at least 10 mm (0.39 in.)
away from the front door of the cabinet. Please confirm the following before installing the switch:
1.2.4 Preparing Installation Tools and Accessories
1.3.1 Mounting the Switch in a Cabinet or Rack
• The cabinet is secured.
• The modules in the cabinet are installed.
• There are no obstructions in and around the cabinet.
• The switch is prepared and transported to a location close to the cabinet.
Phillips screwdriver, Ethernet and optical cables, cage nuts, diagonal pliers and cable ties
Anti-static gloves, wire stripper, crimping plier, RJ45 connector crimping plier, and wire cutter
Dust-free paper and fiber end-face microscope
Multimeter, bit error rate tester (BERT), and optical power meter
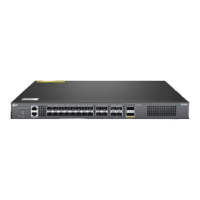
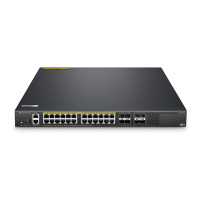
• The S5860 series switches are delivered without a tool kit. Please prepare a tool kit.
1.3 Installing a Switch
Precautions
Mounting the Brackets
1. 1. Take out the two L-shaped mounting brackets and the M4*8FMO flat head screws from the plastic bag.
2. Place the mounting brackets against the side walls of the switch and secure them using the M4*8FMO
flathead screws. The installation method is the same for both sides.
Figure 1: Mounting the Brackets
Hardware Installation and Parts Replacement
Switch Hardware Installation and Maintenance Guide
 Loading...