16 Appendix
694
Appendix
16
Density Uniformity Adjustment (Manual Process)
This section describes manual adjustment of the density uniformity.
Note • Output paper for the density uniformity adjustment is counted for the number of printed pages. For
more information, refer to "Billing Information" (P.106)
• When using a smart card authentication system such as IC Card Gate, you may be requested
authentication before printing or scanning a calibration chart.
Density Uniformity Adjustment
You can adjust the density uniformity on the machine as follows:
1 Load paper in a tray.
2 Press the <Log In/Out> button, and then enter the System Administration mode.
For how to enter the System Administration mode, refer to "System Settings Procedure" (P.128).
3 Select [Tools] on the Services Home screen.
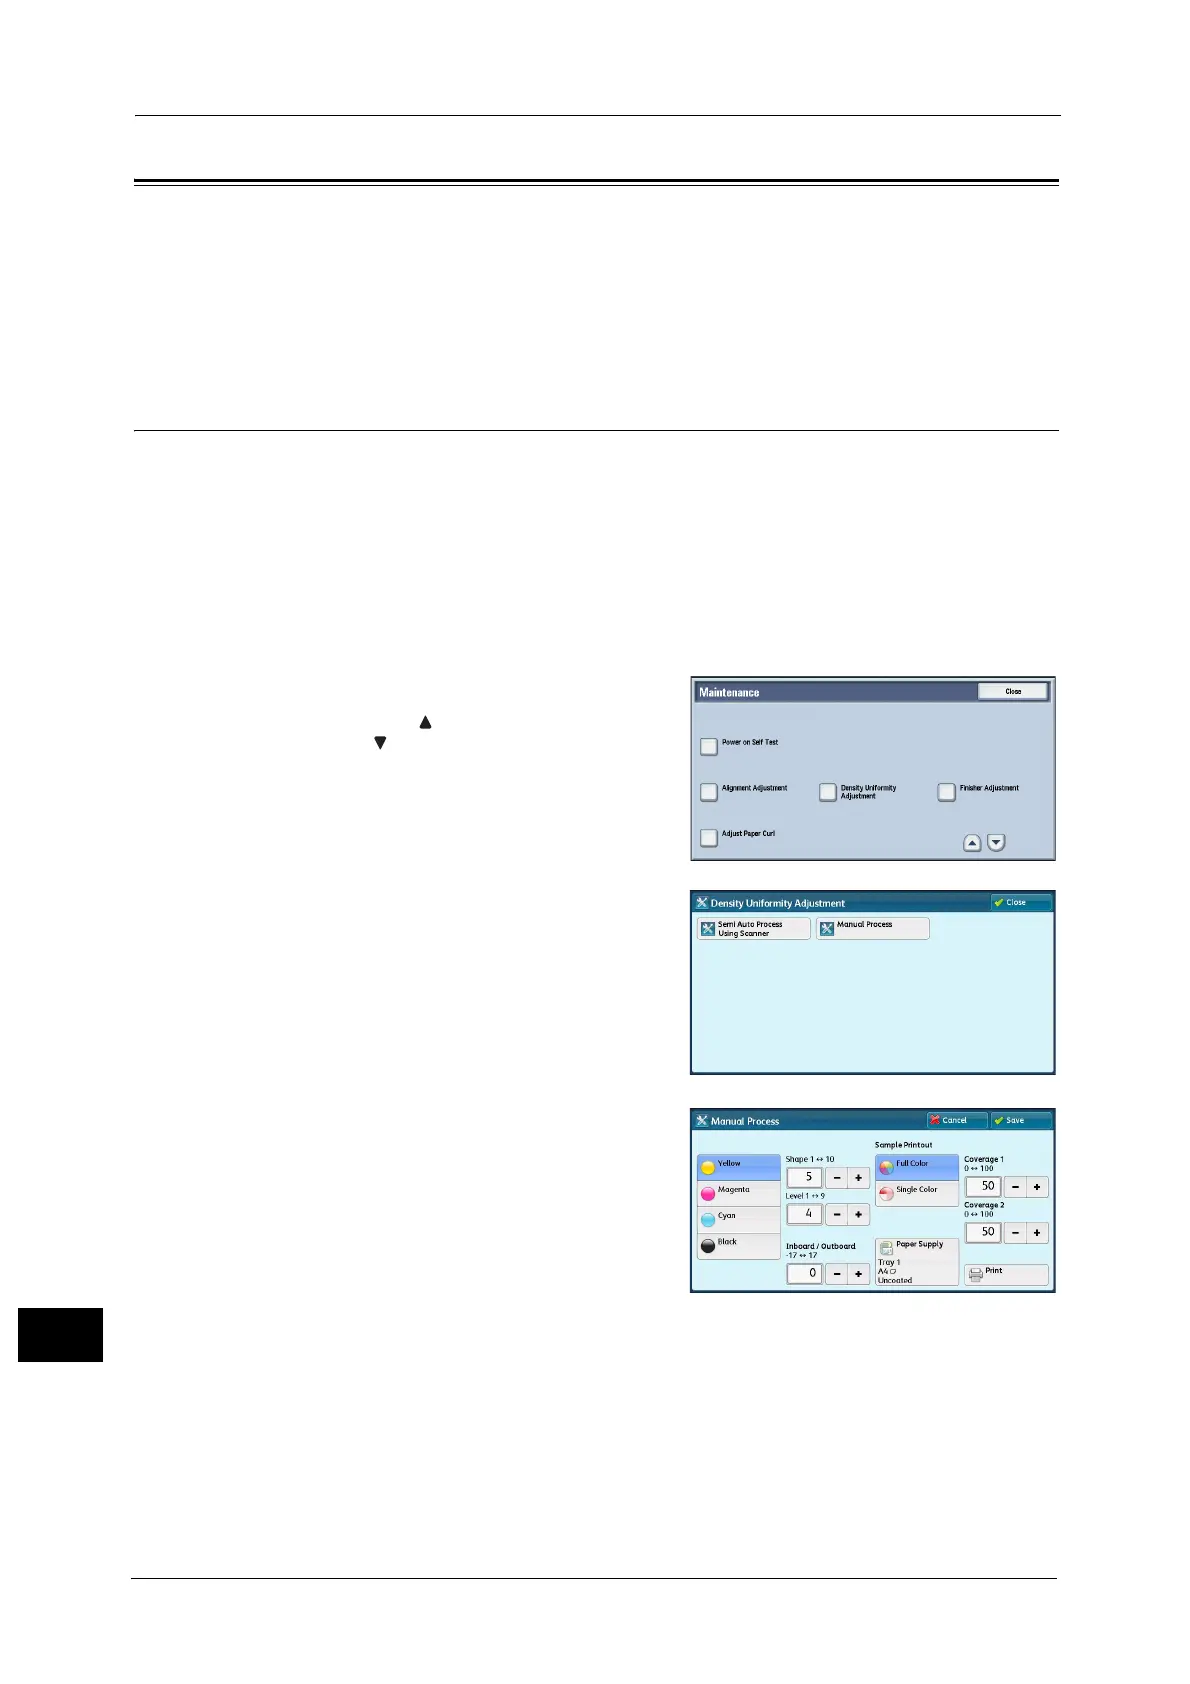
4 Select [System Settings] > [Common Service Settings] > [Maintenance].
5 Select [Density Uniformity Adjustment].
Note • Select [ ] to return to the previous screen or
[ ] to move to the next screen.
6 Select [Manual Process].
7 Select the tray in which you loaded paper in
step 1, and then select [Print].
Coverage 1, 2
Two patterns of density for each color
(Yellow, Magenta, Cyan, and Black) could be
set for the sample output.
Full Color / Single Color
Select [Full Color] to check the density and balance of all colors. Select [Single Color] to
check the density of a specific color.
f you selected [Single Color], select the color to print from [Yellow], [Magenta], [Cyan],
and [Black].
Paper Supply
Select the tray with the paper to adjust density.
 Loading...

