Printer Connection and Software Installation 93
For Windows Vista and Windows Vista 64-bit Edition
1 Click Start Control Panel Hardware and Sound Printers.
2 Click Add a printer to launch the Add Printer wizard.
3 Select Add a network, wireless or Bluetooth printer. If the printer is listed, select the printer
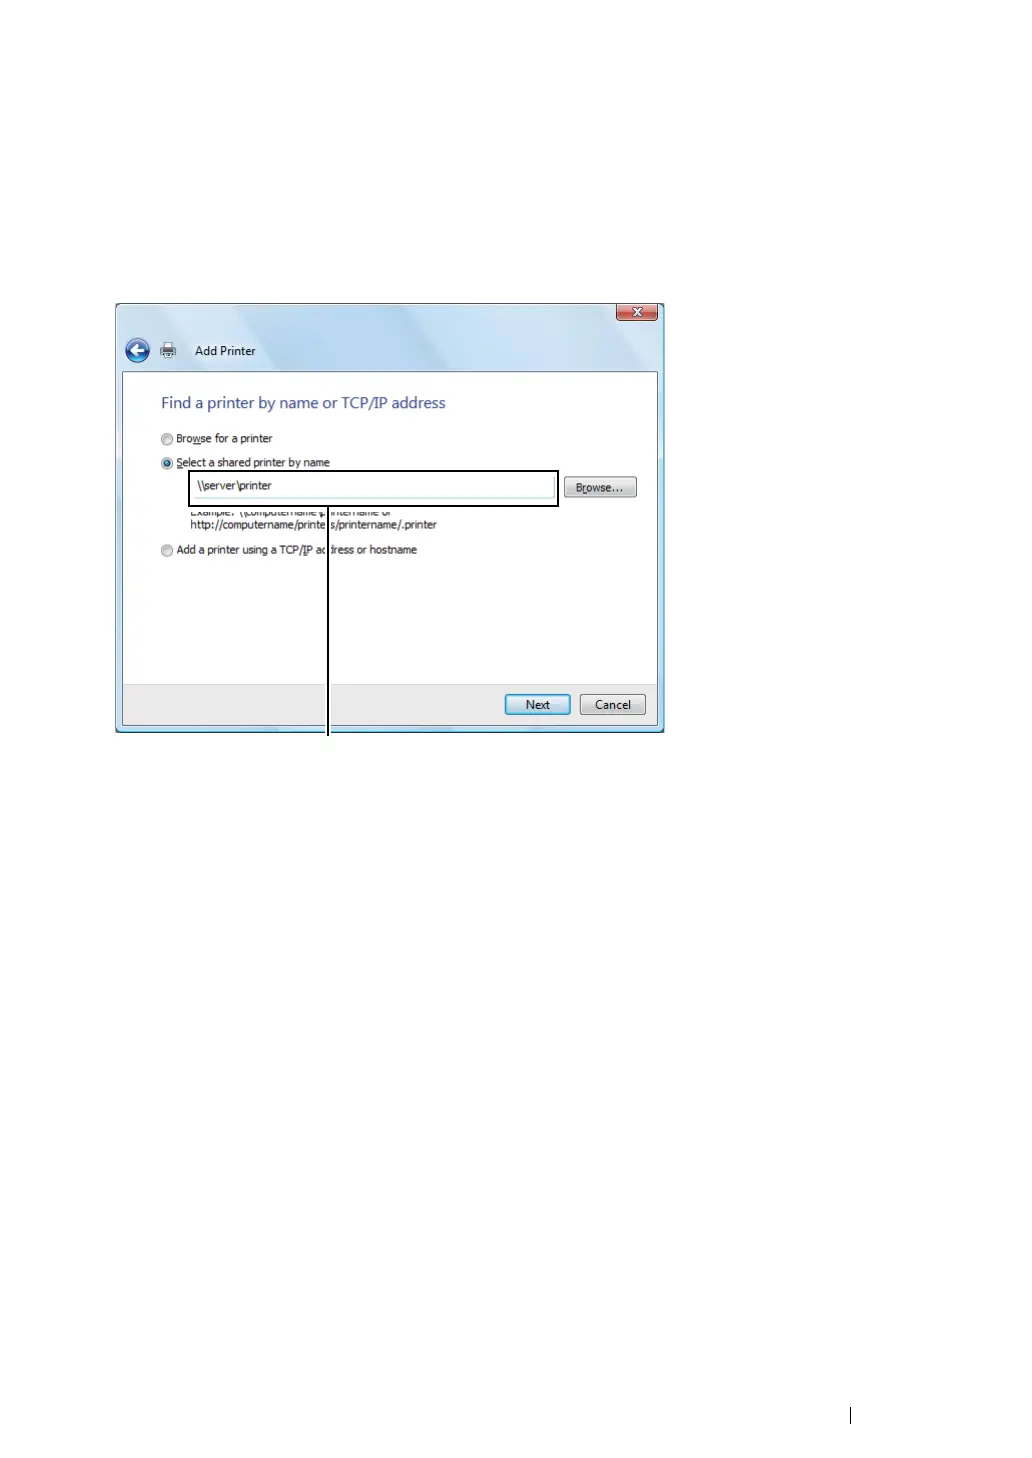
and click Next, or select The printer that I want isn't listed and enter the path to the printer in
the Select a shared printer by name text box and click Next.
The server host name is the name of the server computer that identifies it on the network. The
shared printer name is the name assigned during the server installation process.
If this is a new printer, you may be prompted to install a print driver. If no system driver is
available, specify the location where the driver is available.
4 Confirm the printer name, and then select whether to use your printer as the default printer and
click Next.
5 If you want to verify installation, click Print a test page.
6 Click Finish.
When a test page is printed successfully, installation is complete.
For example:\\<server host name>\<shared printer name>

 Loading...


