4. USAGE OF PRINTER DRIVER
39
2. Image-processing setting (Print setup)
Click the [Image-processing setting] tab in the [FUJIFILM
PICTROGRAPHY3500 (4000
22
22
2 or 4500) TCP Print Setup]
screen.
For information on settings, see subsection "4.1.2 Print setup
and printing."
The settings entered here are the default values of the application
software’s [Print] command.
3. Ports
Click to select [Setting] > [Printer] in the [Start] menu. This
opens the [Printers] folder window. Click the [FUJIFILM
PICTROGRAPHY3500 (4000
22
22
2 or 4500) TCP] icon, and then
click [Properties] in the [File] menu.
The [FUJIFILM PICTROGRAPHY3500 (4000
22
22
2 or 4500)
TCP Properties] dialog box is displayed.
Click the [Ports] tab.
For information on settings, see "3. Ports in Subsection 4.1.5.2
Windows NT 4.0".
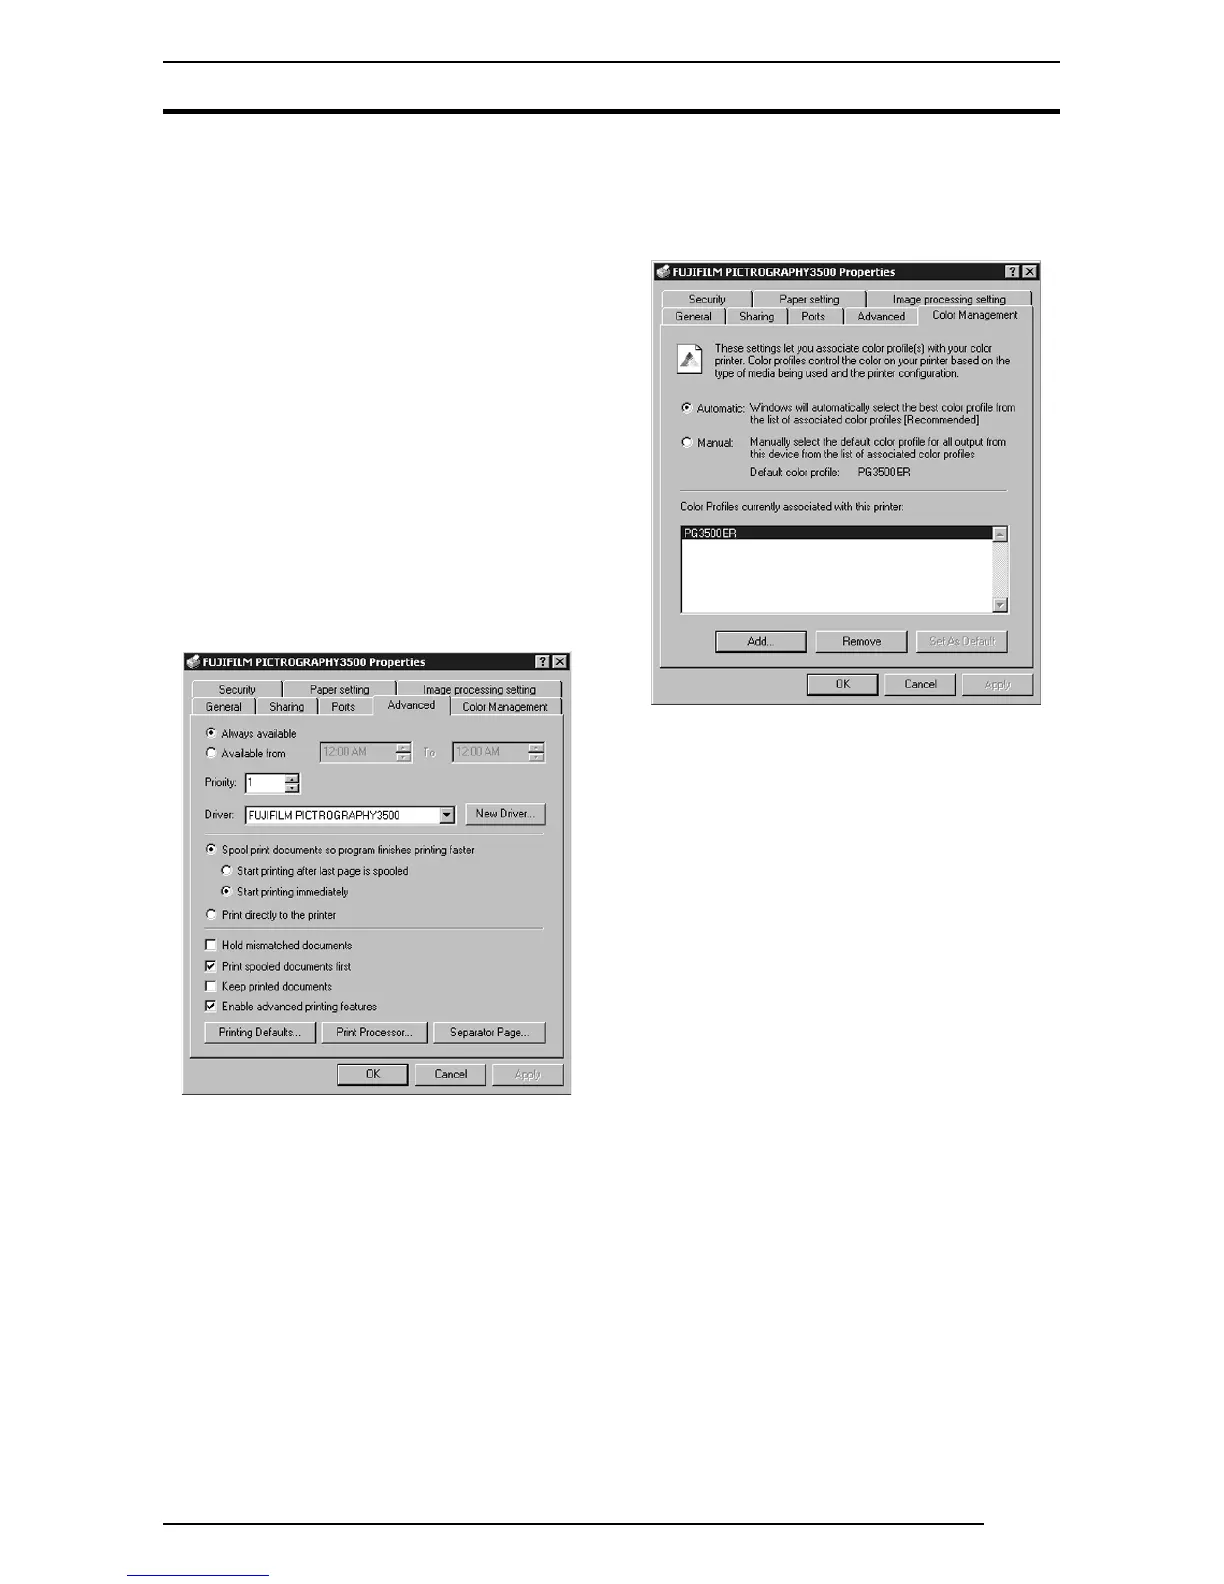
4. Detailed settings
Click the [Advanced] tab in the [FUJIFILM
PICTROGRAPHY3500 (4000
22
22
2 or 4500) TCP Properties]
dialog box.
The following appears.
Normally, these settings do not need to be changed.
5. Color management
Click the [Color Management] tab in the [FUJIFILM
PICTROGRAPHY3500 (4000
22
22
2 or 4500) TCP Properties]
dialog box.
The following appears.
Here, you can add or delete profiles related to the printer.
Note that profiles for the PICTROGRAPHY 3500/4000
2/4500
were added when the printer driver was installed.
Profile for the PICTROGRAPHY3500: PG3500ER
Profile for the PICTROGRAPHY4000
2: PG4K2ER2
Profile for the PICTROGRAPHY4500: PG4500ER
Under normal conditions, these settings should not be altered.
6. Paper setting
Click the [Paper setting] tab in the [FUJIFILM PICTRO-
GRAPHY3500 (4000
22
22
2 or 4500) TCP Properties] dialog box.
These settings can be viewed but not modified.
7. Image processing setting
Click the [Image processing setting] tab in the [FUJIFILM
PICTRO-GRAPHY3500 (4000
22
22
2 or 4500) TCP Properties]
dialog box. These settings can be viewed but not modified.
4.1.5.4 Windows XP
1. Paper Setting (Print setup)
Click to select [Printers and Faxes] in the [Start] menu. This
opens the [Printers and Faxes] folder window. Click the
[FUJIFILM PICTRO-GRAPHY3500 (4000
22
22
2 or 4500) TCP]
icon, and then click [Print Setup] in the [File] menu.
The [FUJIFILM PICTRO-GRAPHY3500 (4000
22
22
2 or 4500)
TCP Print Setup] dialog box is displayed.
Click the [Paper Setting] tab.
For information on setup items, see subsection "4.1.2 Print setup
and printing."
The settings entered here are the default values of the application
software’s [Print] command.
2. Image-processing setting (Print setup)
Click the [Image-processing setting] tab in the [FUJIFILM
PICTRO-GRAPHY3500 (4000
22
22
2 or 4500) TCP Print Setup]
screen.
For information on setup items, see subsection "4.1.2 Print setup
and printing."
The settings entered here are the default values of the application
software’s [Print] command.
 Loading...