5
■ Preparation
Take out the Setup DVD-ROM from its package, but do
not insert the Setup DVD-ROM into the DVD drive yet.
■ Installing the ISIS Scanner Driver
1. Press the power button to turn on the scanner.
2. Turn on your personal computer, and then log
on to Windows.
3. When the scanner is automatically detected,
[Found New Hardware Wizard] or [Add/
Remove Hardware Wizard] dialog box will
appear. Click the [Cancel] button to close the
Wizard dialog box.
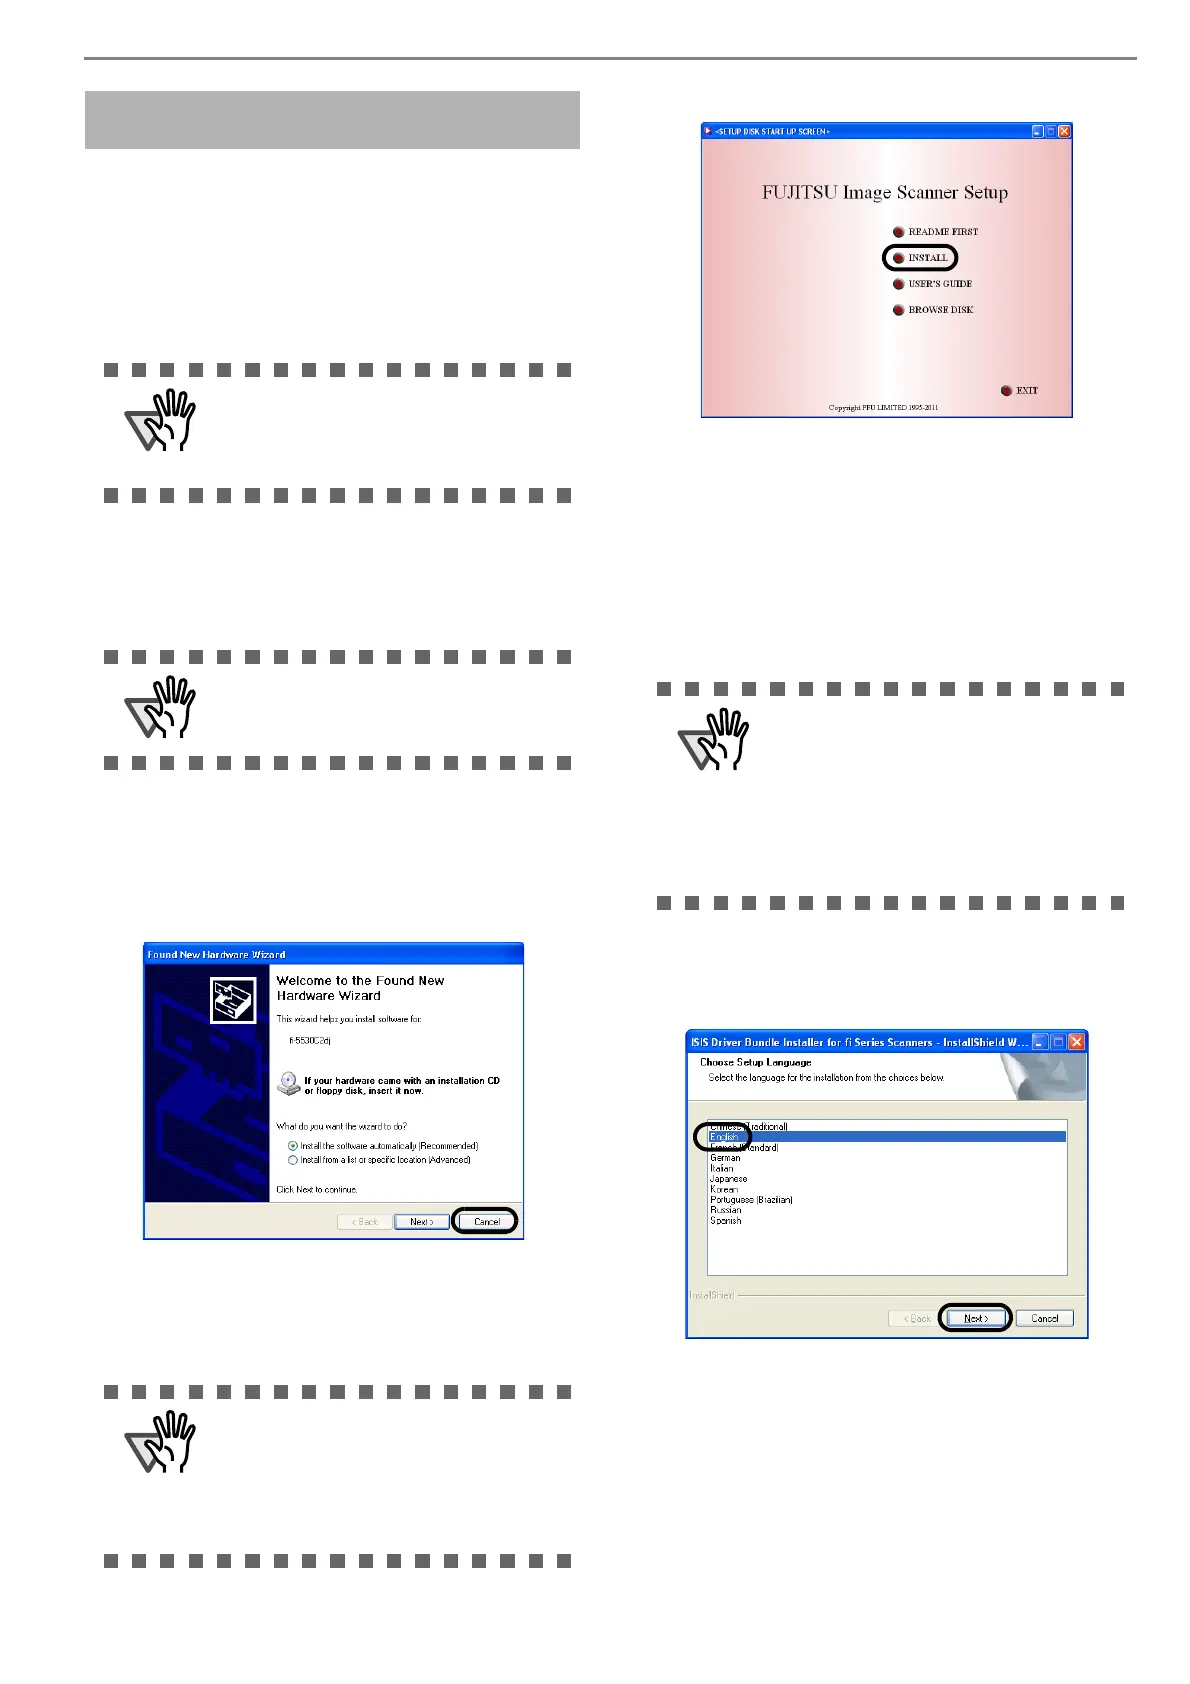
4. Insert the "Setup DVD-ROM" into the DVD
drive.
⇒ <SETUP DISK START UP SCREEN> appears.
5. Click [INSTALL], and then click [ISIS Driver].
6. Error Recovery Guide Installation dialog box
appears.
Error Recovery Guide is an application with
which you can view on-screen information for
troubleshooting errors that may occur in the
scanner. This guide helps solve problems, so
select [Yes] to install it. You may also choose
to install it later.
7. Select a language for the installation on the
[Choose Setup Language] dialog box, and then
click the [Next] button.
8. Install the driver, following the on-screen
instructions.
9. When you see the [InstallShield Wizard Com-
plete] dialog box, click the [Finish] button.
Windows XP screenshots are used in this
section as examples. The windows and
operations may vary slightly depending on
your OS.
Be sure to log on as a user with "Adminis-
trator" privileges.
The [SETUP DISK START UP SCREEN]
may not appear if the "AutoPlay" setting is
set to off. In this case, find
"AutoPlayer.exe" in the DVD-ROM using
"Explore" or "My Computer" and execute
it.
After you select [Yes] for installing Error
Recovery Guide, the [Choose Setup Lan-
guage] dialog box appears. Select a lan-
guage and follow the on-screen
instructions. The Error Recovery Guide
dialog box is automatically displayed when
the installation is complete. Wait until the
installation of the ISIS starts.
 Loading...