2. Installation
Installing in a Rack
FUJITSU Storage ETERNUS AF, ETERNUS DX Configuration Guide (Power Synchronized Unit)
Copyright 2019 FUJITSU LIMITED P3AM-8012-14ENZ0
36
• Attachment procedure
Clip the M6 cage nut tabs into the desired hole from the inside.
3 Attach the L-shaped brackets to the power synchronized unit.
Use four M3 flat head screws to attach the L-shaped brackets to the power synchronized unit on both sides.
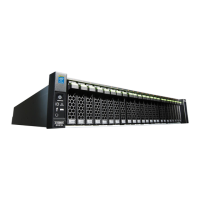
4 Install the power synchronized unit in the rack.
Use four M6 cross recessed head screws with captive washer to fasten the power synchronized unit in the
rack.
Top view
M6 cage nut
Rack pillar (square)
M3 flat head screws
L-shaped bracket
M3 flat head screws
L-shaped bracket
(Rear rack pillars)
M6 cross recessed head screws
with captive washer
M6 cross recessed head
screws with captive washer
 Loading...