6
The scanner is automatically recognized
by the computer.
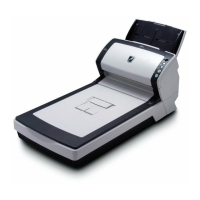
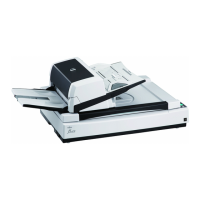
2. Place a document on the scanner.
1. Open the document cover.
2. Place the document on the document bed.
Place the document face-down to align its
top left-hand corner with the reference point.
3. Gently close the document cover.
3. Start up PaperStream Capture.
Windows Server
®
2008 R2/Windows
®
7
Select the [Start] menu [All Programs]
[PaperStream Capture] [PaperStream
Capture].
Windows Server
®
2012
Right-click the Start screen, select [All apps]
on the app bar, and then select
[PaperStream Capture] under [PaperStream
Capture].
Windows Server
®
2012 R2/Windows
®
8.1
Click [] on the lower left side of the Start
screen, and then select [PaperStream
Capture] under [PaperStream Capture].
To display [], move the mouse cursor.
Windows
®
10/Windows Server
®
2016/
Windows Server
®
2019/Windows Server
®
2022
Select the [Start] menu [PaperStream
Capture] [PaperStream Capture].
Windows
®
11
Select the [Start] menu [All apps]
[PaperStream Capture] [PaperStream
Capture].
4. Click [Scan] in the menu area.
5. Click one of the three types of document
profiles that are prepared beforehand.
Below is an example of when the document
profile [Black and White] is clicked.
The document is scanned, and the
scanned image is displayed.
HINT
When the [Found New Hardware] dialog
box appears, click [Locate and install driver
software (recommended)] and then follow
the instructions on the screen to proceed
with the installation.
Reference point
Document bed
 Loading...