Changing Settings after Connecting the ScanSnap
Using ScanSnap Wireless Setup Tool, you can change the settings after connecting the ScanSnap
to a computer or mobile device. When you install ScanSnap Manager, ScanSnap Wireless Setup
Tool is installed at the same time.
l "Switching the Computer that Is to Be Used to Another Computer" (page 34)
l "Changing the Wireless Access Point that Is to Be Connected to the ScanSnap" (page 35)
l "Changing the Password for the ScanSnap" (page 36)
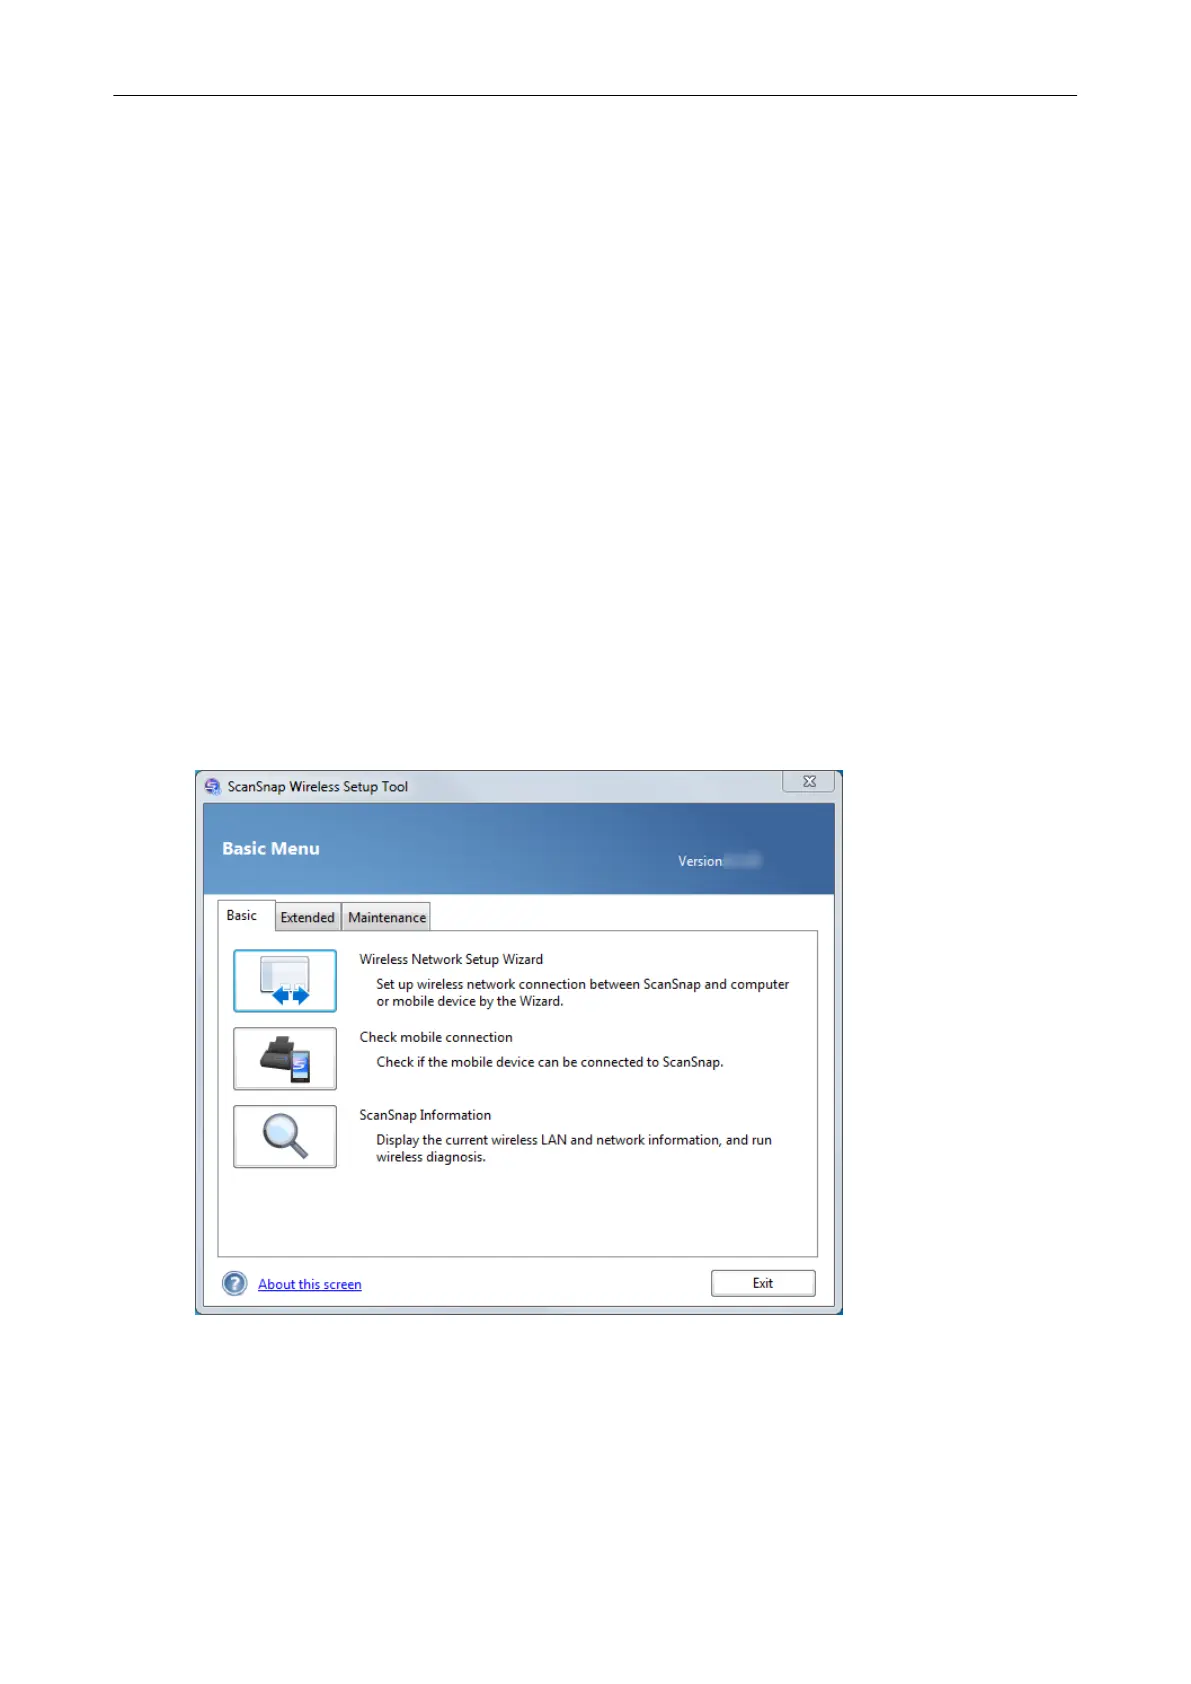
Start ScanSnap Wireless Setup Tool in the following procedure:
1. Connect the ScanSnap and the computer with a USB cable.
2. Open the ADF paper chute (cover) of the ScanSnap to turn the power on, and
then turn on the Wi-Fi switch on the back of the ScanSnap.
3.
Select [Start] menu → [All Programs] → [ScanSnap Manager] → [ScanSnap
Wireless Setup Tool] (for Windows 8.1/Windows 8, select [ScanSnap
Manager] → [ScanSnap Wireless Setup Tool] on the All apps screen).
ScanSnap Wireless Setup Tool starts up and the main menu is displayed.
Network Connection
33

 Loading...