3 SETTING
3-1 Select the Setting Items
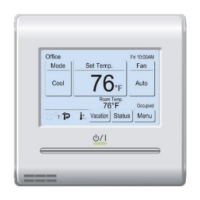
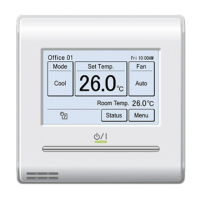
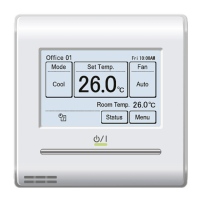
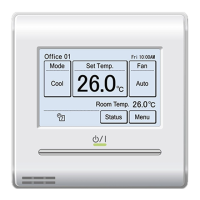
(1) Touch the [Menu] on the moni-
tor mode screen.
76°F
80°F
74°F
84°F
68°F
Custom
Auto
Auto
Cool
Heat
Set Temp.
Mode
MenuStatus
Vacation
Fan
Fri 10:00AM
Room Temp.
Cool
Heat
Away
Occupied
(2) “Main Menu” screen is displayed.
The screen has 2 pages which are switched by touching
the [Next Page] or [Previous Page].
(Items that indoor unit does not support are not dis-
played.)
Monitor
Next
Page
Page 1/ 2
Main Manu
Air Flow Direction
Setting
Weekly Timer
Setting
Auto Off Timer
Setting
Special Setting
Monitor
Previous
Page
Page 2/ 2
Main Menu
Summer Time
Setting
Initial Setting Maintenance
Preference
When the item to be set is touched, each setting screen
is displayed. Refer to the description of each item for
details. When each setting is complete or canceled,
the display returns to this screen. When [Monitor] is
touched, the display returns to the monitor mode screen.
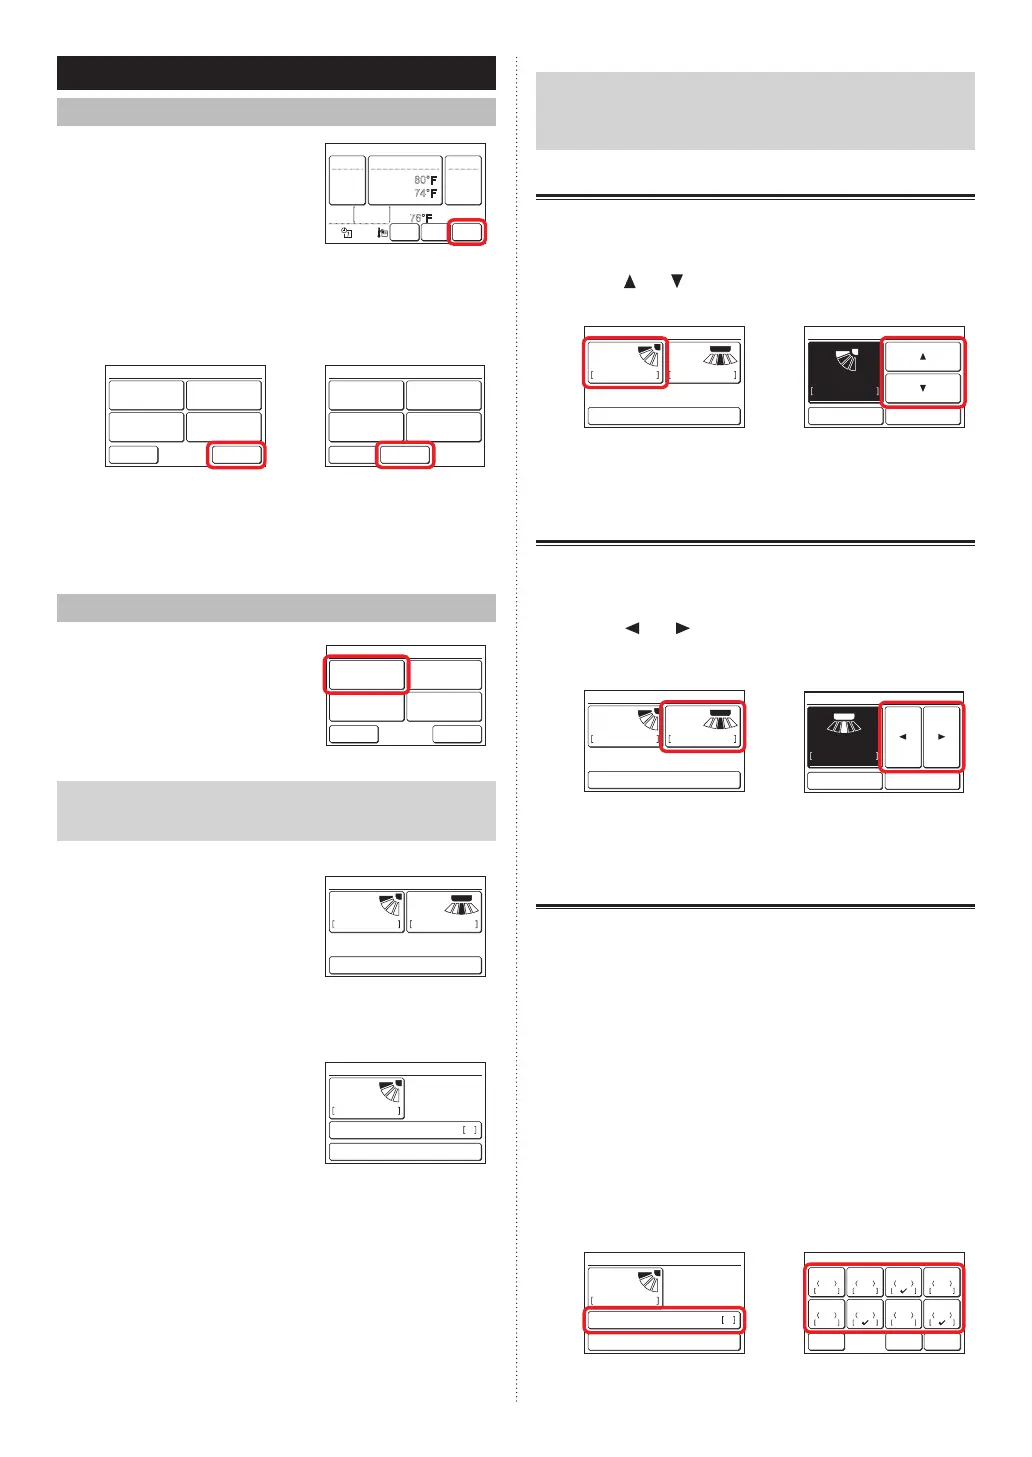
3-2 Air Flow Direction Setting
(1) Touch the [Air Flow Direction
Setting] on the “Main Menu”
screen.
Monitor
Next
Page
Page 1/ 2
Main Manu
Air Flow Direction
Setting
Weekly Timer
Setting
Auto Off Timer
Setting
Special Setting
Note
For the indoor units without air ow direction adjustment
function, [Air Flow Direction Setting] is not displayed.
(2) “Air Flow Direction Setting”
screen is displayed. When the
[VT Setting] or [HZ Setting] is
touched, each setting screen
is displayed.
1 3
Air Flow Direction Setting
Back
VT HZ
Setting Setting
When the indoor unit does not have a horizontal air ow
direction adjustment function, [HZ Setting] is not dis-
played and the air ow direction cannot be set.
When this remote controller is
connected to the cassette type
indoor unit with individual air
ow control function, [Individu-
al VT Hold] is displayed.
1
Air Flow Direction Setting
Back
Individual VT Hold
VT
Setting
For this operation, refer to “3-2-3 Individual VT Hold”.
When the [OK] or [Cancel] is touched at each setting
screen, the display returns to this screen. When [Back]
is touched, the display returns to the “Main Menu”
screen.
Note
When using this unit together with a wireless remote
controller, the air ow direction of the indoor unit may not
match the direction indicated on this unit.
3-2-1 VT Air Flow Direction
(1) Touch the [VT Setting] on the “Air Flow Direction Set-
ting” screen.
(2) “VT Air Flow Direction Setting” screen is displayed.
Touch [
] or [ ] and set the air ow direction or “Swing”.
(1) (2)
1 3
Air Flow Direction Setting
Back
VT HZ
Setting Setting
1
1
4
VT Air Flow Direction Setting
Cancel OK
(3) When the [OK] is touched after setting, the data is
transmitted to the indoor unit and the display returns to
the “Air Flow Direction Setting” screen.
3-2-2 HZ Air Flow Direction
(1) Touch the [HZ Setting] on the “Air Flow Direction Set-
ting” screen.
(2) “HZ Air Flow Direction Setting” screen is displayed.
Touch [
] or [ ] and set the air ow direction or
“Swing”.
(1) (2)
1 3
Air Flow Direction Setting
Back
VT HZ
Setting Setting
1
3
5
HZ Air Flow Direction Setting
Cancel OK
(3) When the [OK] is touched, after the data is transmitted
to the indoor unit, the display returns to the “Air Flow
Direction Setting” screen.
3-2-3 Individual VT Hold
“Individual VT Hold” can be used only with cassette type in-
door unit which supports this function. The air ow direction
can be set for each outlet of single or multiple indoor units
connected to this remote controller.
(1) Touch the [Individual VT Hold] on the “Air Flow Direction
Setting” screen.
(2) When multiple indoor units are connected to this remote
controller, the indoor unit selection screen is displayed.
When only one indoor unit is connected, the screen of
(3) is displayed. When the screen (2) has 2 pages, they
can be switched by touching the [Next Page] or [Previ-
ous Page]. When this remote controller is connected to
multiple indoor units, the address (XX-XX) is displayed
for each indoor unit. Touch the indoor unit to be set. [
✓
]
is displayed at the set indoor units.
(1) (2)
1
Air Flow Direction Setting
Back
Individual VT Hold
VT
Setting
01-01
01-05
01-02
01-06
01-03
01-07
01-04
01-08
Individual VT Hold
Page 1/ 2
Back
Reset
Next
Page
Unit 1
Unit 5
Unit 2
Unit 6
Unit 3
Unit 7
Unit 4
Unit 8
En-9
En-10

 Loading...