4
5.3. Installation
WARNING
:KHQLQVWDOOLQJWKLVXQLWPDNHVXUHWKDWWKHUHDUHQRFKLOGUHQQHDUE\
2WKHUZLVHLQMXU\RUHOHFWULFVKRFNFRXOGUHVXOW
CAUTION
%HIRUHRSHQLQJWKHFDVHRIWKLVXQLWFRPSOHWHO\GLVFKDUJHVWDWLFHOHFWULFLW\
charged on your body. Not doing so will cause trouble.
Do not touch the circuit board and circuit board parts directly with your
KDQGV2WKHUZLVHLQMXU\RUHOHFWULFVKRFNFRXOGUHVXOW
Be careful so that the front case does not fall after the front case are
UHPRYHG2WKHUZLVHDGDPDJHRIWKHIURQWFDVHFRXOGUHVXOW
7RDYRLGLQFRPLQJZDWHURULQVHFWVDORQJWKHFDEOHDOZD\VHVWDEOLVKD
trap and seal the wiring hole.
Overtighten of the screws may cause a distortion or a damage of the rear
case.
Do not make any additional hole on the rear case to avoid a damage.
Do not use any other screws than the included ones. Using of other
screws may cause a product malfunction or damage.
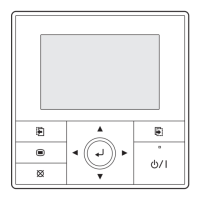
5.3.1 Installation space
This product cannot be installed in wall.
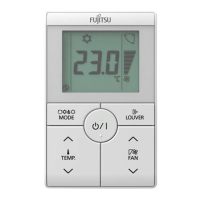
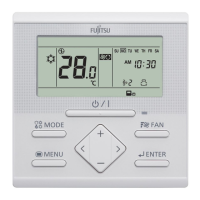
Recommendation installation height of the remote controller is 1.4 m (from
WKHÀRRUVXUIDFHWRWKHERWWRPRIWKHUHPRWHFRQWUROOHU
Even when you install a remote controller to one of a switch box and the
VXUIDFHRIDZDOOVHFXUHWKHVSDFHVKRZQLQIROORZLQJ¿JXUH,IVSDFHVUXQ
VKRUWLWZLOOEHFRPHGLI¿FXOWWRUHPRYHDUHPRWHFRQWUROOHU
30 or
more
30 or
more
30 or
more
220 or
more*
Unit: mm
3OHDVHVHFXUHHQRXJKVSDFHZKHUHDÀDWVFUHZGULYHUWRWDNHRIIDFDVH
can be inserted.
5.3.2 Processing of the remote controller cable
(1) Strip off the coating of remote controller cable 150 mm as follows.
(2) Put the wires other than the functional earthing wire through the Tube.
(3) )L[WKHQHDUHQGRIWKH7XEHZLWKWKHFDEOHWLHODUJH¿UPO\
'RQRW¿[WKHIXQFWLRQDOHDUWKLQJZLUHZLWKWKHFDEOHWLHODUJH
Cable tie (large)
Tube
Remote controller cable
150mm
(4) Cut the wires as shown below.
Strip off the coating of wires of the remote controller cable as follows.
8
810
8
Unit: mm
1. 12 V (Red)
2. Signal (White)
3. COM (Black)
25
(5) Connect the functional earthing wire of remote controller and the remote
FRQWUROOHUFDEOHDQGSHUIRUPWKHLQVXODWLRQ
3OHDVHDGMXVWWKHHDUWKHGOLQHWRVXLWDEOHOHQJWKGHSHQGLQJRQORFDO
connection.
Remote controller cable
Functional earthing
wire
Wrap the connector and remote controller
cables with vinyl tape or some other type
of insulation as shown in the figure.
Tube
Cable tie (large)
Remote controller
5.3.3 Remove the front case
(1) ,QVHUWWKHÀDWVFUHZGULYHUDQGUHPRYHWKHIURQWFDVHDQGUHDU
case by twisting it slightly.
Hooks (2 places) Rear case
Front case
Flat screwdriver
5.3.4 Installing the remote controller
A. When attaching to switch box:
(1) Seal the wiring hole of the remote controller cable.
(2) Put a remote controller cable through the hole of the rear case.
(3) Fix the rear case by securing it with attached screws (2 places).
Screws
Box
Rear case
Remote controller cable
Trap
Seal the wiring hole of the remote controller
cable with putty.
Trap
Putty
B. When attaching to the wall directly:
(1) Seal the wiring hole of the remote controller cable.
(2) Put a remote controller cable through the back hole of the rear
case of the main body.
(3) Fix the rear case by securing it with attached screws (2 places).
Screws
Wall
Rear case
Trap
Seal the wiring hole of the remote controller
cable with putty.
Trap
Putty
 Loading...