8
Installation
English
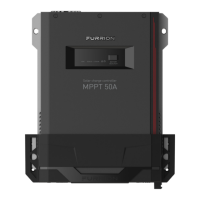
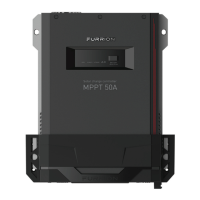
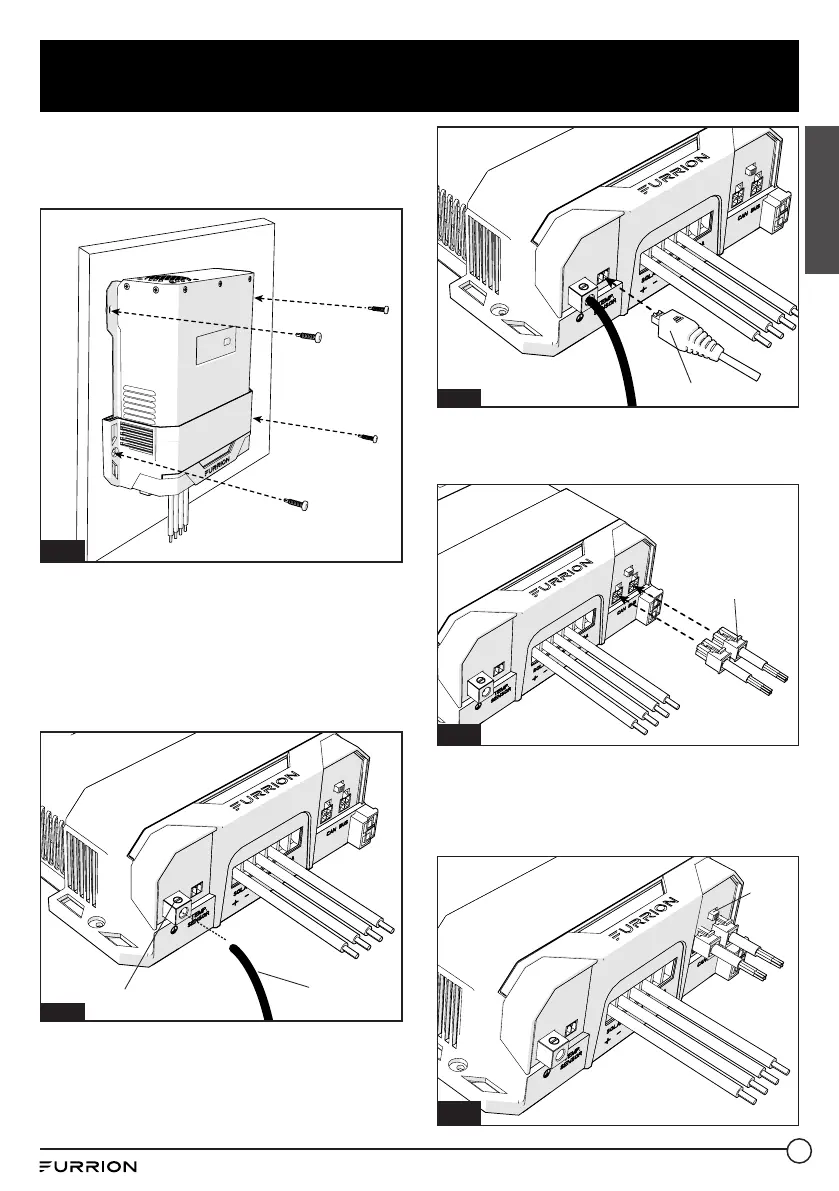
2. Affix MPPT controller to the wall with 4
mounting screws (can be the standard RV
screw) (not included). (Figure 2)
Fig. 2
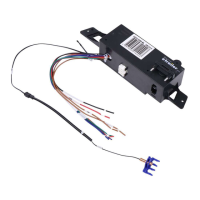
3. Loosen the ground lug screw located on
the left side of the mounting bracket.
Insert a 10AWG copper wire from this lug
to chassis ground. Tighten the ground
lug screw securely. The suggested torque
force should be 25lbs-inch. (Figure 3)
Ground lug
10AWG
copper wire
Fig. 3
4. Plug the temperature sensor
connector (P/N: C-FSCC60PW-A01,
C-FSCC60PW-A02) to the temperature
sensor port (if applicable). (Figure 4)
Fig. 4
5. Plug the RV-C connector to the MPPT
controller (if applicable). (Figure 5)
Fig. 5
6. Turn on the terminal resistance switch if
the MPPT is the last device on the RV-C
bus, otherwise leave it in the off position.
(Figure 6)
Fig. 6
 Loading...