18
The following menu appears.
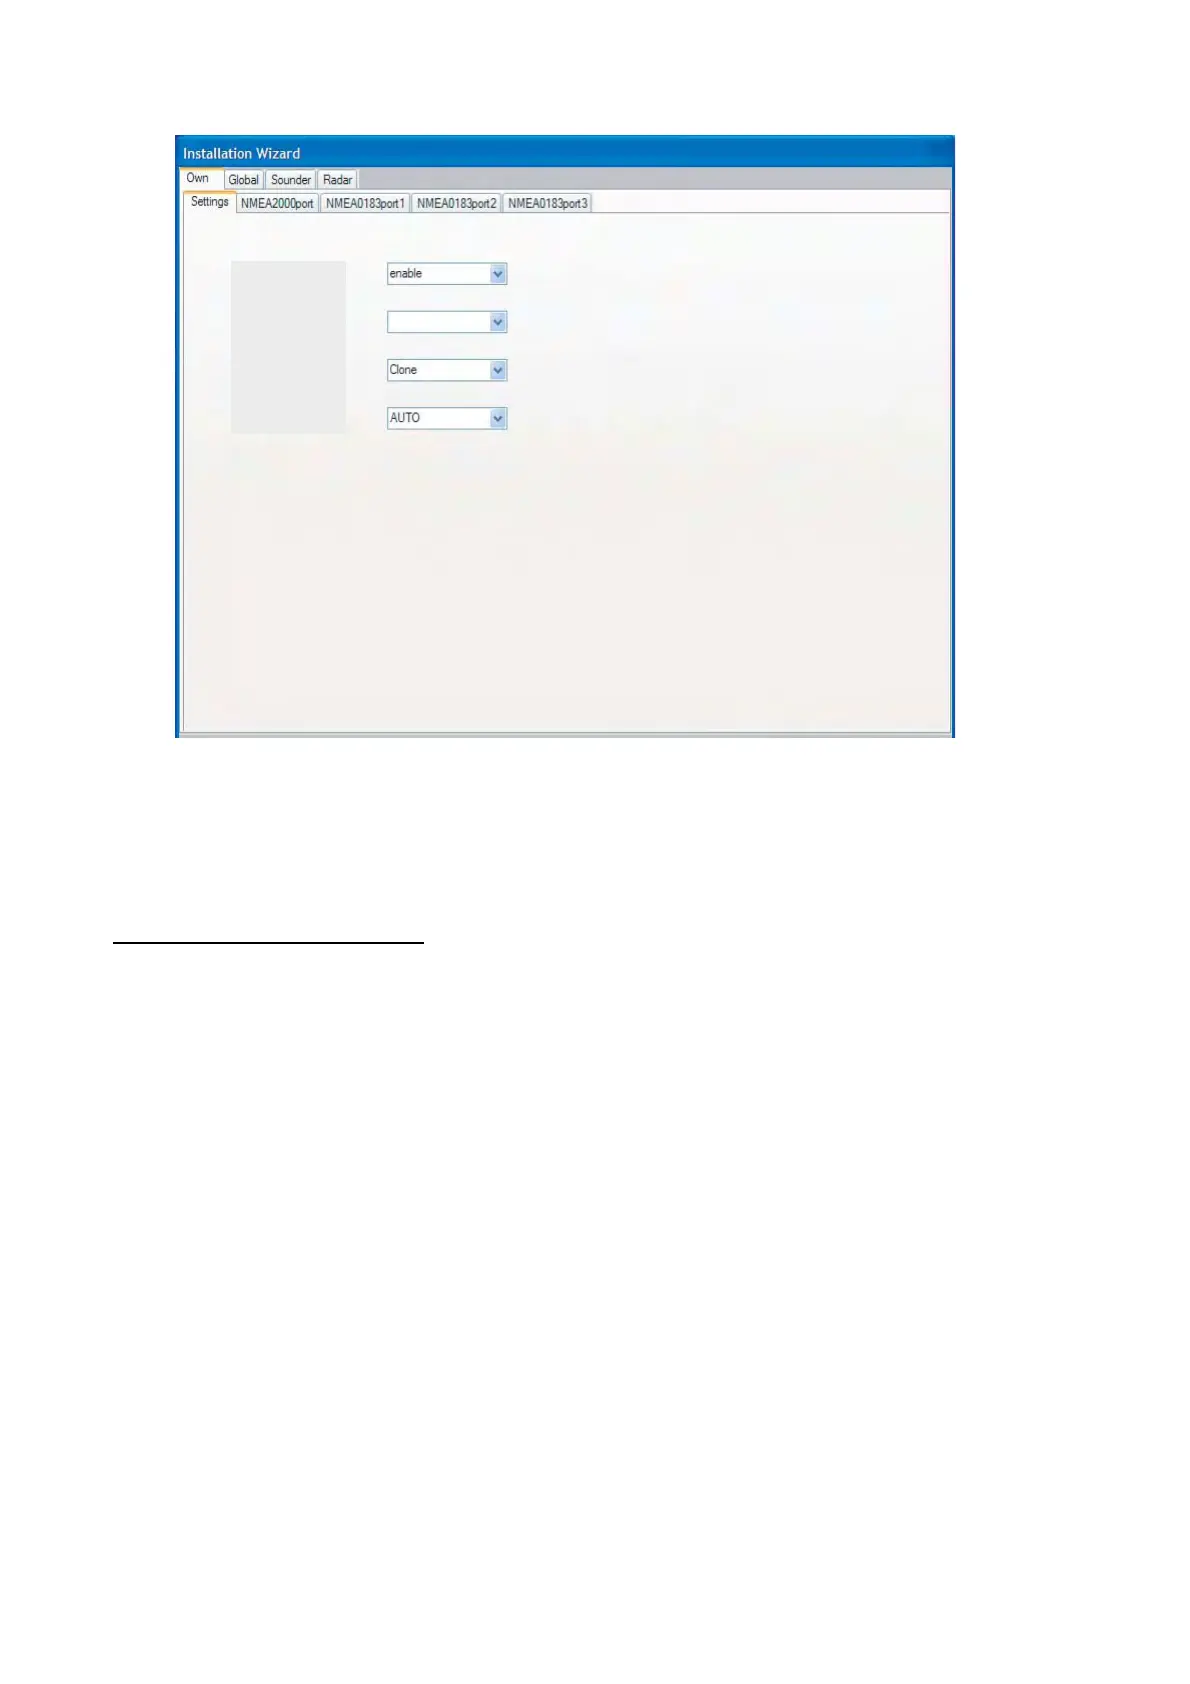
3. Confirm that the DHCP server setting pull-down menu shows enable.
4. Choose enable at the Power synchronization pull-down menu, and click the Exit button.
The power is turned off automatically.
5. Press the POWER key to turn on the equipment again.
The Own tab-Settings dialog box appears again.
Own tab-Settings dialog box
6. If the MFDBB is fitted with dual monitors, choose Clone or Span at the Dual Head mode pull-
down menu as applicable and click the Next button. MPU-001 can output two picture data to
the displays connected to DVI 1 and DVI 2 ports. You can choose how the picture data is
shown on two displays at here.
Clone: Same picture is shown on two displays.
Span: The picture is split to two screens as below.
Left-side picture: Picture from the display connected to the DVI 1 port.
Right-side picture: Picture from the display connected to the DVI 2 port.
7. Choose the
DVI resolution of the display unit (Auto, SVGA (1600x600), XGA (2048x768) or SXGA
(2560x1024))
at the DVI Resolution pull-down menu, and click the Next button.
enable
DHCP server setting
Power syncronization
Dual head mode
DVI Resolution

 Loading...