2. INSTALLATION
4
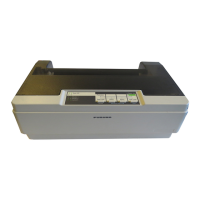
2.2 Mount the Printer
Mount the printer on a tabletop with the fixtures supplied. Refer to the outline drawing at the end
of this manual for the mounting dimensions.
1. Decide the location of the printer.
2. Set the ink ribbon cartridge and the roll paper to the printer. Refer to section 2.3 and 2.4
3. Set the fixtures (left/right) onto the printer. Fasten them with four self-tapping screws (φ5x20).
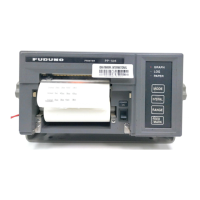
2.3 Wiring
Connect the power cable and the signal cable to the printer PP-520.
1. Connect the power cable 16S0084 to the printer.
2. Connect the cores of the power cable to the power source (24VDC) and ground terminal.
(Red: +, Black: -, Shield: ground terminal)
3. Carry out the self test referring to section 3.3.
4. Attatch the EMI core supplied near the 36-pin plug of printer cable 57FE-17JE-BC10PL3000
and fix it with cable ties to fix the EMI core. (The cable tie is unnecessary if the larger printer
cable is used.)
5. Connect the 36-pin plug to the signal connector of the printer.
6. Connect the 25-pin plug to the output port on the radiotelephone.
7. Power the radiotelephone and the printer. Print something to confirm correct printing.
405
200