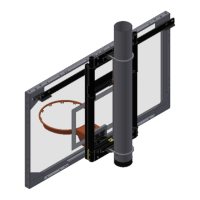
2500 Wall Mount
14
UNIT INSTALLATION
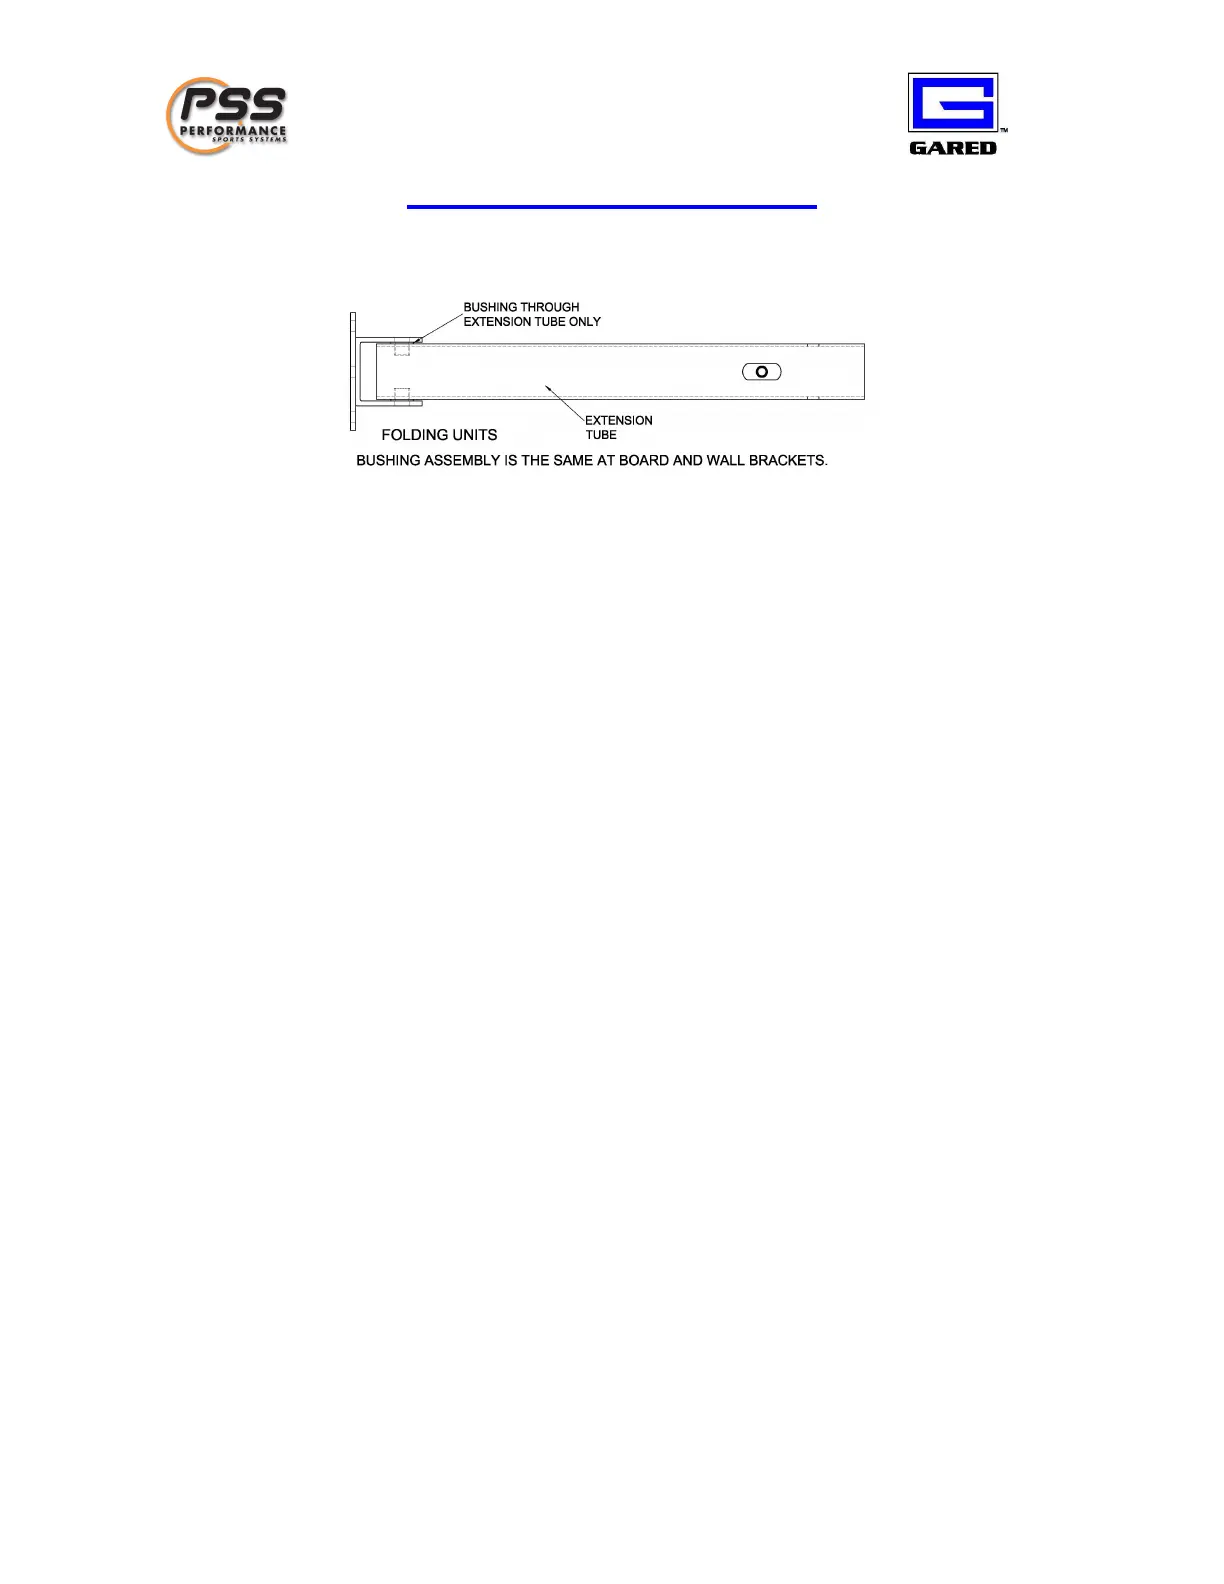
1) Prepare the extension tubes by inserting bushin gs as shown in figure 3.
Figure 3. Bushing installation (side view)
2) To attach the outer extension tubes to the wall brackets, use a hex bolt and nylon lock nut
as indicated on the installation drawing. Ensure that the tube will rotate through its
full range of motion after tightening the nut. Do not over tighten the nut.
3) The next step is to place the inner extension tubes into the outer extension tubes.
WARNING: The extension tubes must be temporarily roped or chained off in order
to hold them i n place.
Steps (4) and (5) apply to installations with an Adjust -a-Goal. Refer to instructions
received with AAG, for mounting board to AAG only. If you did not receive instructions
please contact factory. If your installation does not have an Adjust -a-Goal, please skip to
step ( 6).
4) The Adjust -a-Goal should be assembled prior to mounting to the extension arms and
prior to mounting the board.
5) While assembling the AAG on the ground, the AAG mounting frame can be installed on
the ends of the extension tu bes. Utilize eight of the 3/8” -16 x 1 1/4" hex head bolts with
washers and whiz -lock nuts to attach the support plates of the frame to the end brackets
of the extension tubes (r efer to figure 4 ).