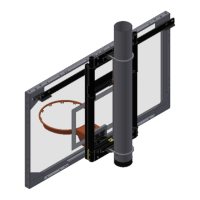
2500 Wall Mount
15
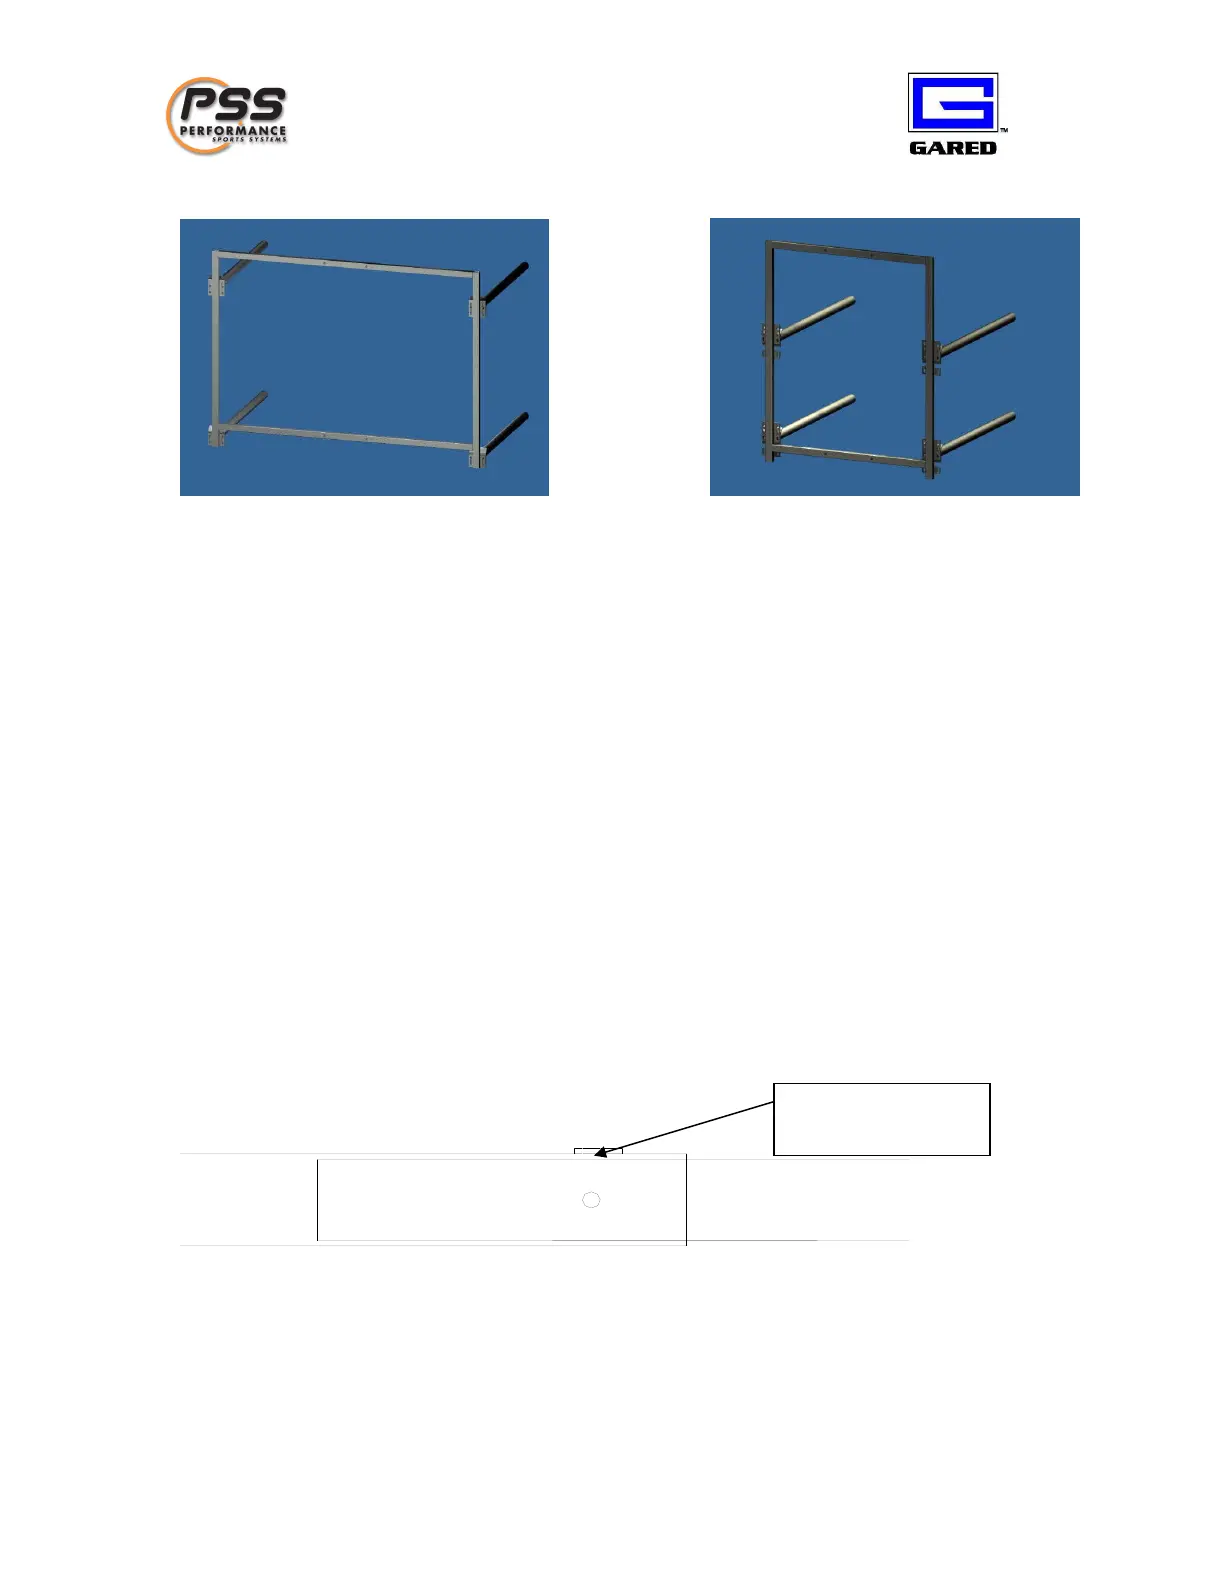
Wide Narrow
Figure 4. Attach AAG mounting frame to extension tubes .
6) Connect the chains from the upper wood pad to the board mounting plate , utilizing the
quick links provided.
7) At this point, it is equally acceptable to attach the board or hoist the adjust -a-goal into
place at the end of the extension arms. The wall mount must be supported as this is done.
If you are attaching the board, utilize the 3/8” -16 x 1” ca rriage bolts at the top support
angle and the 3/8” -16 x 3.5” carriage bolts at the DME. To attach the adjust -a-goal, use
(4) ½” -13x 2” machine bolts and ½” -13 whiz -lock nuts .
8) After the board has been secured to the extension tubes, the board can be set to the proper
distance from the wall, as specified by the latest architectural drawings.
9) To temporarily retain the extension tubes at the proper length, tighten the setscrews
provided in the welded on T -nut, (see figure 5) . At this time, the board sho uld also be
squared and leveled.
Figure 5 . Close up of mating between inner and outer tubes, showing weld nut.