2500 Wall Mount
16
10) To permanently set the length of the extension arms, drill 3/8” holes through the inner
tube at the predril led location on the outer extension arms. Secure the inner tube to the
outer tube with the provided hex head bolts and lock nuts (3/8”- 16x 2 ½”) .
11) Retighten the chains from the upper wood pad to the support angle, utilizing the quick
links provided.
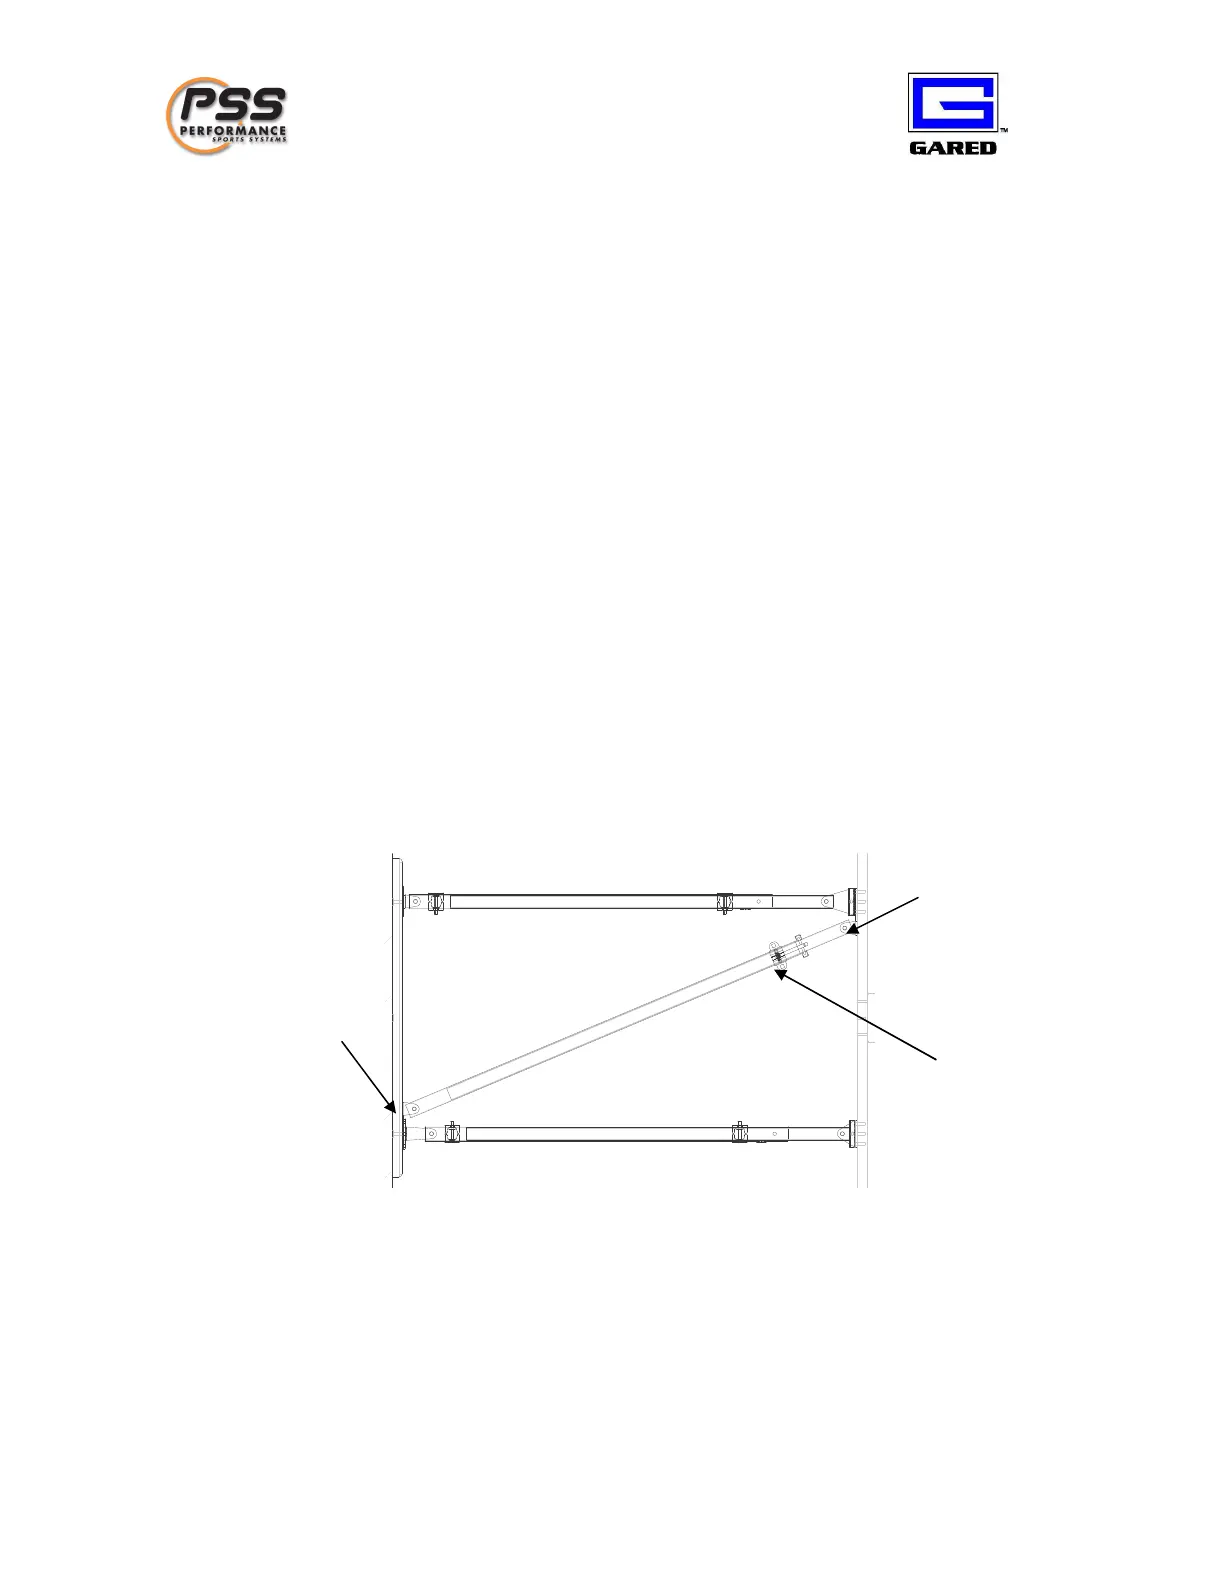
12) The next step is to prepare the slide pipe to install. This consists of putting pipe A into
pipe B and temporarily securing them with the provided locking clamp.
13) Raise the slide pipe to the level of the side fold brackets and secure one end of the slide
pipe to one of the brackets using the ½ -13 x 3 hex bolt and ½ -13 lock nut provided.
NOTE: verify direction of folding with the latest copy of architectural drawings
prior to completing installation.
14) Next, s lide the other end of the slide pipe into the remaining side fold bracket and
secure with the ½ -13 x 3 hex bolt and ½ -13 lock nut provi ded, (as shown in figure 6) .
15) To complete the installation, attach the provided bracing pipes between the upper and
lower extension arm pipes with t he #116 t -clamps, (see figure 7) for an illustration.
Figure 6 . Slide pipe installation showing hinge brackets; slide pipes, and locking clamp.
Install slide pipe on lower exten sions.