17
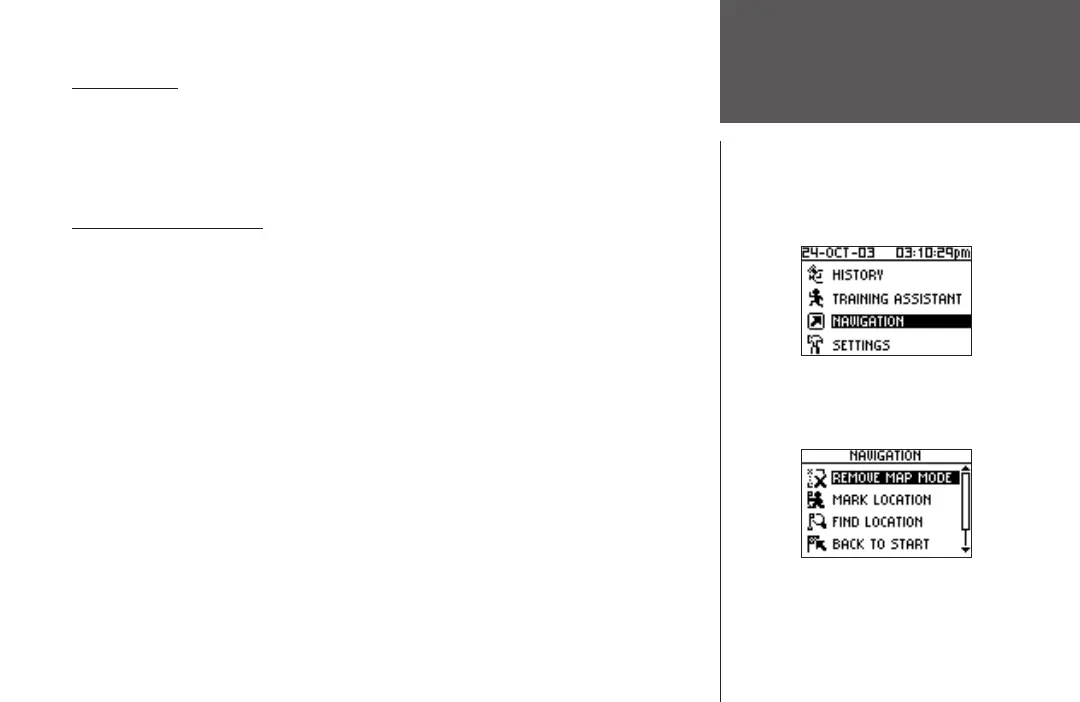
Menu Mode
Navigation:
Add/Remove Map Mode
NAVIGATION
The Navigation Menu provides additional options for traveling with your Forerunner 101.
Refer to this menu option to add or remove the map mode, mark a location, find a location,
return back to your starting point, and orient the map mode by a north reference or ahead
(the direction you are moving).
Add/Remove Map Mode
The Map Mode does not appear on your Forerunner 101 until you activate it from this
menu. Once you add the map, you are immediately taken to the Map Mode where you can
view your position, workout, or locations. It is not possible to load detailed map data into the
Forerunner 101.
The Map Mode shows where you (the animated figure) are and provides a picture of
where you have traveled. As you travel, the animated figure ‘walks’ and leaves a ‘trail’ (track
points). Location names and symbols are also shown on the map. Once the map has been
added, pressing the MODE button scrolls through the Timer Mode, Map Mode, and the
Menu Mode. To make sure you can see your entire ‘trail’, you can change the map scale (from
20 feet minimum to 120 miles maximum) by pressing the UP button to view a larger area,
and the DOWN button for viewing a smaller area. Hold down buttons for a faster zoom.
To add/remove the map mode:
1. Highlight ‘NAVIGATION’ in the Menu Mode and press ENTER.
2. With ‘ADD MAP MODE’ or ‘REMOVE MAP MODE’ highlighted, press
ENTER to add/remove
the Map Mode.