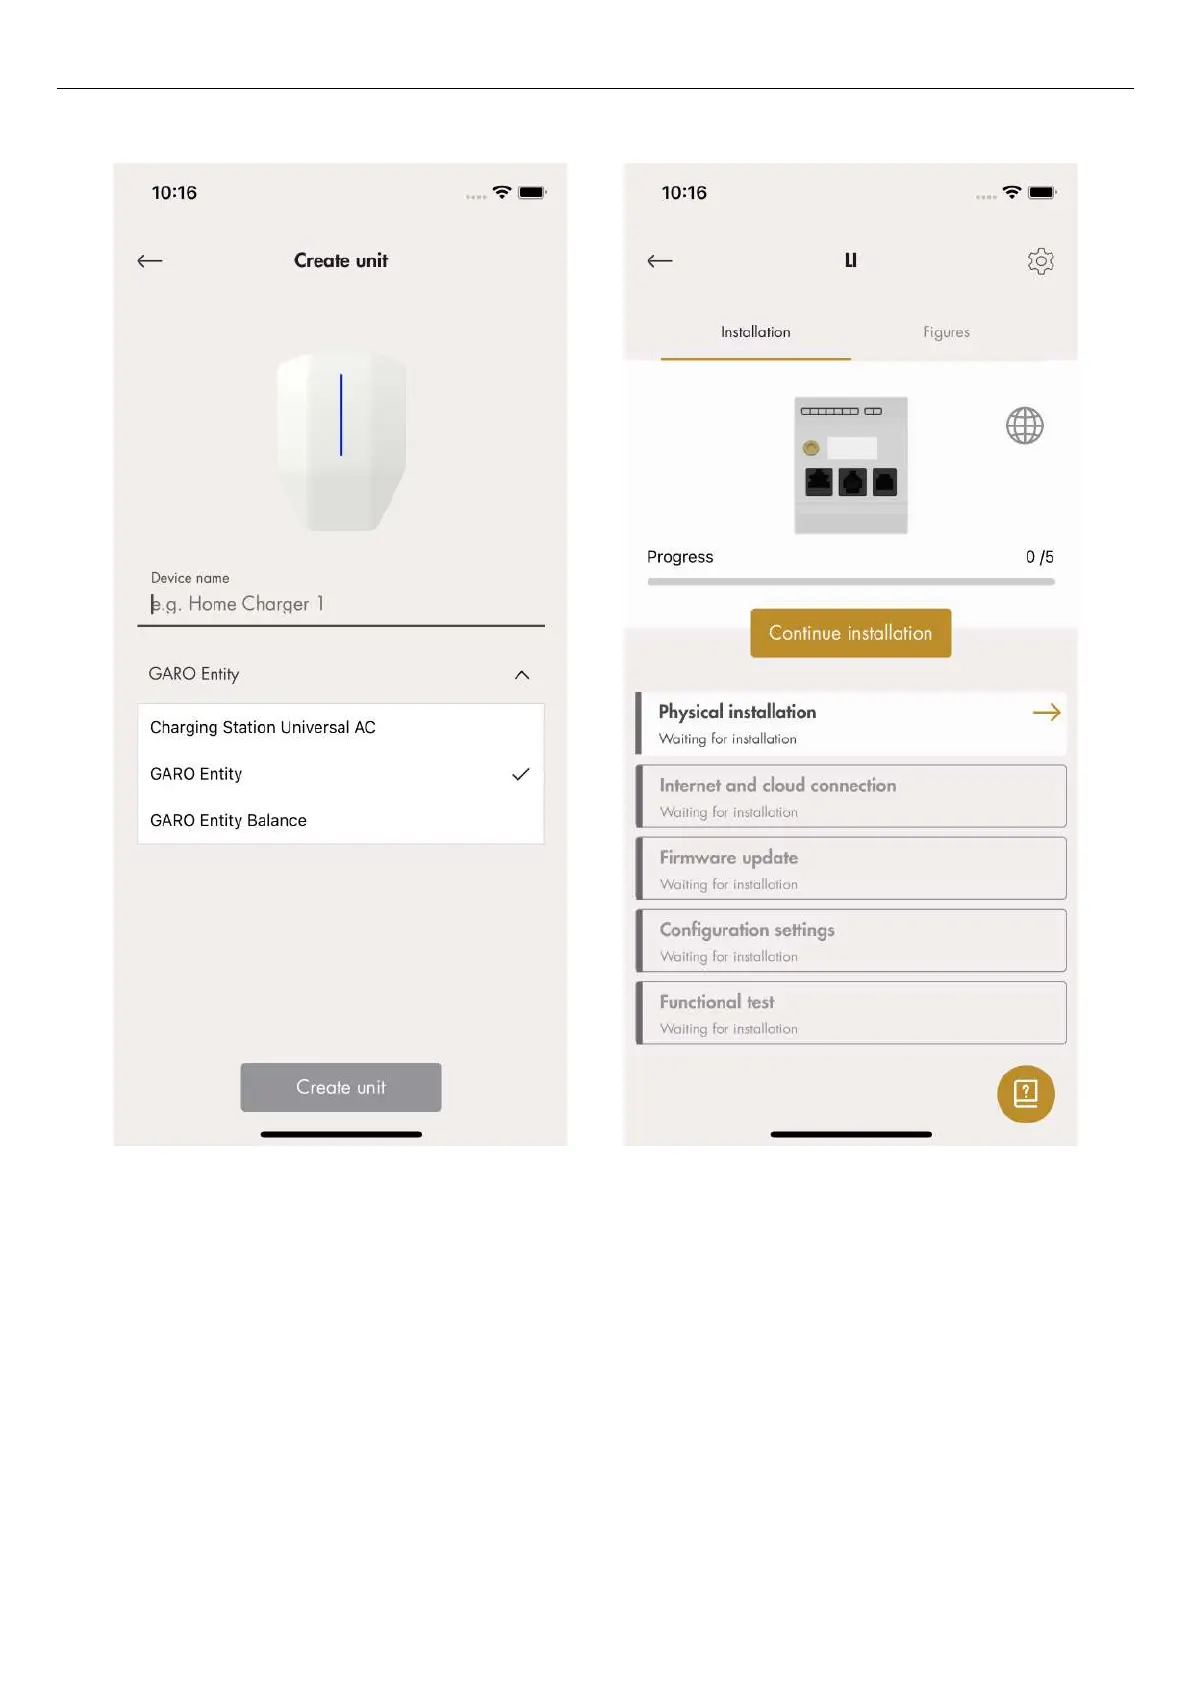
2. Select the created unit to update the settings.
3. The installation guide displays. Each step must be
completed in order to finalize the installation.
4. Physical installation. Refer to 4.14.3 To install the
load interface in an electrical cabinet, page 68.
5. Connect the created load interface in the app to a
physical load interface by scanning the QR code on
the load interface or enter the serial code to confirm
the unit and click complete. At this point, the
physical DLM is connected to the unit, created in the
GARO Connect App.
60
Installation