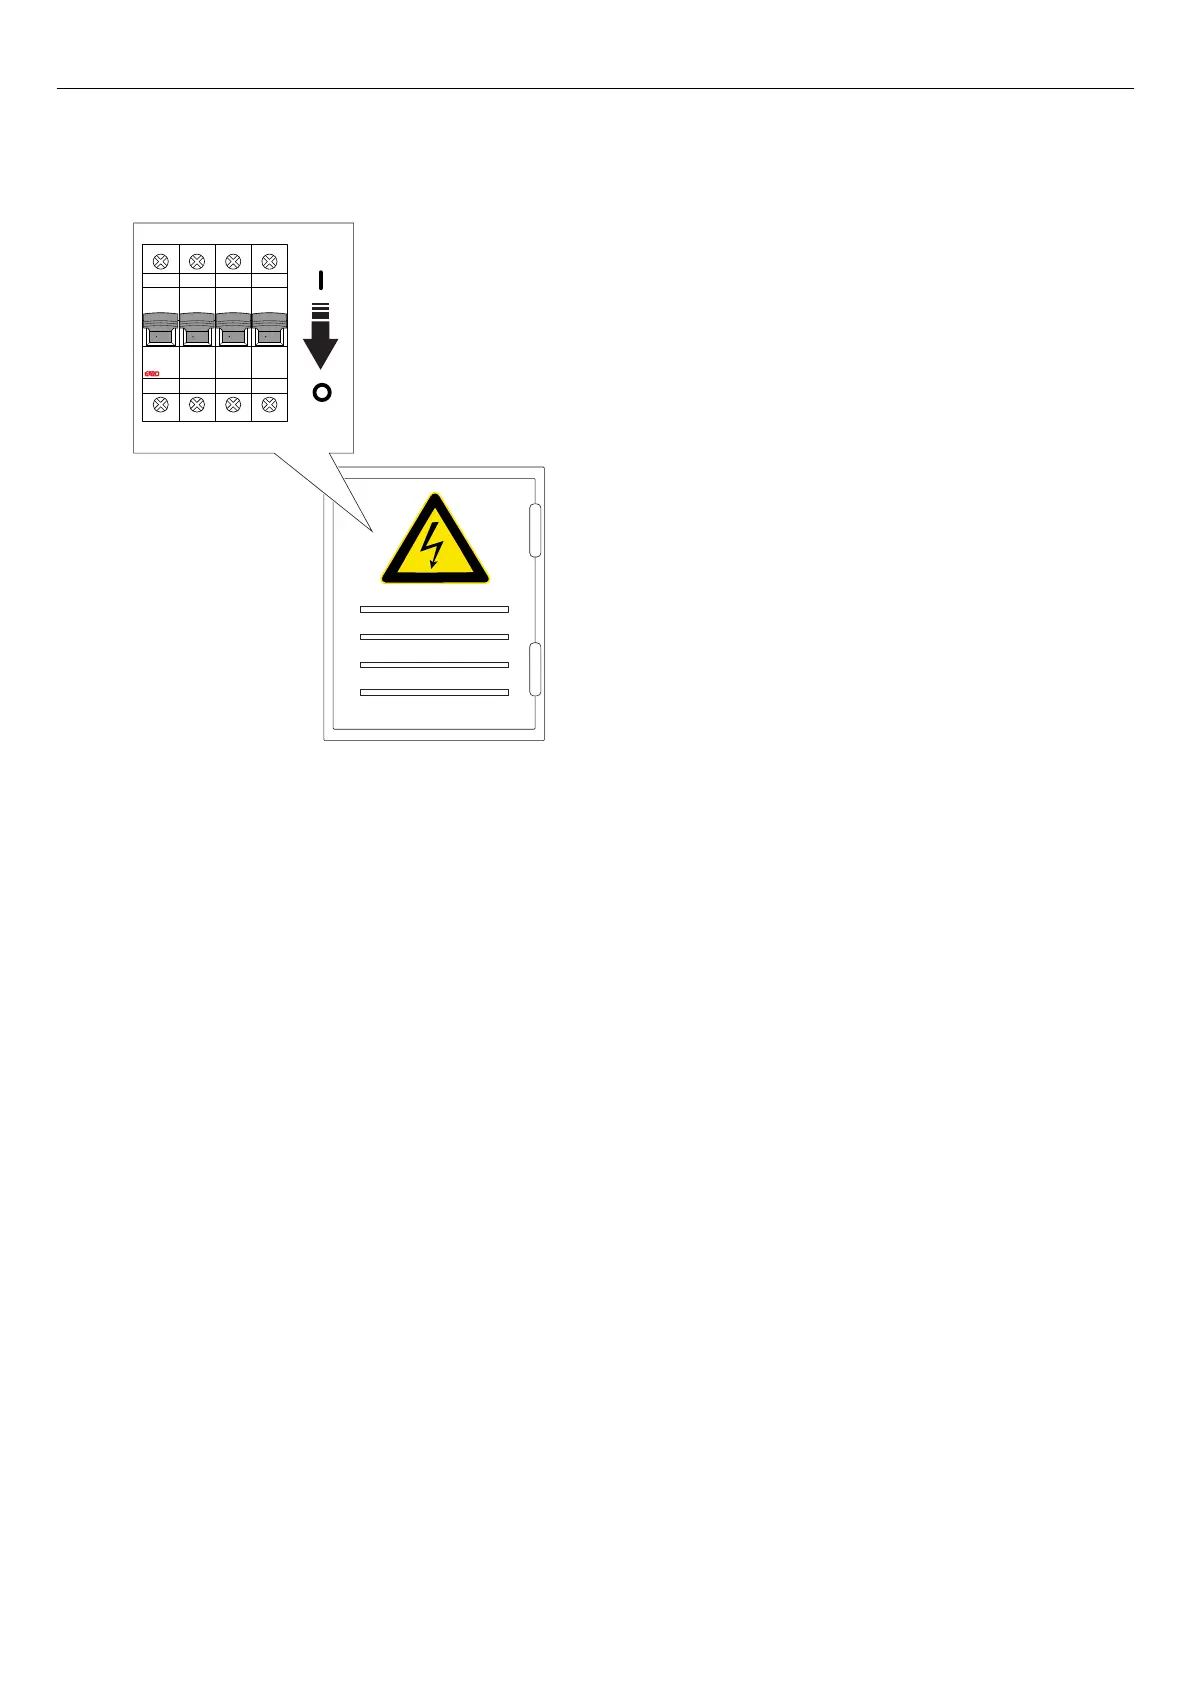
1. Turn the power/voltage off.
2. Unlock and remove the front cover of the charging
unit.
3. Remove the 6 screws (TX20) that hold the charging
unit to the installation bracket, and pull the charging
unit out of the installation bracket.
4. Never leave an installation bracket empty. If the
installation bracket is not used, it should be
protected by a cover. The cover is available as a
separate part.
5. Disconnect the ethernet cable(s) and control cable,
if used, from the charging unit.
6. Examine the installation bracket for damages.
a. If the installation bracket is damaged, an
installer must remove it from the wall or pole and
install a new installation bracket. This requires
that the charging station must be re-installed,
connecting it to the new identity of the
installation bracket.
WARNING
Only an authorized installer, or a person acting on
behalf of an authorized installer, may replace the
installation bracket.
NOTE
Only 1 installation bracket can be installed, connected
to 1 charging station in the app. If an installation
bracket is to be re-used in another location, it must first
be deleted from the first location.
7. Unpack and inspect the new charging unit.
8. Connect the ethernet cable(s) if used, and the
control cable to the new charging unit. Refer to
4.12.10 To install the control cable to the
installation bracket, page 31.
9. Attach the new charging unit to the installation
bracket. Refer to 4.12.14 To attach the charging
unit to the installation bracket, page 35.
10. If the charging station uses a local Wi-Fi for internet
access, do the internet adjustments through the
GARO Connect app. This also applies to single/
standalone charging stations. Refer to Create and
setup a load interface, page 59.
11. Attach and lock the front cover of the charging unit.
12. Turn the power on.
I ON I ON I ON I ON
81
Maintenance