5
3. QUICK START GUIDE
AdvancedPunch Pro must be connected to AC power and the
ON/OFF switch should be ON to enable any feature of the
machine. Below are three modes of operation of Advanced Punch
Pro.
1. Bypass Mode:
This operation will allow paper to pass through the
AdvancedPunch Pro without being punched.
This is the default mode of operation for AdvancedPunch Pro.
Make sure the Punch option is not selected in the printer’s User
Interface.
2. Punch Mode:
This operation will punch the trail edge of all sheets that pass
through the AdvancedPunch Pro.
Step 1: A properly configured die set must be inserted before
running punch mode. See section 4.A for details on Die set
changes and follow the labels on the die set for configuration.
Step 2: Before starting a print job select the Punch option in the
printer user interface to enable punching
AdvancedPunch Pro will now function in Single Punch mode.
3. Double Punch Mode:
This operation will punch the two rows of holes- One in the middle
of the sheet and the other adjacent to the trail edge of all sheets
that pass through the AdvancedPunch Pro.
Step 1: A properly configured die set must be inserted before
running punch mode. See section 4.A for details on Die set
changes and follow the labels on the die set for configuration.
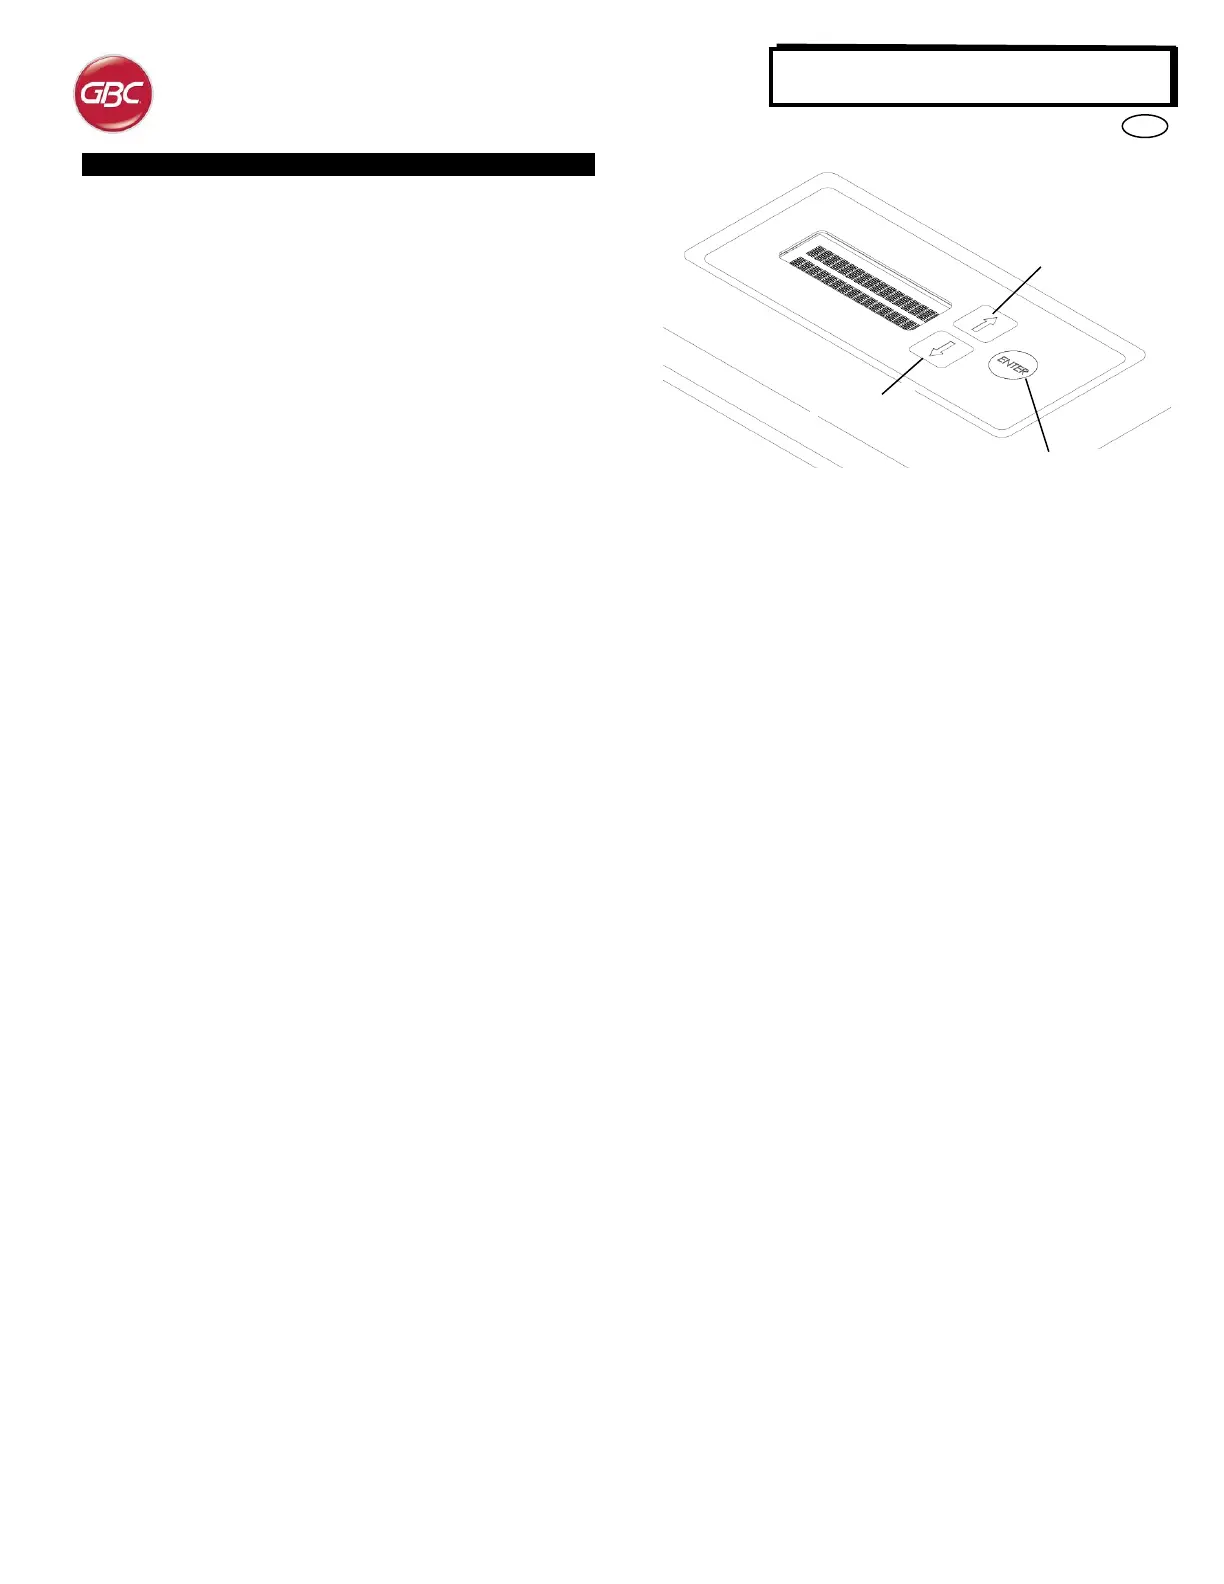
Step 2: On the LCD user interface screen, press the Up or
Down key to enter the Main Menu.
Step 3: Under the Main Menu, select Settings by pressing the
Enter key.
Step 4: Select Double Punch. This will enable Double Punch
Mode.
Step 5: Exit the menu by pressing the Up or Down key and
selecting Exit. Ready Double Punch should appear.
AdvancedPunch Pro will now function in Double Punch mode.
Note: Double Punch applies to a specific set of paper sizes and
orientations. Refer to the specifications in Section 7 for a list of
supported sizes. Double Punch of unsupported sizes will produce a
040-101 fault displayed at the printer screen and a J431 fault code
displayed at the AdvancedPunch Pro display.
Layout of AdvancedPunch Pro LCD User Interface
3. Die Set Configuration
To configure the Die Set for the desired sheet size that is being
processed see section 8 – Die Set User Manual.
 Loading...