9
Installation Instructions
CONNECTING AN ELECTRIC DRYER
(Skip for gas dryers and if your dryer already has a power cord attached)
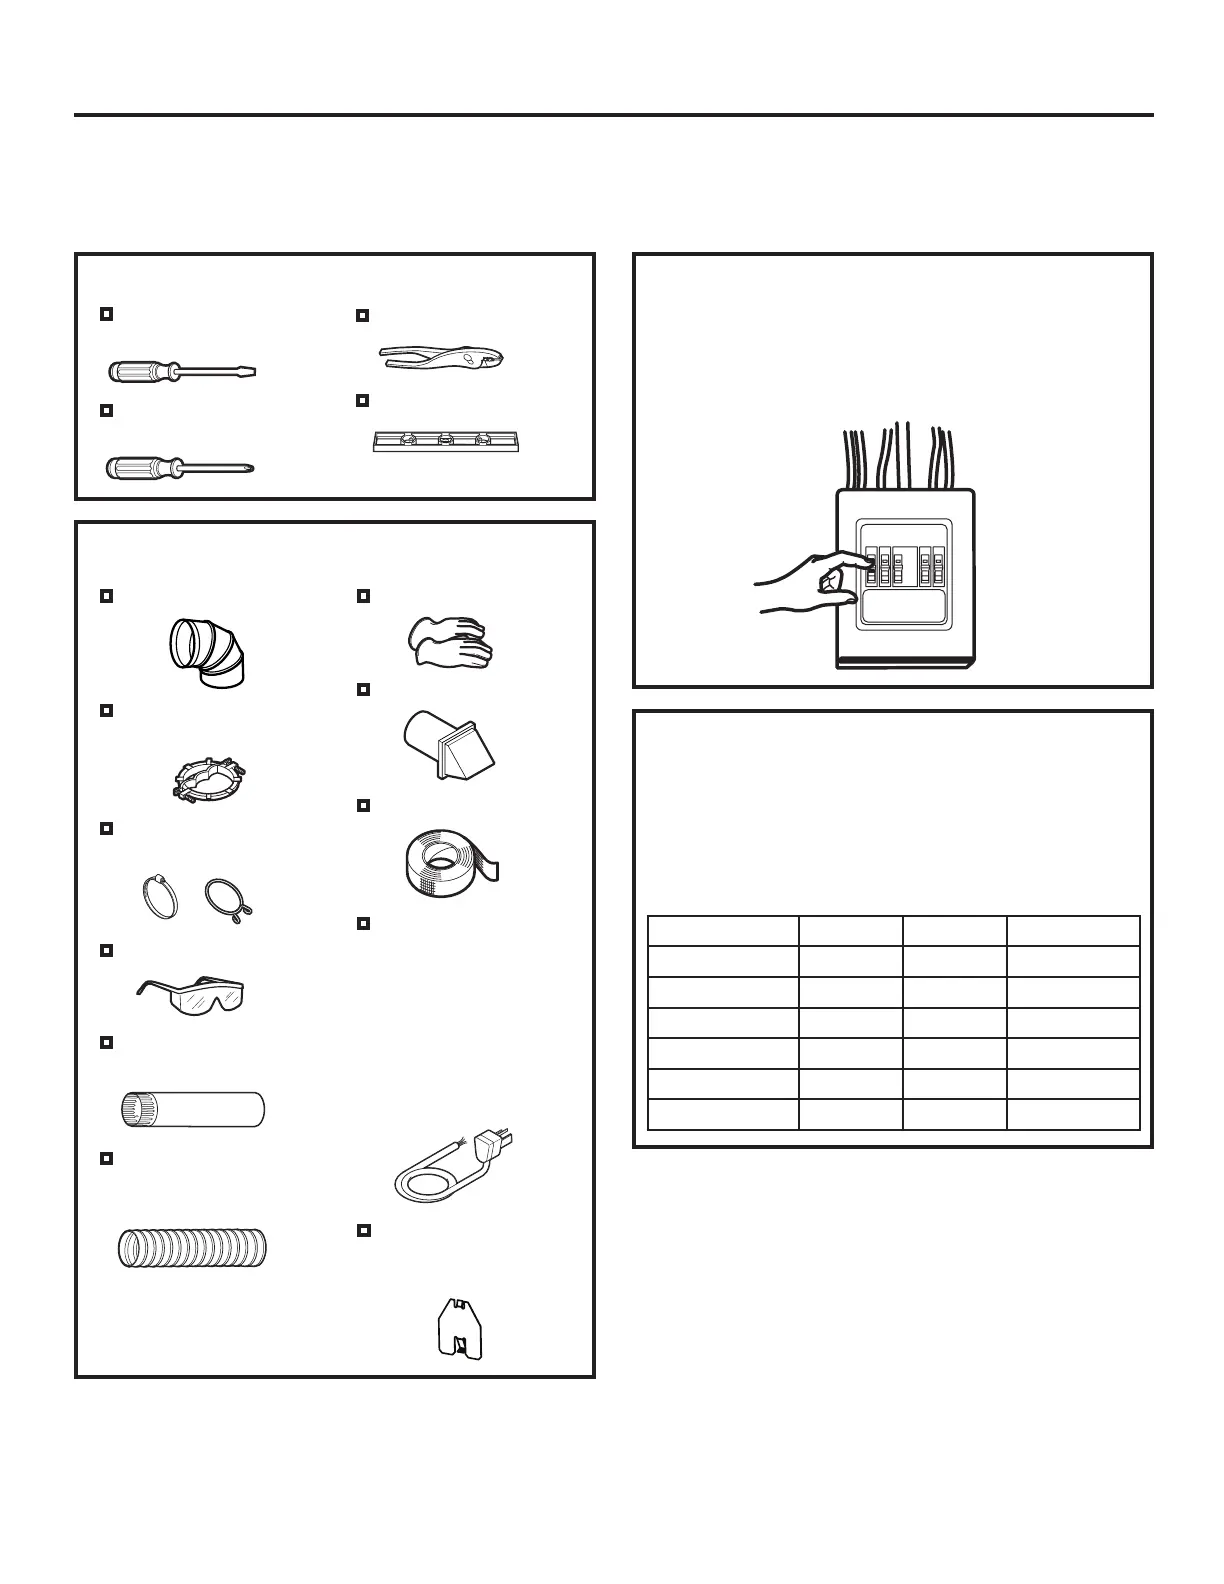
Before making the electrical connection, turn off
the circuit breaker(s) or remove the dryer’s circuit
fuse(s) at the electrical box. Be sure the dryer
cord is unplugged from the wall. NEVER LEAVE
THE ACCESS COVER OFF THE TERMINAL
BLOCK.
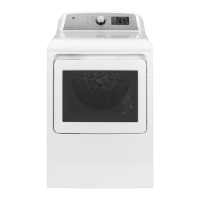
MATERIALS YOU WILL NEED
■
4” dia. metal elbow
■
3/4” Strain relief
(UL recognized)
■
4” Duct clamps (2) or
4” spring clamps (2)
■
Safety glasses
■
4” dia. metal duct
(recommended)
■
Gloves
■
Exhaust hood
■
Duct tape
TOOLS YOU WILL NEED
■
Slip-joint pliers
■
Level
■
4” dia., UL-listed
flexible metal duct
(if needed)
■
Dryer power cord kit
(not provided with
dryer)
UL rated 120/240V,
30A with 3 or 4 prongs.
Identify the plug type
as per the house
receptacle before
purchasing line cord.
■
Flat-blade
screwdriver
■
Phillips
screwdriver
■
4” Cover Plate
(Kit WE49X22606)
(if needed)
POWER CORDS
GE Appliances strongly recommends the use of
factory specified parts. Select the power cord to fit your
installation requirements.
Order on-line at GEApplianceparts.com, 24 hours
a day or by phone at 877.959.8688 during normal
business hours.
Part Number Type Length Amperage
WX9X2 3-Prong 4 Feet 30
WX9X3 3-Prong 5 Feet 30
WX9X4 3-Prong 6 Feet 30
WX9X18 4-Prong 4 Feet 30
WX9X19 4-Prong 5 Feet 30
WX9X20 4-Prong 6 Feet 30
 Loading...