Installation Instructions
Operating Instructions
Troubleshooting Tips
Consumer Support
Safety Instructions
www.GEAppliances.ca
9
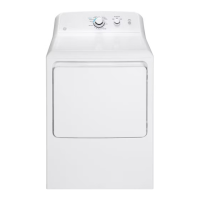
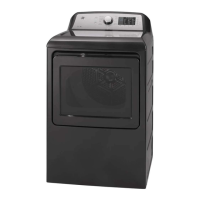
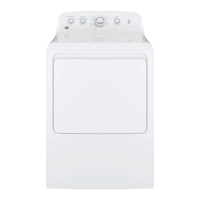
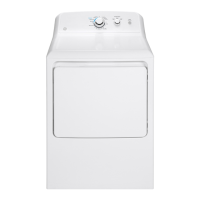
Electric Dryer
NOTE: ELBOWS WILL PREVENT DUCT
KINKING AND COLLAPSING.
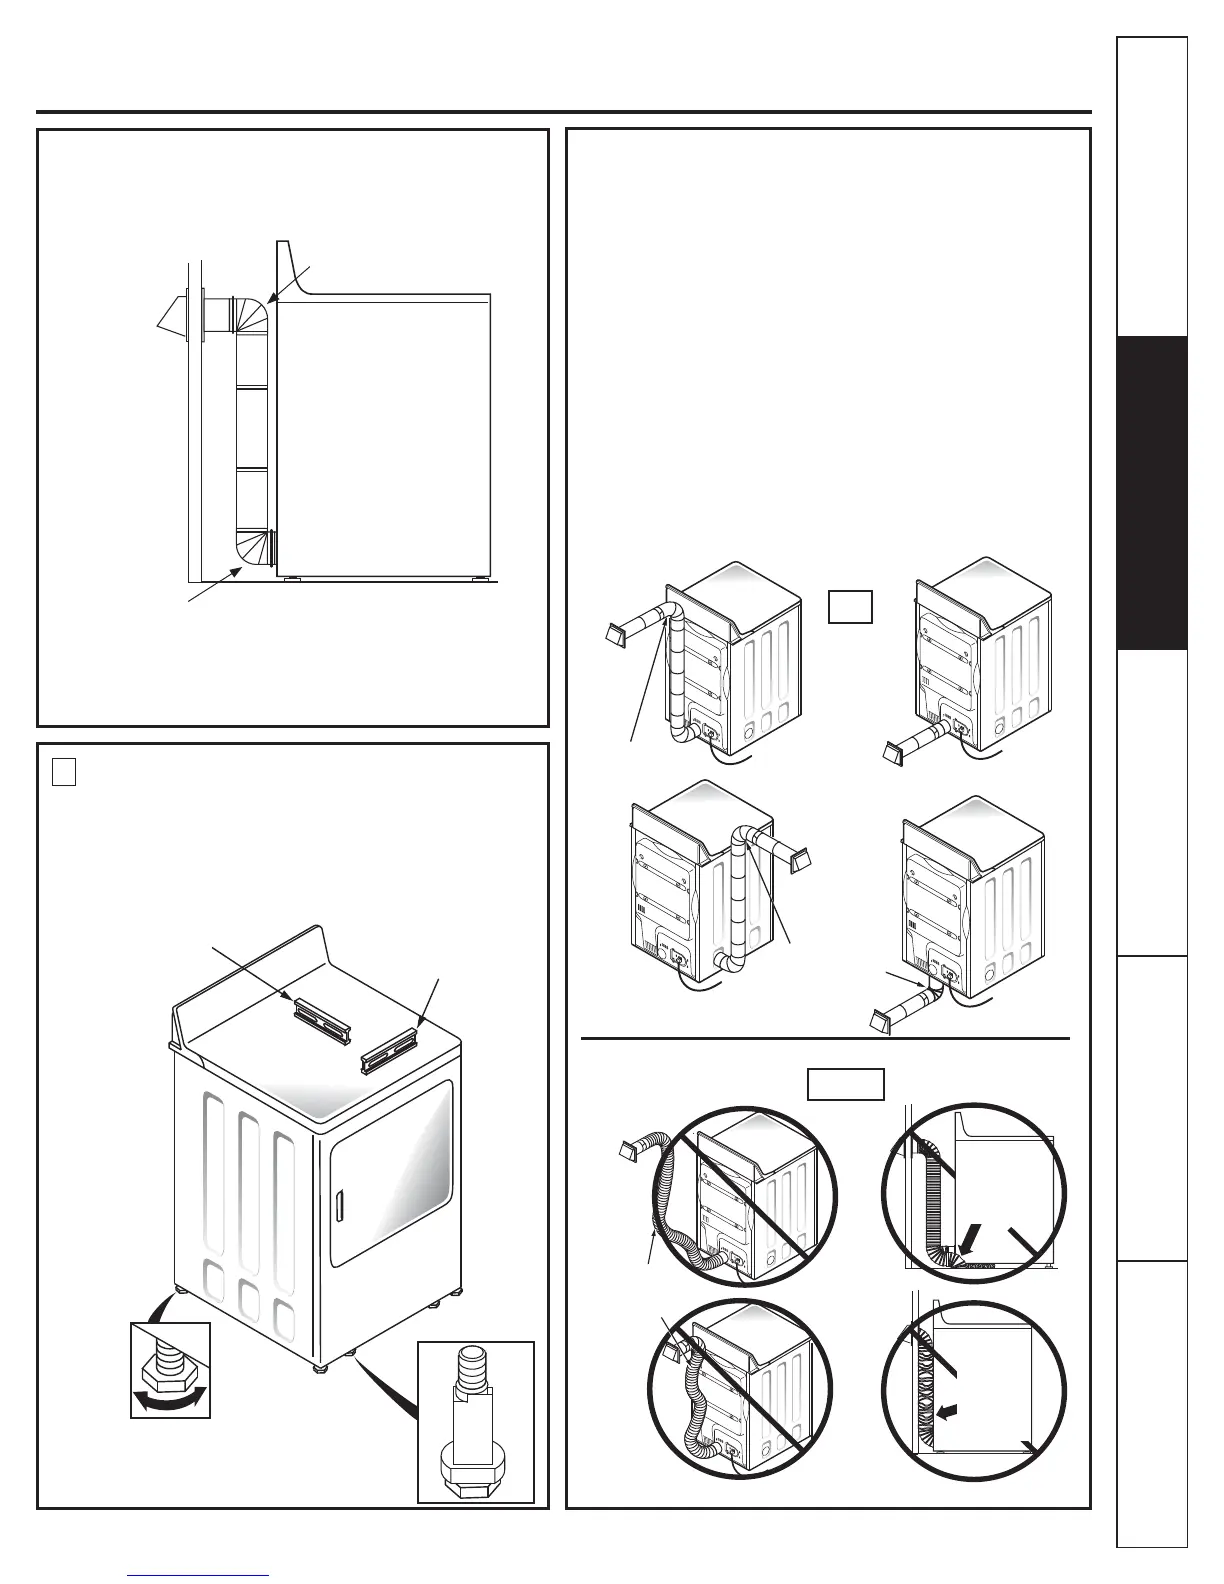
LEVELING AND STABILIZING YOUR
DRYER
STANDARD REAR EXHAUST
9HQWHGDERYHÀRRUOHYHO
5
Stand the dryer upright near the ¿nal location and
adMust the 4 leveling legs, at the corners, to ensure that
the dryer is level from side to side and front to rear.
ELBOW HIGHLY
RECO00ENDED
ELBOW HIGHLY
RECO00ENDED
RECO00ENDED
CONFIGURATION
TO 0INI0I=E
EXHAUST
BLOCKAGE.
LEVEL
FRONT-TO-BACK
4 LEVELING
LEGS
LEVEL
SIDE-TO-SIDE
ELBOW HIGHLY
RECO00ENDED
ELBOW HIGHLY
RECO00ENDED
USING FLEXIBLE METAL DUCTS
If rigid all-metal duct cannot Ee used, then ÀexiEle all-metal
ducting can Ee used, Eut it will reduce the maximum
recommended duct length. In special installations when it is
impossiEle to use only metal ducting, then UL-listed clothes dryer
ÀexiEle metal transition duct may Ee used as transition venting
Eetween the dryer and wall connection only. The use of this
ducting will affect dry time.
If ÀexiEle transition duct is necessary, the following directions
must Ee followed.
Use the shortest length possiEle.
Stretch the duct to its maximum length to avoid kinks.
Do not crush or collapse the duct.
Extend vent protection Eracket as descriEed in step 1.
Never use transition duct inside the wall or inside the
dryer on page 2.
Avoid resting the duct on sharp oEMects.
9HQWLQJPXVWFRQIRUPWRORFDOEXLOGLQJFRGHV
DO
DON’T
DO NOT USE
EXCESSIVE
EXHAUST
LENGTH
DO NOT SIT
DRYER ON
FLEXIBLE
EXHAUST
DO NOT
CRUSH
FLEXIBLE
EXHAUST
AGAINST
WALL
 Loading...