36 3 SERIES RETROFIT – INSTRUCTION MANUAL
M AND MII FAMILY RELAYS CHAPTER 3: INSTALLING THE 3 SERIES RELAY
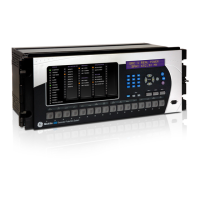
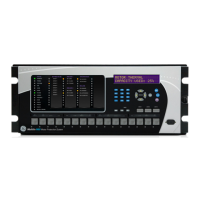
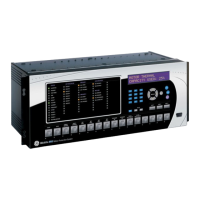
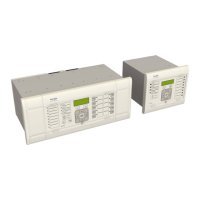
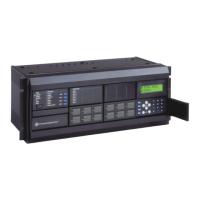
3.2 M and MII Family relays
The 3 Series relays have a smaller depth than the M and MII Family relays, so no depth
adjustment should be required. If the installed M or MII relay is using a depth-reducing
collar, one is also required for the replacement 3
Series unit. Refer to section 3.1 3 Series
dimensions and mounting for details.
All MII Family panel cutouts and most M Family panel cutouts (MIF, MIG, MIN, and MIW) can
be reused to install new 3
Series relays. (The MIV cutout is a different size.)
• The four screw holes in the MII/M cutout have identical spacing to those in the 3 Series
relays.
• The small difference in size of the panel cutout (<6 mm) does not affect the relay
mount.
• M4 Din9021 zinc plated washers must be used to compensate for the slightly wider
screw holes in the MII/M cutout panel.
• Four screws (#8 - 32 x 3/8) must be used to secure the 3 Series relay from the back
(instead of the front as for the MII/M relays).
Note
Using four mounting screws instead of eight does not affect the stability of the relay
mount. The 4-screw 3
Series relay mount has passed the same vibration tests as the
8-screw 3
Series relay mount used for new installations, as listed below.
Table 3–1: 3 Series vibration tests, 4-screw and 8-screw mounts
IEC 60255-21-1 Class 1 Vibration, Bump and Seismic Test. Section 1: Vibration Test
IEC 60255-21-2 Class 1 Vibration, Bump and Seismic Test. Section 2: Shock and Bump Test
IEC 60255-21-3 Class 2 Shock, Bump, and Seismic Test. Section 3: Seismic

 Loading...