Component/FRU Removal and Replacement
152 T2100-ST1 Treadmill, 110V / T2100-ST2 Treadmill, 220V 2097937-002 Rev G
11 March 2019
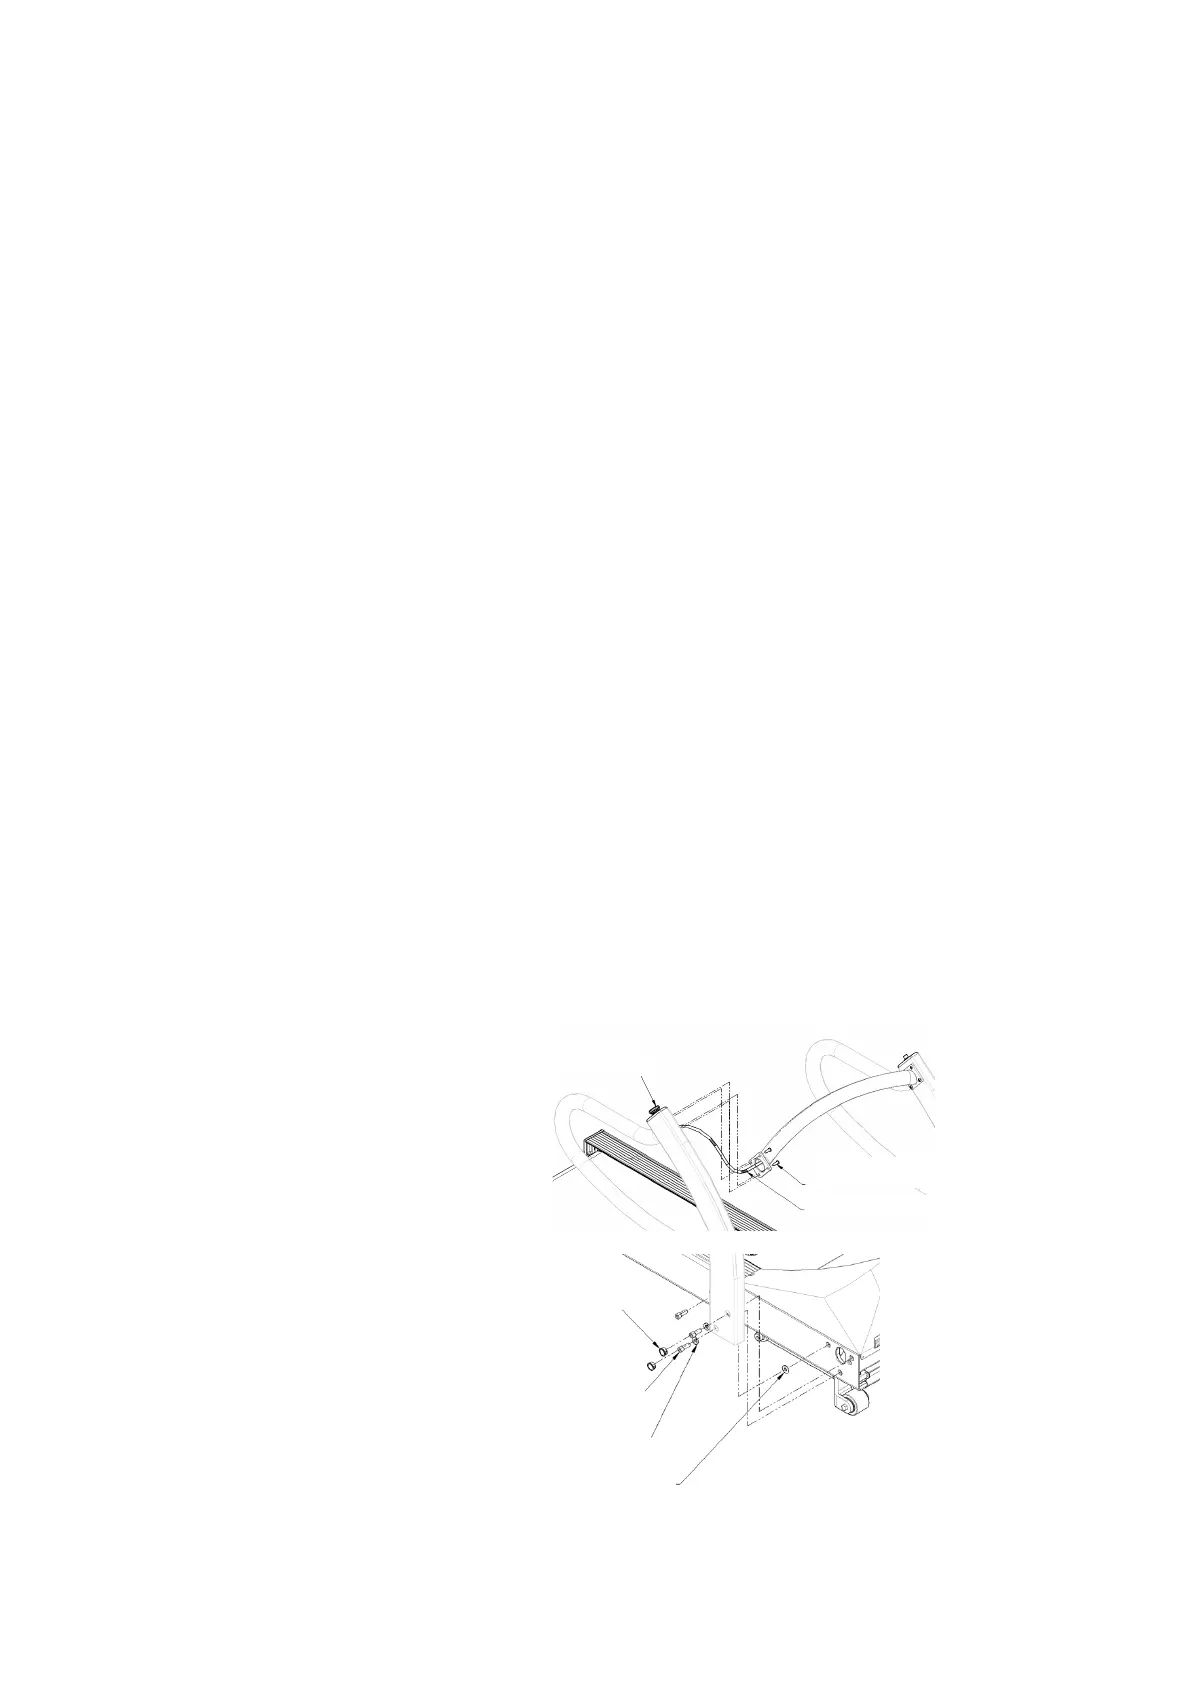
5. With the 5/32” Allen Wrench, remove the four ¼”-20
screws holding the center handrail to the handrail
assembly.
6. Feed the wire harness through the handrail assembly.
NOTE:
Pay close attention not to damage the wires going
through the handrail assembly.
a. If replacing the right handrail, only disconnect the
right side ESB (normal configuration) or STS (alternate
configuration) wires to remove the handrail.
b. If replacing the left handrail, first disconnect the ESB
(normal configuration) or STS (alternate configuration)
on the right side and feed the wire harness through
the center handrail. Then disconnect the STS (normal
configuration) or ESB (alternate configuration) wires
on the left side to remove the handrail.
7. With the flat head screw driver, remove the two plastic
caps covering the bolts on the handrail.
8. With the 5/16” Allen Wrench, remove the two 3/8”-16
screws from the handrail.
This allows the handrail to pivot to a resting position beside
the treadmill.
9. Remove the remaining 3/8”-16 screws and nylon washer.
The handrail is ready to be replaced.
10. Reverse steps 1 through step 9 to reinstall the replacement
handrail.
 Loading...