Install mechanical seals and rotors
Hint!
If the rotors or the pump housing are
replaced, note the permissible gap
dimensions in Section 5.8, Page 24. If the
distances do not match the given values,
contact GEA Hilge Service (Section 1.3,
Page 9).
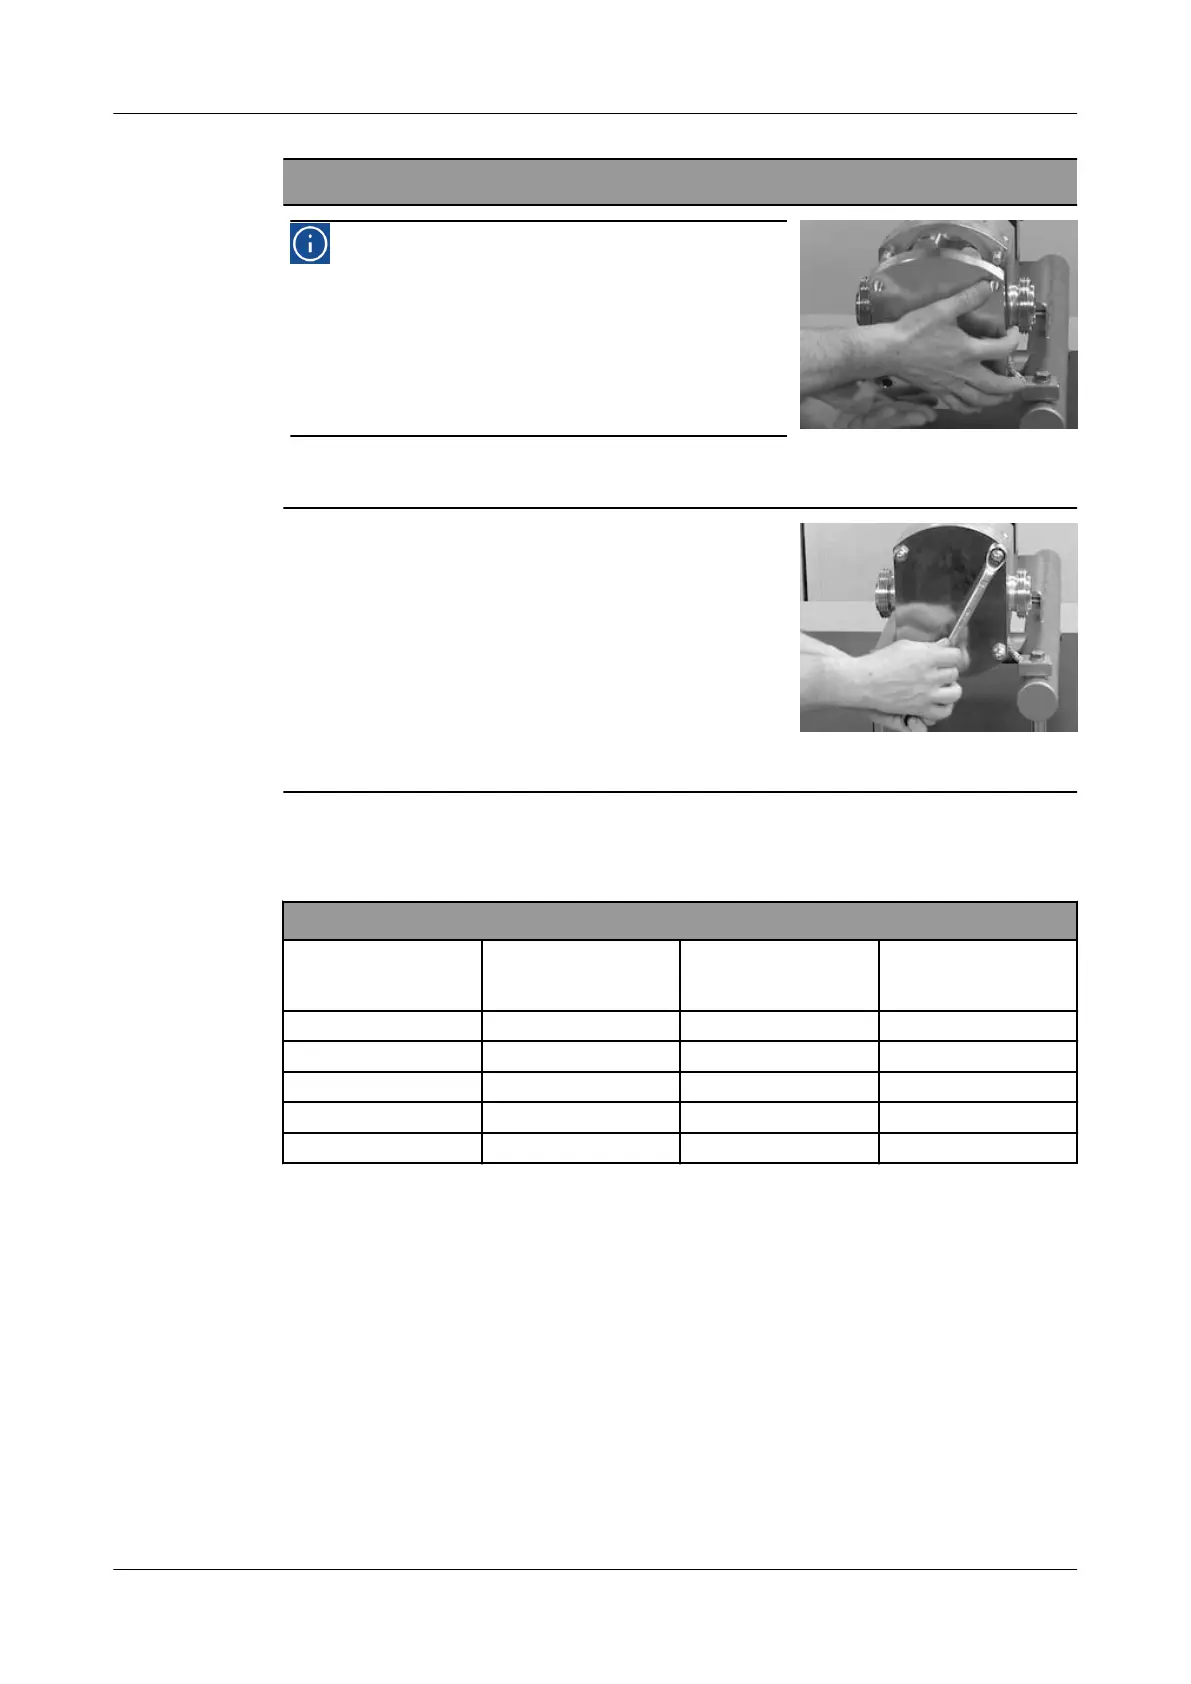
Use the cap nuts (0161.01) to attach the pump
housing (0927.06) to the back plate (0101.01).
Fig.67: Back plate
Tighten the cap nuts (0927.06).
Note torques in Section 10.4.8.1, Page 67.
Fig.68: Back plate, cap nuts
→ The mechanical seals and the rotors are now mounted.
10.4.8.1 Torques for installation
Torques [Nm]
Size Rotor bolt (0906.01/02)
Rotor bolt (0906.01/02)
with spacer ring
(0504.10)
Cap nuts (0927.06)
NOVAlobe 10 12 7.7
NOVAlobe 20 30 15.3
NOVAlobe 30 45 26.7
NOVAlobe 40 90 66.5
NOVAlobe 50 110 130
Malfunctions / repairs
BA.280.YYY.001.GB_4
21.02.2022 67








 To Next Page