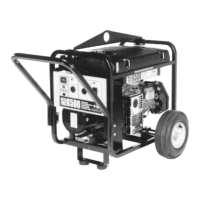
MEGAFORCE 6500 Extended Life Generator
6
Slide the axle through the holes in the brackets
provided on the generator cradle and then add the
two spacers on each protruding end of the axle.
Slide a wheel on each end of the axle and secure
each with washer and retaining pin.
NOTE: Install the wheels with the air inflation valve
facing outward.
Attach the vibration mounts to the support leg with
capscrews, washers and lock nuts.
Attach the support leg to the cradle with capscrews
and lock nuts. Remove the temporary blocks.
Attach the handle to the units control panel end with
four cap screws and four lock nuts.
Check that all fasteners are tight.
Follow these instructions precisely to ensure proper
center of gravity for crane or hoist lifting. Referring to
Figure 3, install as follows:
Place the lift bar on top of the cradle making sure,
as you look at the bar from the control panel side,
that it forms a reverse L.
Make sure the lift bar is 9 1/4" from the outside of
the cradle on the right side to the base of the lift bar
bracket.
Attach the lift bar to the cradle using four cap screws
and four lock nuts.
BEFORE STARTING THE
ENGINE
Add Oil
WARNING! Any attempt to crank or start the
engine before it has been properly filled with the
recommended oil may result in engine failure.
To fill your engine with oil:
Place generator on a level surface.
Follow the oil grade recommendations and oil fill
instructions given in the engine owners manual.
NOTE: The generators revolving field rides on a
permanent prelubricated sealed ball bearing.
Add Gasoline
DANGER! NEVER fill fuel tank indoors.
NEVER fill fuel tank when engine is running or
hot. Do Not smoke when filling the fuel tank.
WARNING! Do Not overfill the fuel tank.
Always allow room for fuel expansion.
Use regular UNLEADED gasoline with the generator
engine. Do Not use premium gasoline. Do Not mix
oil with gasoline.
Clean area around fuel fill cap, remove cap.
Slowly add unleaded regular gasoline to fuel tank.
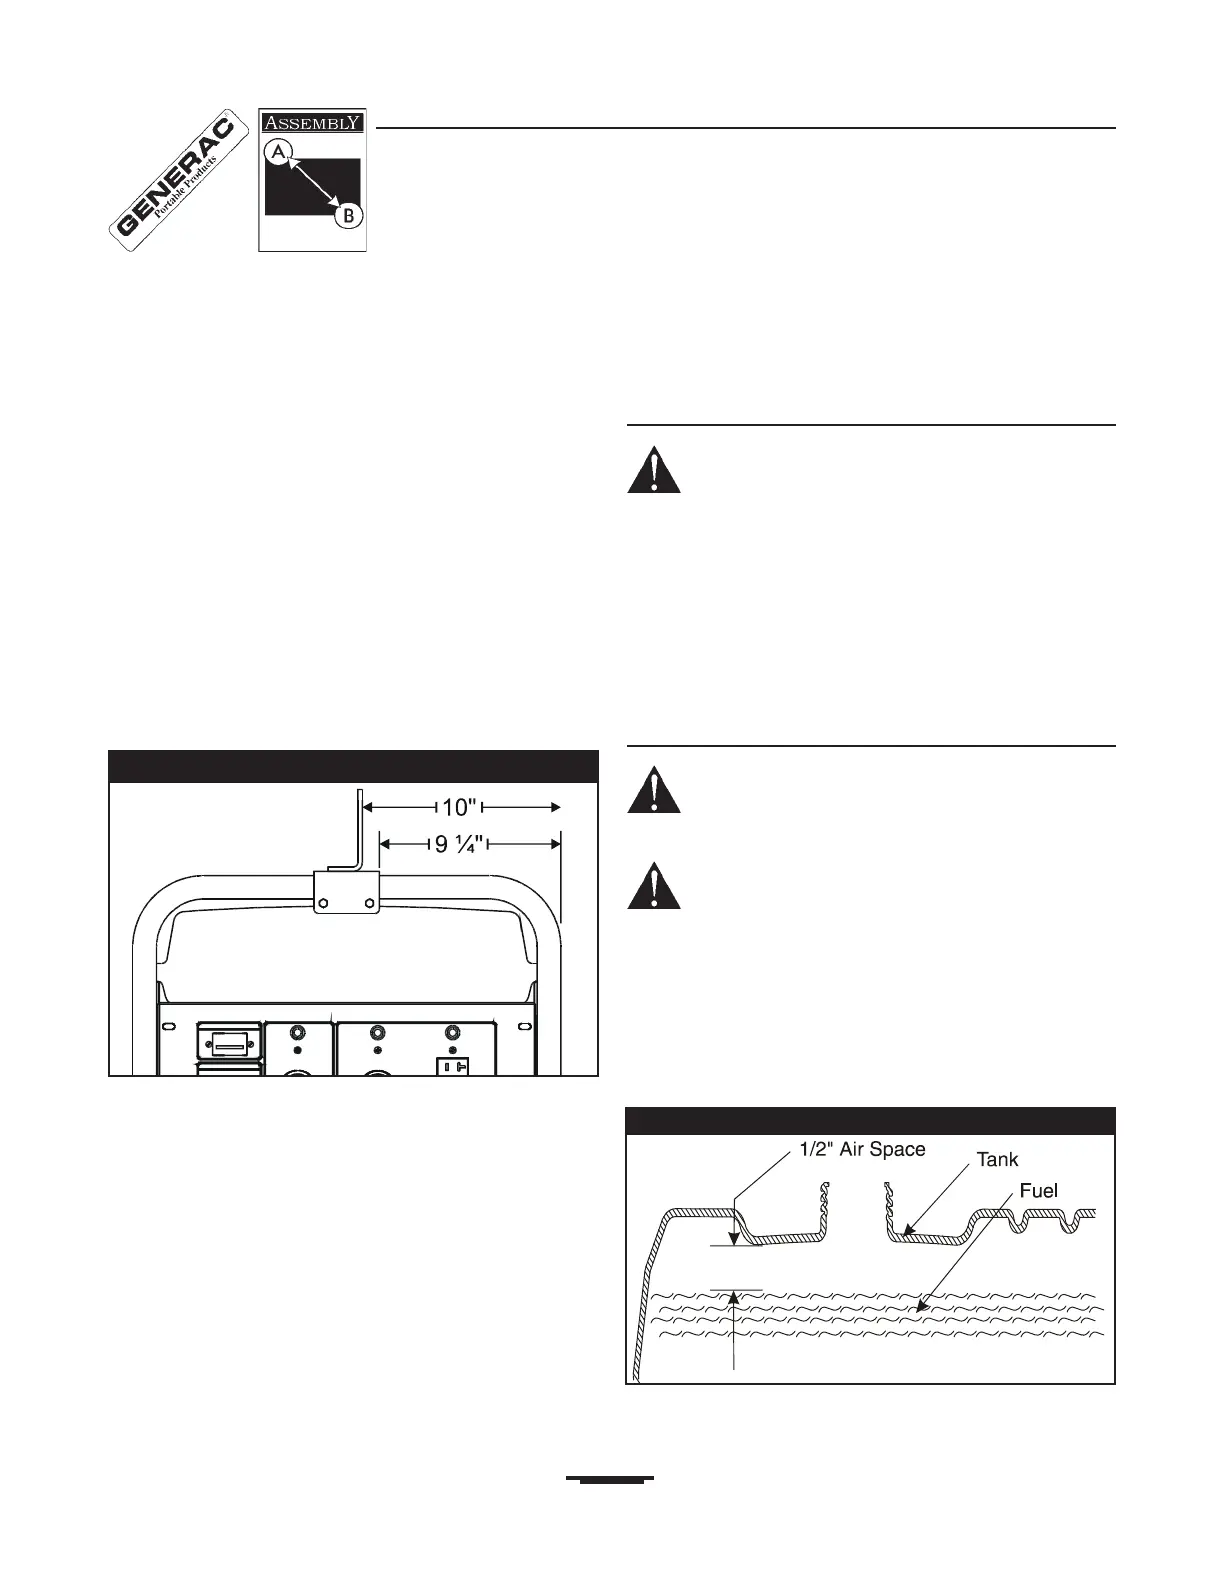
Be careful not to overfill. Allow about 1/2" of tank
space for fuel expansion (Figure 4).
Install fuel cap and wipe up any spilled gasoline.
Figure 3 Assemble Lift Kit
Figure 4 Typical Fuel Expansion Space