Models FL3100/3101
Quick Start Guide
vi
1.2 Apply power to the detector.
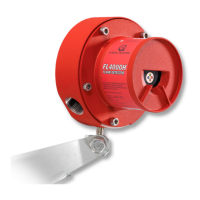
Two light emitting diodes (LED’s) are visible through the UV window (the larger window on
UV/IR units). Immediately upon powering up the detector, both LED’s will start blinking
alternately for 10 seconds. The unit will then enter the “Ready” mode. During the “Ready"
mode, the green LED will flash off 1 second, every 10 seconds.
1.3 Test the detector using the TL100 (UV only) or
TL103 (UV/IR)
Test the integrity of your system by using either the TL100 UV test lamp (part# TL100-
000-000-020) or the TL103 UV/IR test lamp (part# TL103
-
000-000-130). The original
configuration (i.e. sensitivity and relay options) can be changed by using the “Switch
Selectable Options” (Figure 3-A), then changing the dip-switch settings located on the
bottom of the power board (SW1).
NOTE
- The instrument is now ready to operate! Please consult the manual for
more information on the instrument’s many features.
NOTE
- If you have any problems in the set-up or testing of the detector, please
refer to the “Trouble Shooting Section”, or call the factory direct.
Worldwide Service is available by calling:
Lake Forest, California Phone: +1-949-581-4464
(24 hr. service) Fax: +1-949-581-1151
Houston, Texas Phone: +1-281-855-6000
Fax: +1-281-855-3290
Ireland Phone: +353-91-751175
Fax: +353-91-751317
Singapore Phone: +65-748-3488
Fax: +65-748-1911
United Arab Emirates Phone: +971-4-8815751
Fax: +971-4-8817927
United Kingdom Phone: +44-1625-619583
Fax: +44-1625-619098
 Loading...