18
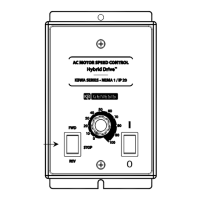
6 INSTALLING THE SUPPLIED FORWARD-STOP-REVERSE SWITCH
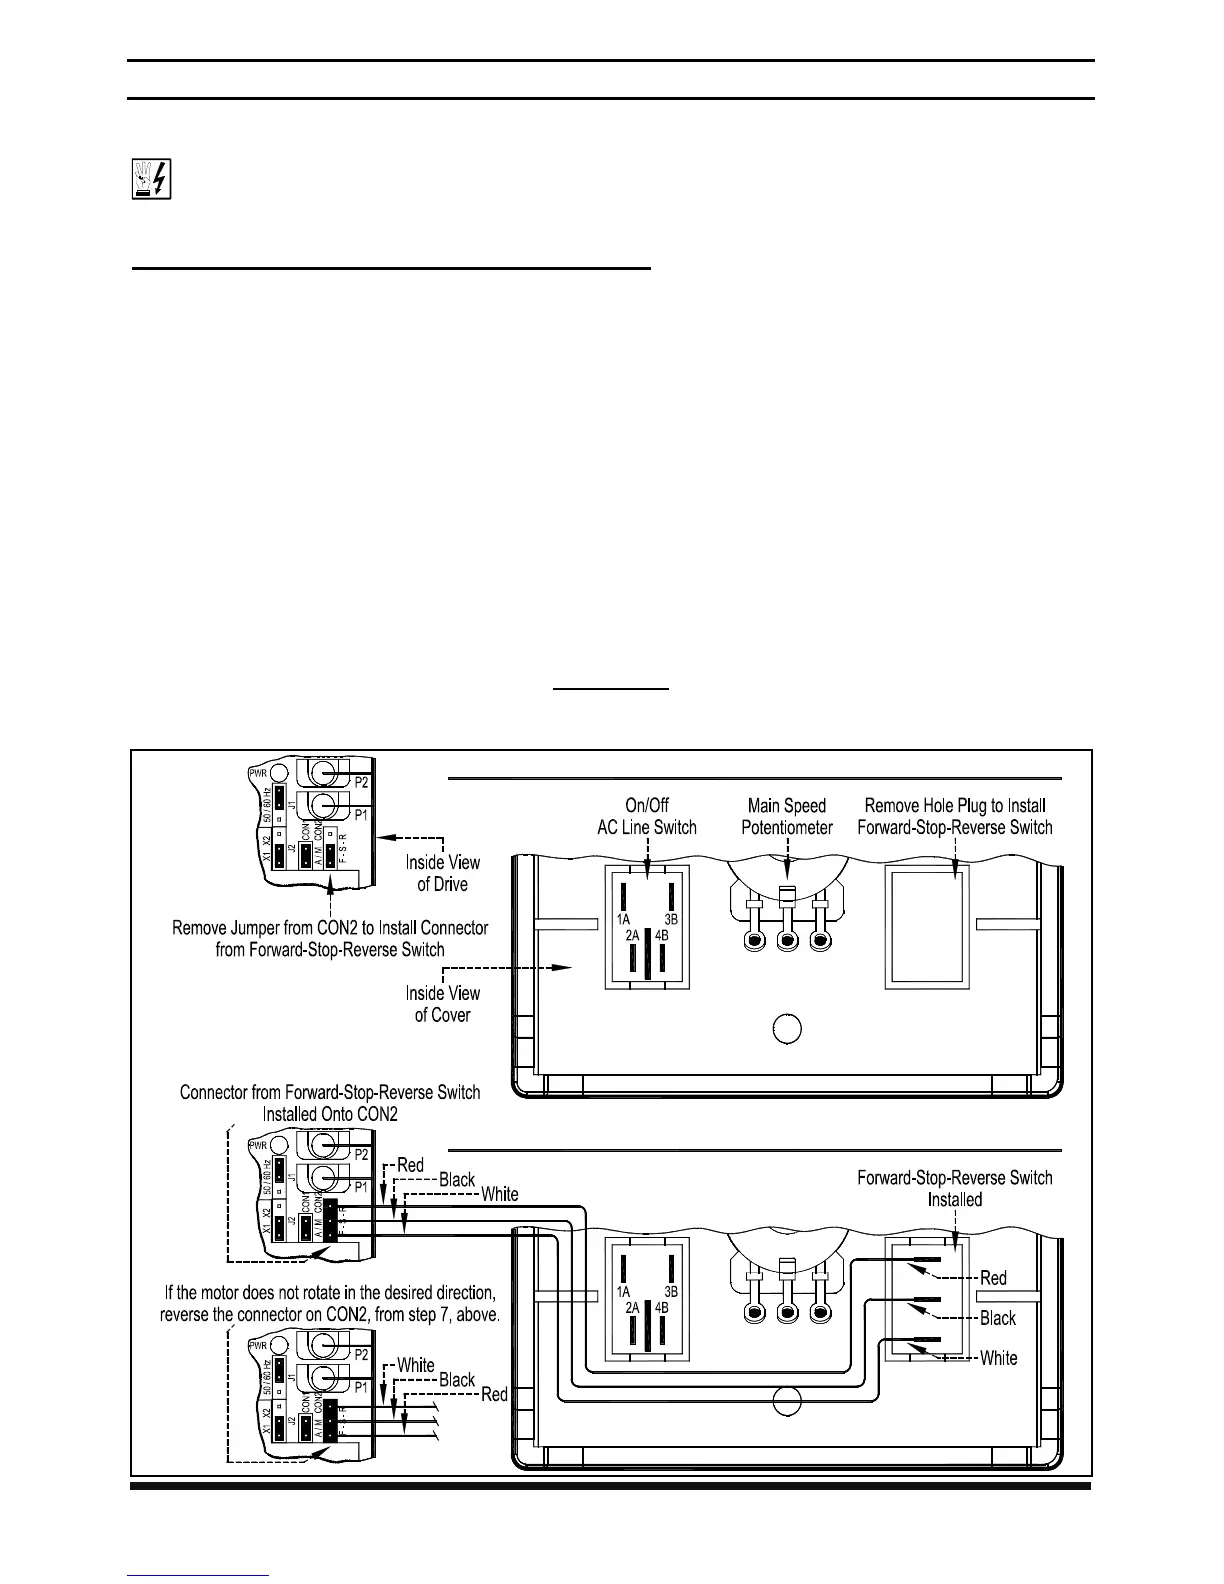
The Forward-Stop-Reverse Switch is used to change motor direction. The switch
assembly easily installs onto the cover. Follow steps 1 – 10, below, and see Figure 6.
WARNING! Disconnect the main power before installing the
Forward-Stop-Reverse Switch.
Installing the Forward-Stop-Reverse Switch
1. Remove the cover, as described in Section 5.1, on pages 16 and 17.
2. Remove the hole plug from the cover.
3. Remove the jumper from CON2 (F-S-R).
4. Feed the connector with the switch wires through the cover.
5. Orient the switch (red wire toward "FWD" and white wire toward "REV").
6. Push the switch through the cover hole until it snap-mounts into position.
7. Orient the connector (red wire to "R" pin and white wire to "F" pin).*
8. Install the connector onto CON2 on the drive.
9. Use the two wire ties (supplied) to secure the switch wires to the existing wires.
The wire ties should be placed next to the existing wire ties.
10. Replace the cover, as described in Section 5.2, on page 17.
*If the motor does not rotate in the desired direction, reverse the connector on CON2,
from step 7, above (with the AC Line disconnected and the motor stopped).
FIGURE 6
FORWARD-STOP-REVERSE SWITCH INSTALLATION
(On/Off AC Line Switch and Main Speed Potentiometer Wires are Omitted for Clarity)
AFTER THE FORWARD-STOP-REVERSE SWITCH IS INSTALLED
PRIOR TO INSTALLING THE FORWARD-STOP-REVERSE SWITCH
 Loading...