GETINGE SAFESTEP ATP MONITOR GETINGE SAFESTEP ATP MONITOR
13 14
4.6 Erasing the Test Results Memory
WARNING: Once the test results have been erased from
memory they are permanently deleted and can no longer be
viewed or uploaded to the Getinge SafeStep ATP Monitor
unit.
NOTE: Once started, the erase function cannot be stopped,
and will take about 30 seconds to erase a full 2000 results.
The entire test results memory can be cleared using the
MEMORY ERASE function, by first selecting the
,
the
using the up or down arrows to select the MEMORY menu
option, then press “OK” to select, and then pressing and
holding down the
buon for 2 seconds. The display will
then show the total number of stored results to be erased.
To accept and start the erase function, press and hold down
the “OK” buon for 1 second, or press any other buon to
exit the option.
4.7 Seing the Clock Time and Date
To set or change the clock time, date, and format, select
the CLOCK menu option by pressing the
buon. Scroll
to “CLOCK” and press “OK” . Then use the up and down
buons to change the time and date value, followed by the
“OK” buon to accept each new value.
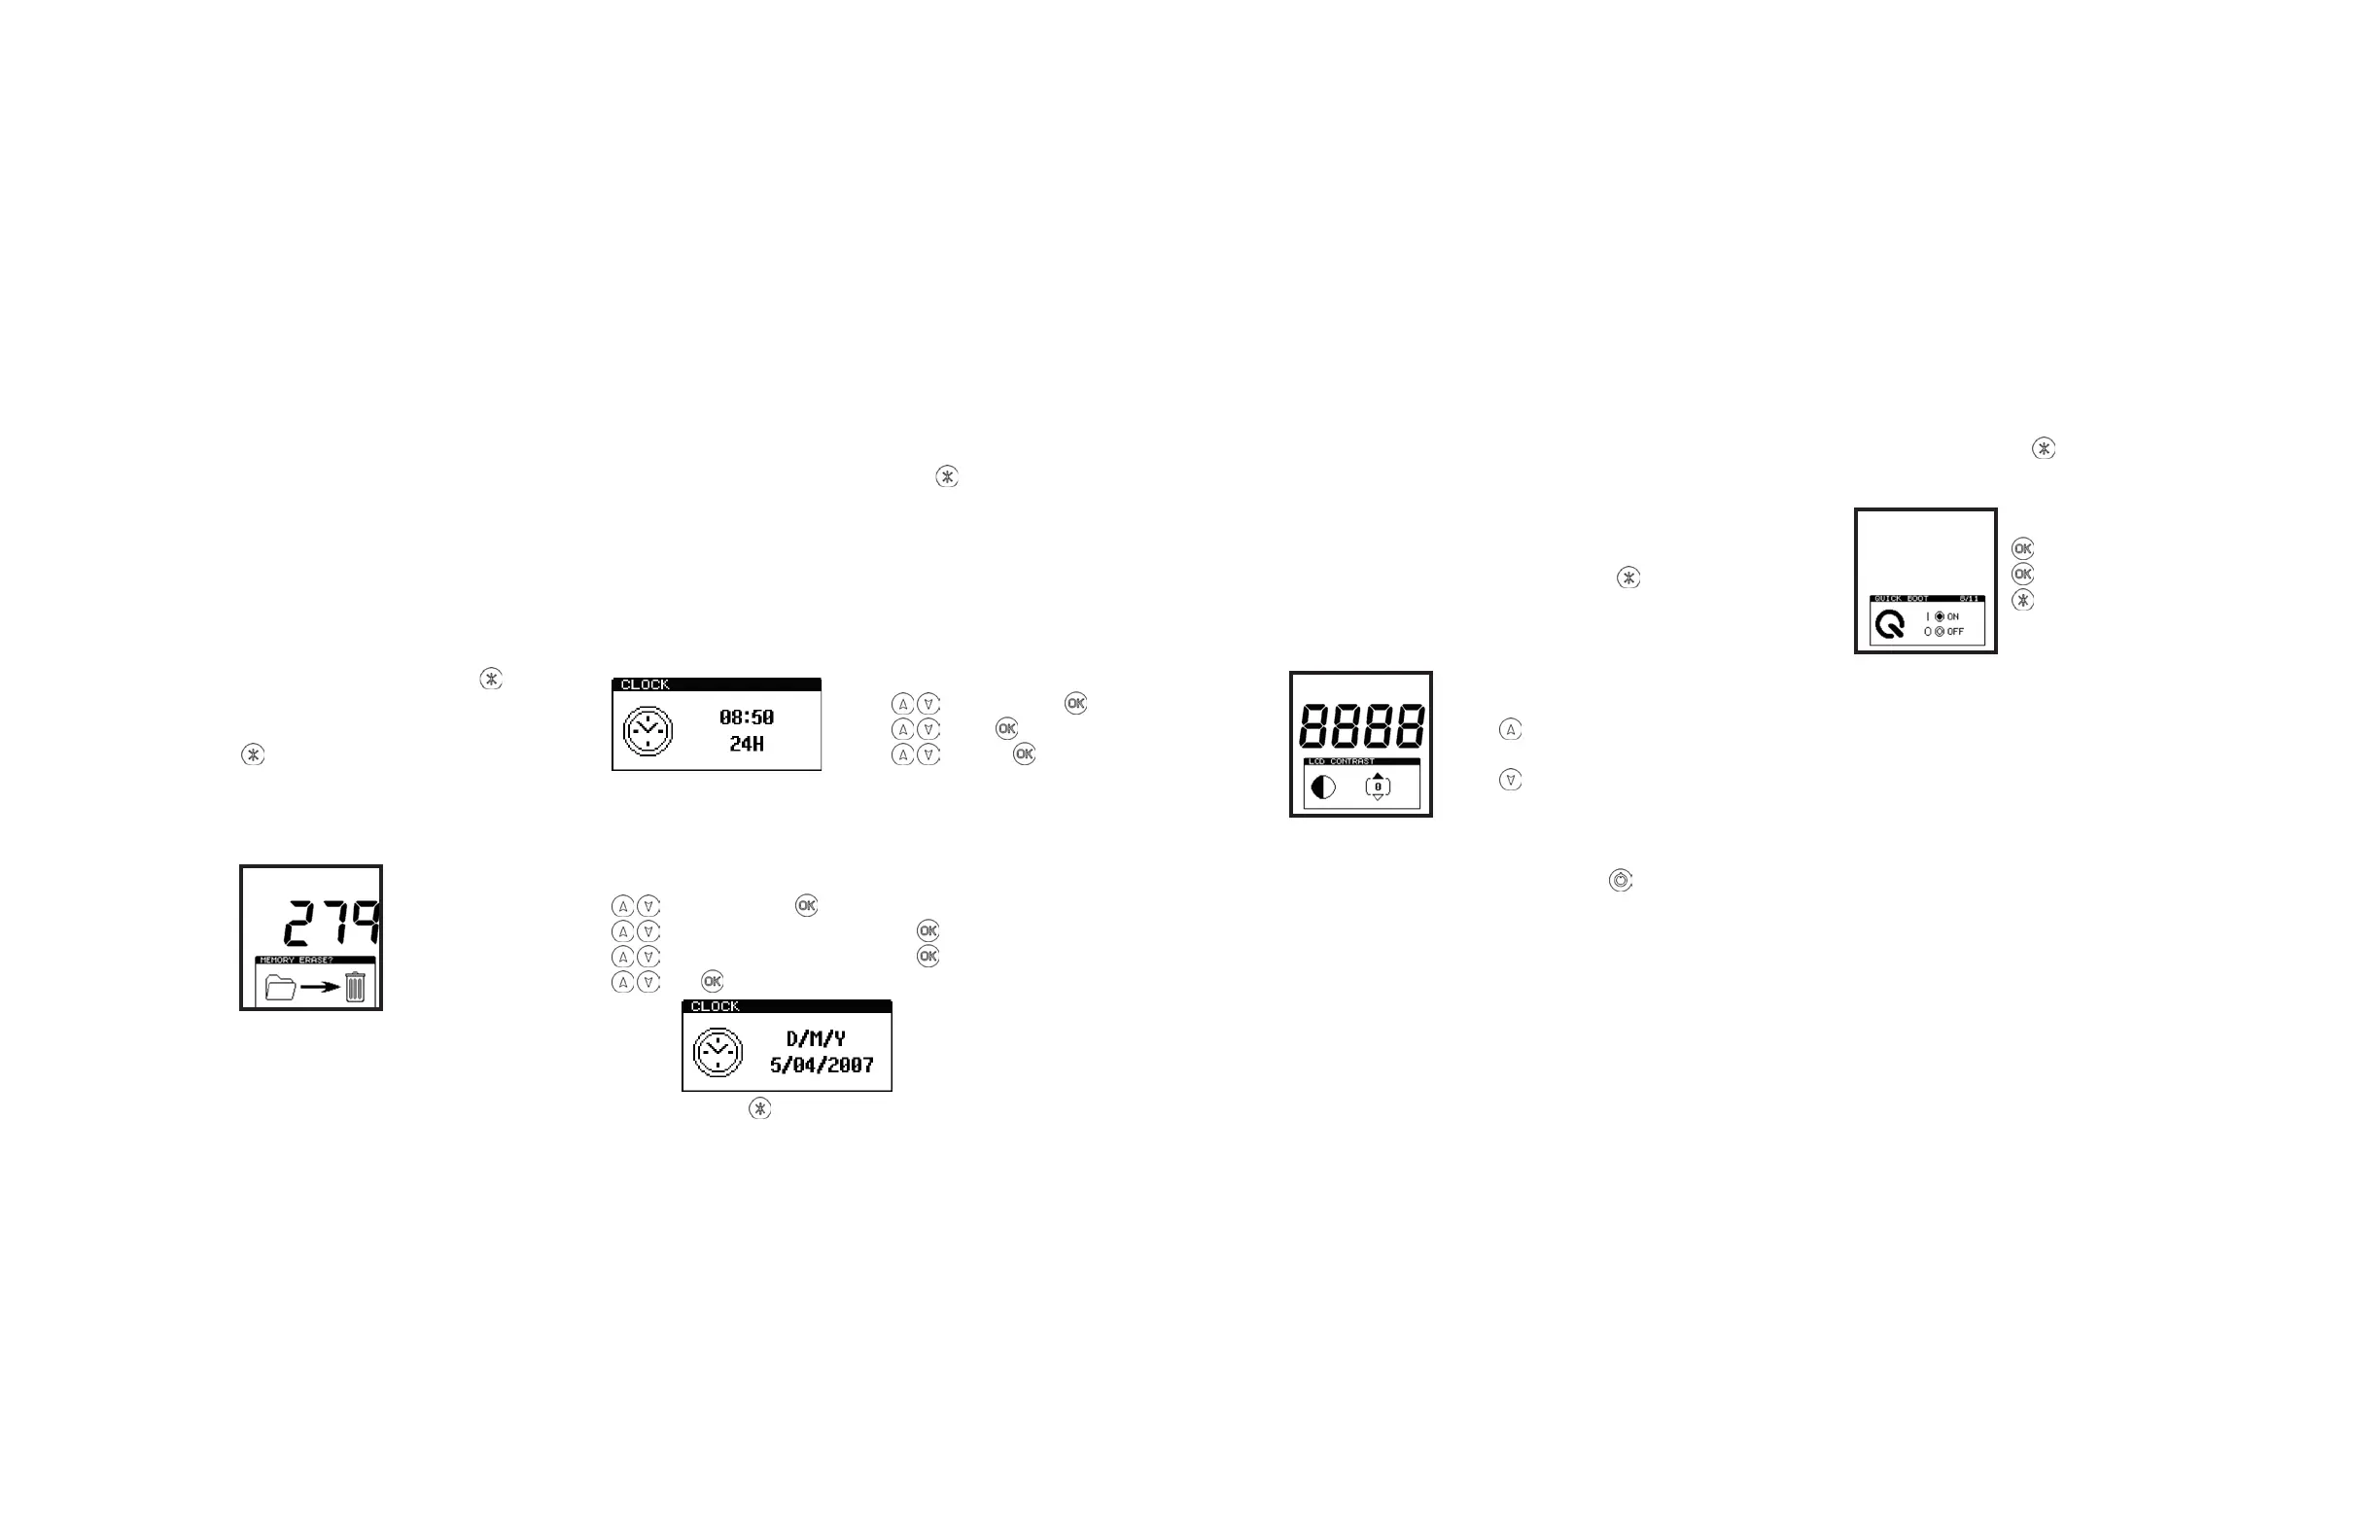
First the time is set (style–hours–minutes), which can be
configured as either a 12-hour clock (selectAM or PM) or a
24-hour clock (select 24H):
AM, PM or 24H
Hours
Minutes
Next set the date format, which can be configured for either
European format, select D/M/Y for day, month, year, or
American format, select M/D/Y for month, day, year):
D/M/Y or M/D/Y
date (D/M/Y) or month (M/D/Y)
month (D/M/Y) or date (M/D/Y)
year
TIP: Pressing the
buon at any point will exit the clock
set-up mode, leaving the time and date unchanged.
NOTE: The clock does not have automatic daylight saving
adjustment. If this is required, the time must be manually
changed when necessary.
4.8 Adjusting the LCD Contrast
The contrast of the LCD screen is factory set at its optimum
level for normal operating conditions. However, in extremes
of temperature the display may appear too dark or light.
This seing can be manually adjusted by selecting the LCD
CONTRAST menu option by pressing the
buon. Scroll
to “CONTRAST” and press “OK”. Then use the up or down
buon to increase or decrease the contrast level, followed
by the “OK” buon to store the new seing:
darker (+1 to +5)
normal (0)
lighter (-1 to -5)
4.9 Quick Boot
The unit will turn on when you press the
buon. The unit
will perform a standard calibration in 15 seconds and will be
ready to perform readings. Quick Boot can be turned off and
the unit will perform a more in-depth system check the next
time it is turned on. The more in-depth system check takes
60 seconds.
NOTE: The more in-depth system check is typically used for
diagnostic purposes and not necessary for normal use.
To change the Quick Boot seing, select the QUICK BOOT
menu option by pressing the
buon. Scroll to “QUICK
BOOT” and press “OK” buon to switch between ON and
OFF:
OFF
ON
Exit
 Loading...