GETINGE SAFESTEP ATP MONITOR GETINGE SAFESTEP ATP MONITOR
11 12
4. Set-up Menu Options
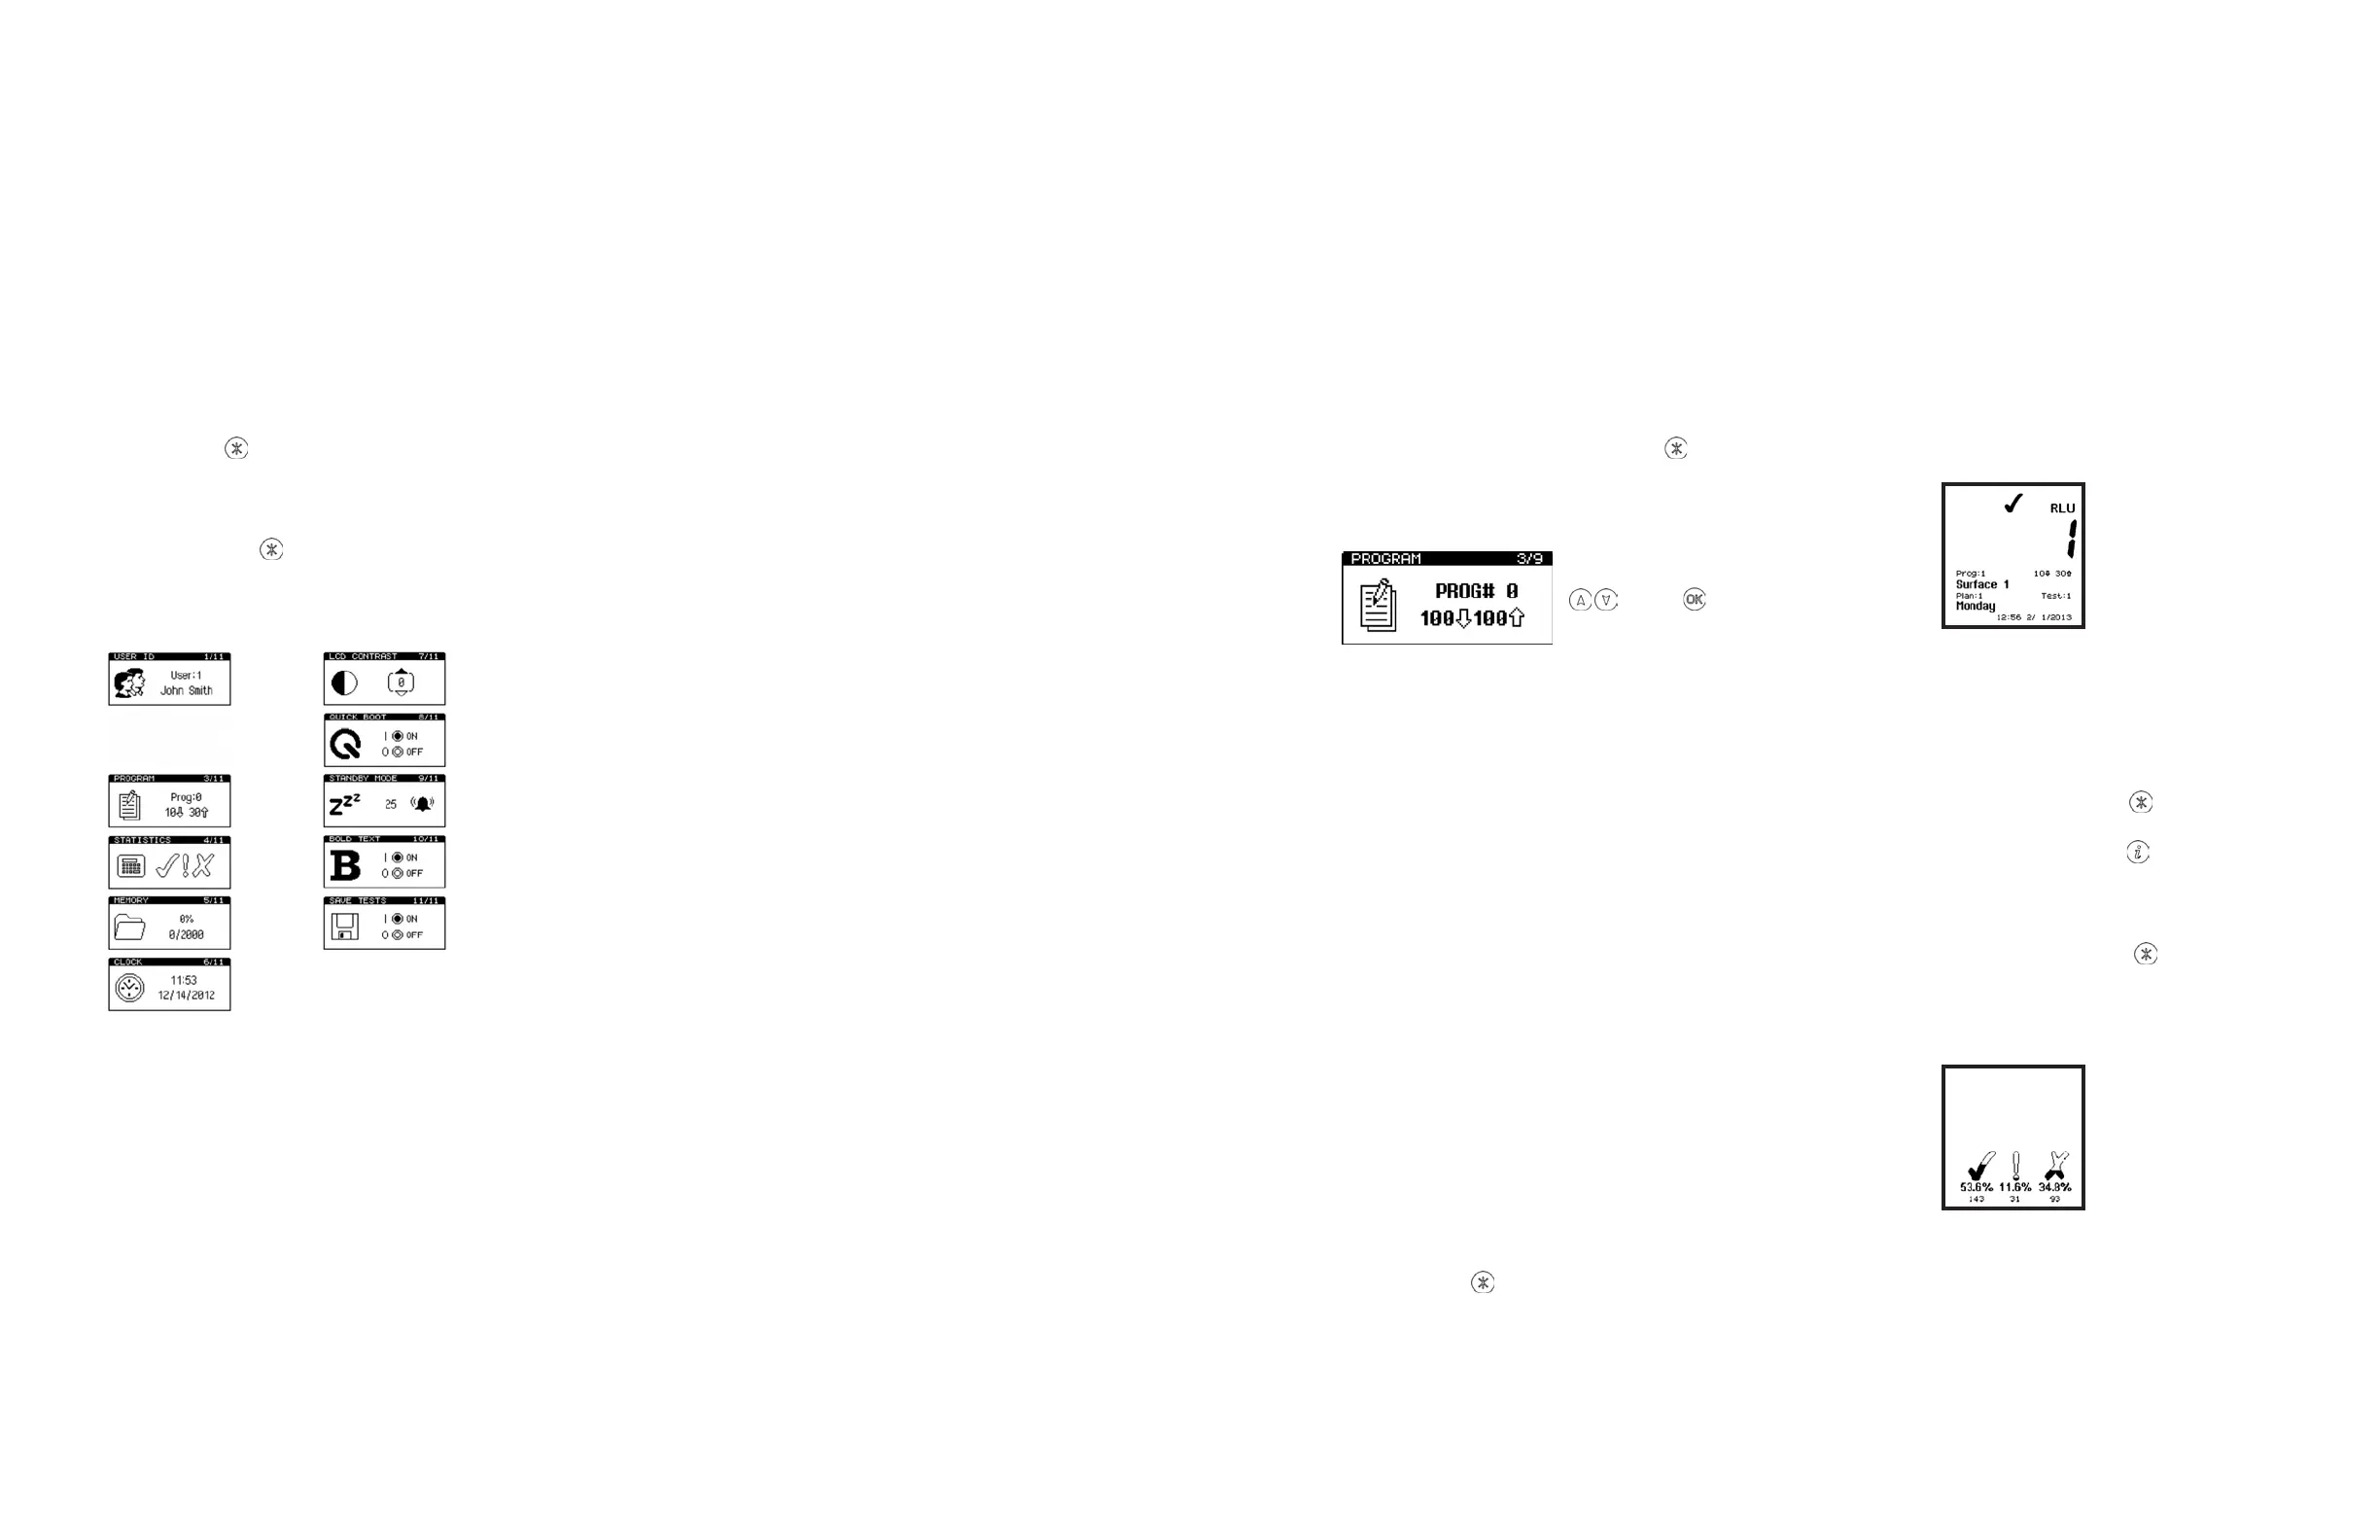
To set the Program result thresholds on the unit, first
select the PROGRAM menu option by pressing
. Scroll
to “PROGRAM” and press “OK”. Then use the up and down
buons to scroll through the list of Programs, followed by
the “OK” buon to select the Program to be changed:
PROG#
To select a Program location press the “P” buon, then use
the up and down buons to change the ProgramProg: to
the desired Program location, followed by the “OK” buon
to accept the new location, or the “P” buon to cancel the
selection.
TIP: When selecting a Prog:, the display also shows the time
and date that the Program location was last tested.
NOTE: If the selected Program location does not have
any thresholds defined, they must be set-up using the
PROGRAM menu option before the Program can be used.
4.3 Establishing ATP Pass/Fail Limits
For instructions on establishing Pass/Fail limits, refer to the
implementation guide included with your system, or visit
the resources available on www.getinge.com.
4.4 Viewing Stored Test Results
The unit can indefinitely store a maximum of 2000 test
results in its internal memory, even when the baeries are
low or removed.
To view these stored test results, select the MEMORY menu
option by pressing the
buon. Scroll to “MEMORY” and
press “OK”. Then use the up and down buons to scroll
through the test results, pressing the “OK” buon to exit.
TIP: Aer reviewing the stored test results, a failed Program
location can be selected for retesting by pressing the
buon (see section 4.2).
TIP: While reviewing the stored test results, a failed ()
Program location can be selected for retesting by pressing
the “P” buon. Refer to section 3.3 for details.
4.5 Viewing Statistics Data and Test Failures
The test results database can be analysed by selecting the
STATISTICS menu option by pressing the
buon. Scroll
to “STATISTICS” and press “OK”. This will display a simple
comparison of all the stored results. The
buon also
provides a direct shortcut to this function.
The up and down buons can then be used to scroll through
all of the failed ( ) test results. Press the
buon to exit.
TIP: When reviewing the failed test results, a Program
location can be selected for retesting by pressing the “P”
buon (see section 4.2).
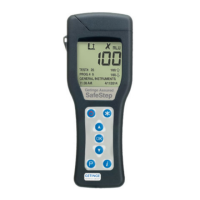
With the unit turned on, the Set-up Menu can be accessed
by pressing the buon.
Use the up and down buons to scroll through the menu
list, and then press the “OK” buon to select the required
menu option, or the
buon the exit the menu.
The following 11 menu options are then available:
User ID LCD Contrast
Quick Boot
Program Standby Mode
Statistics
Bold Text
Memory Save Tests
Clock
NOTE: Getinge SafeStep ATP Monitor soware is required
for sections 3.1 to 3.3. For further details, refer to the
separate Getinge SafeStep ATP Monitor User’s Manual
located on the Getinge SafeStep ATP Monitor soware CD
that comes with the unit.
4.1 User ID
The unit can store (0 to 200) User Ids. Each test result will
be tagged with the currently select User Id.
Select the User ID menu option, then use the up and down
buons to scroll through the list of User IDs, then press the
buon to select the a User ID, or the “OK” buon to cancel
the selection.
TIP: User:0 is the default selection if no User ID list has been
defined.
4.2 Seing up Program Test Points and
Pass/Fail Limits
The unit has the ability to store a list of 5000 unique
Program test points (Prog# 0 to 5000), each with its own
upper and lower pass/fail result threshold values.
Program test point location names can only be
programmed to the unit through the Getinge SafeStep ATP
Monitor soware. Program pass/fail thresholds can either
be set-up on the unit, or set using the Getinge SafeStep
ATP Monitor soware. If a location name is entered and
threshold set in the Getinge SafeStep ATP Monitor, and
then downloaded to the unit, the threshold values can’t be
changed via the unit. This is a security feature and prevents
inadvertent changes to the thresholds aer they have been
set.
TIP: Prog:0 has a special function, whereby the threshold
values defined for Prog:0 are used as the initial values
when seing-up the other Prog thresholds. Thus seing
Prog:0 with your typical threshold values will save time
when seing-up the other Programs. The unit comes with
pass/fail thresholds of 100 RLU for pass and 100 RLU for
fail. These pass/fail thresholds were determined based on
a comprehensive study looking at ATP, food residue, and
microorganism samples. To receive the report or more
information on seing up pass/fail thresholds contact
Getinge USA, Inc.