3. Installation 3. Installation
.15..14.
× ×
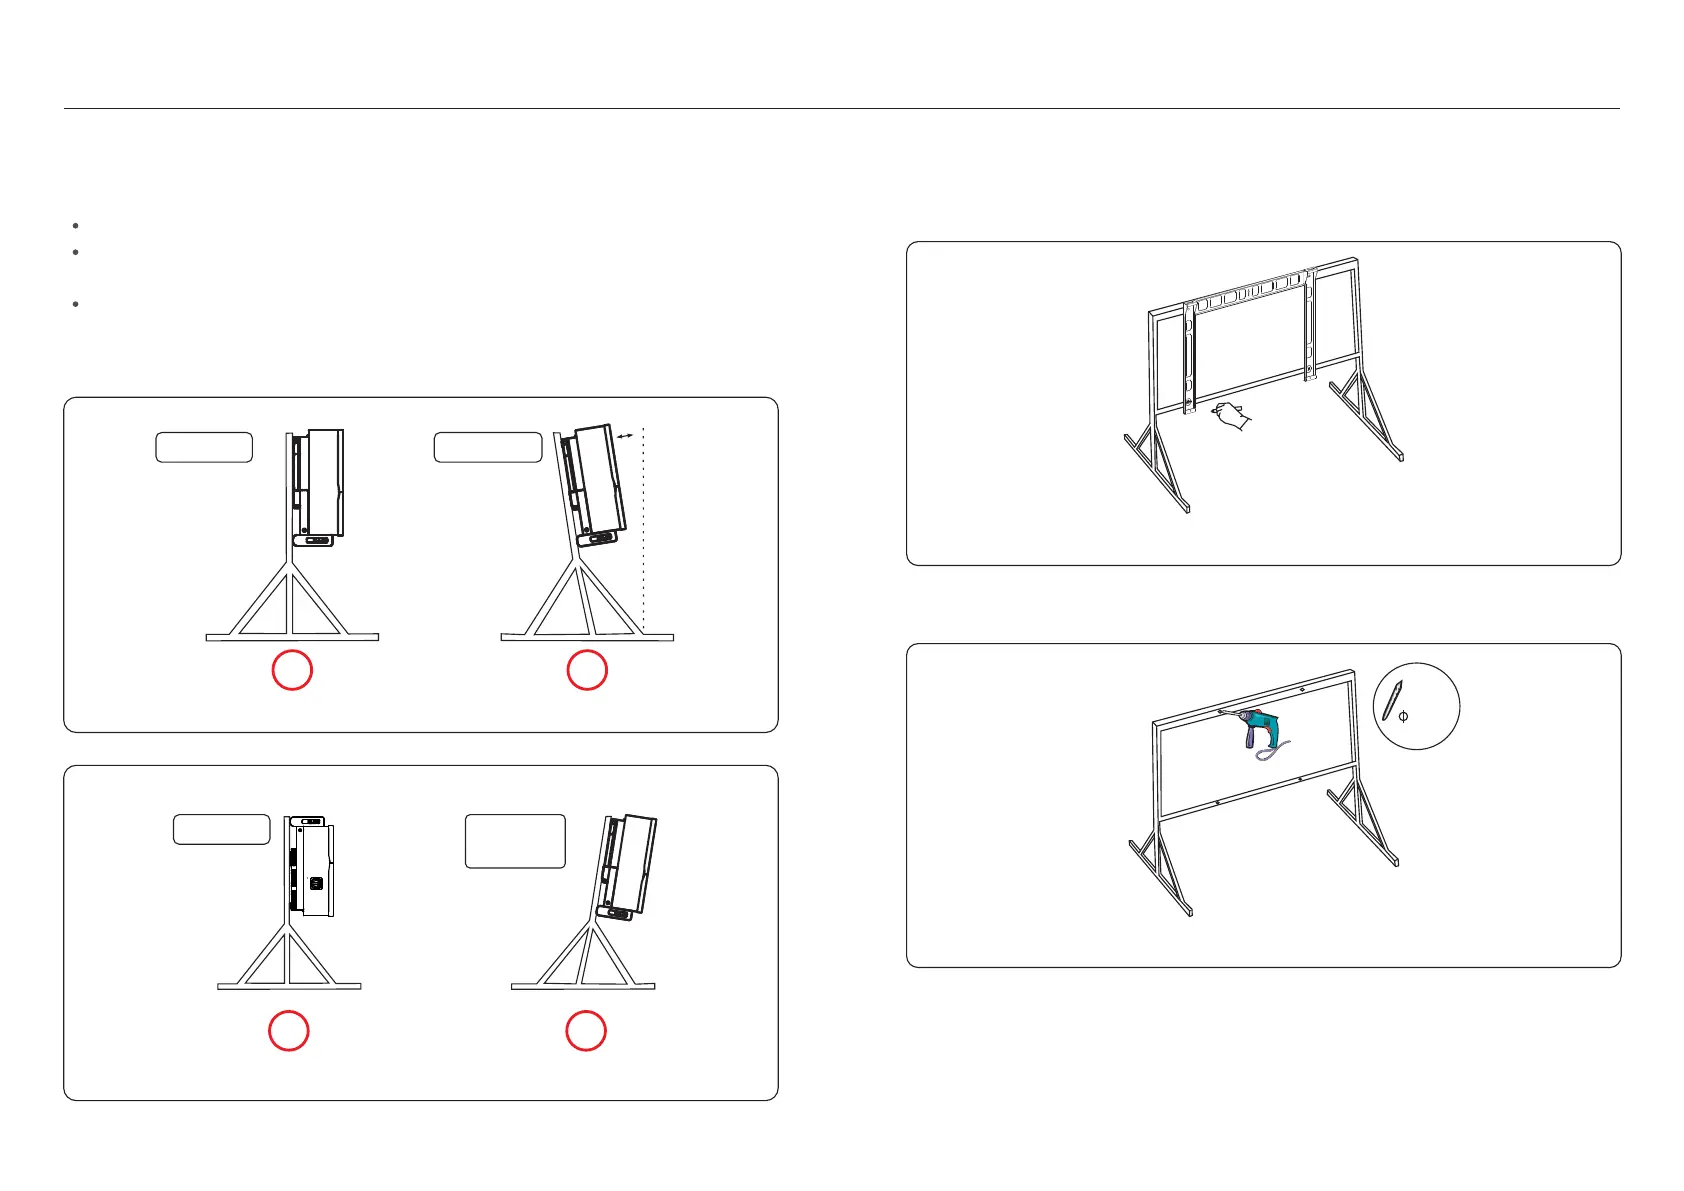
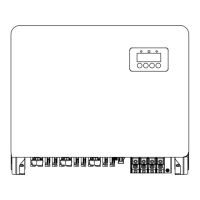
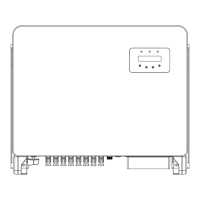
3.3.2 Rack mounting
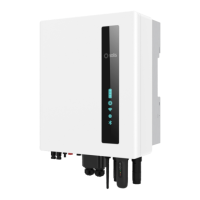
1. Select a location for the inverter
With an NEMA4X protection rating,the inverter can be installed both outdoors and indoors.
When the inverter is running, the temperature of the chassis and heat sink will be higher,
Do not install the inverter in a location that you accidentally touch.
Do not install the inverter in a place where it is stored in a flammable or explosive material.
2. Installation angle
Please install the inverter vertically. If the inverter cannot be mounted vertically, it may
be tilted backward to 15 degrees from vertical.
√
Vertical
≤15°
√
Backward
Figure 3.9 Correct installation Angle
Figure 3.10 Wrong installation Angle
Inverted
Leaning
forward
The steps to mounted to the rack are listed below:
12.5 m m
3. Install mounting plate
1) Remove the bracket and fasteners from the packaging. Mark the position for hole,
drilling according to the hole positions of the bracket.
Figure 3.11 Mark the position for hole
2) Drill the marked holes. It is recommended to apply anti-corrosive paint at the hole for
corrosion protection.
Figure 3.12 Drill hole