•
Caulking gun
•
(2) tubes silicone caulking
•
Drill bits: 1/8”, 3/8”, and 7/16”
•
Allen wrenches: 5mm and 4mm
•
Open-end wrenches: 10mm, 19mm
•
Keyhole saw
•
FOR PERSONAL SAFETY AND QUALITY OF INSTALLATION,
TWO INSTALLERS ARE RECOMMENDED FOR THIS PRODUCT.
A.
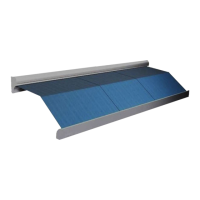
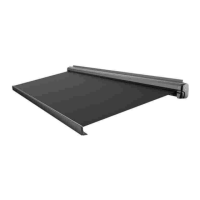
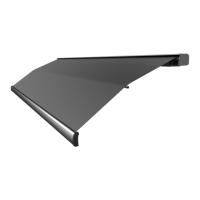
UNPACKING
1.
Before starting any of the installation procedures unpack the awning and
inspect the product for any possible damage that may have occurred during
shipping.
2.
Before starting any of the installation procedures review the length and
motor placement of your awning for correctness.
3.
When you have determined that the product is to your satisfaction, remove
the mounting brackets and place the awning in a safe location while
preparing the RV.
WARNING
ALL ELECTRICAL WORK MUST CONFORM TO APPLICABLE
ELECTRICAL CODES AND STANDARDS.
•
Turn off power before beginning any electrical work.
•
Please consult your RV’s wiring diagram to locate any wiring
prior to any drilling or any installation procedures.
•
Ensure that placement of controls, cables, and wires are not in
any way obstructed. This can damage the components and
obstruct electrical current.