A. Adjusting Motor-limit switches
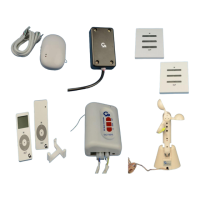
B. Testing Anemometer (Wind Sensor)
C. Adjusting pitch angle
D. Adjusting arm (elbow) height
E. Adjusting Lead Rail
TOOLS REQUIRED
Black plastic key provided with awning, or 4mm (5/32”) allen wrench.
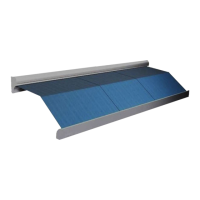
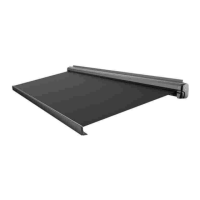
A. ADJUSTING MOTOR LIMIT SWITCHES
NOTE: The motor limit switches have been adjusted to the correct position at the
factory prior to shipment. The awning motor is set to stop the exact moment the
awning box closes. The fabric should be taut, the arms should be slightly bent,
exposing a 1/8” gap at the elbows when fully extended.
Always check the motor limits after installation to ensure that the awning opens
and closes correctly. Awning fabric can stretch over time, this will require an
adjustment of the OUT limit swich.
IMPORTANT: EXTREME CARE SHOULD BE TAKEN TO ENSURE THAT THE
MOTOR LIMIT TURNS OFF AT THE EXACT MOMENT THE AWNING BOX CLOSES.
FAILURE TO DO SO WILL CAUSE THE MOTOR TO RUN WHEN THE AWNING IS
CLOSED. THIS CAN SUBSTANTIALLY REDUCE THE LIFE OF THE MOTOR.
1. The AC motors used in Girard Systems awnings are reversible. Any reference made
to the motor limit switches in these instructions are based on the right-hand placement
of the motor. For left hand placement, simply reverse the instructions. (Figure 8)
2. The motor has limit settings for both OUT (extension) and IN (retraction).
3. Adjust the limit switches with the black key provided with the awning, or you may
use a 4mm (5/32”) allen wrench.
4. Extend the awning a few feet to gain access to the motor. Locate the motor (standard
installation is on the right hand side of the awning). The limit adjustment holes are
located on the head of the motor. Using the symbols printed next to the adjustment