4.
To find the location of the smaller center bracket please refer to chart
on the previous page.. NOTE: The location of the center bracket
must fall directly centered behind the center arms shoulder
location. Failure to follow these instructions will void the
warranty of this product.
5.
Now that you have located the bracket locations, using the bracket
as your template, mark the holes for fastening the bracket.
6.
Using a 1/8” bit (8” long), pilot drill the centers of the marked holes.
Inside of the RV verify the locations of the backing plates.NOTE:
Please consult your RV’s wiring diagram to ensure that no
wiring will be damaged while drilling the hole.
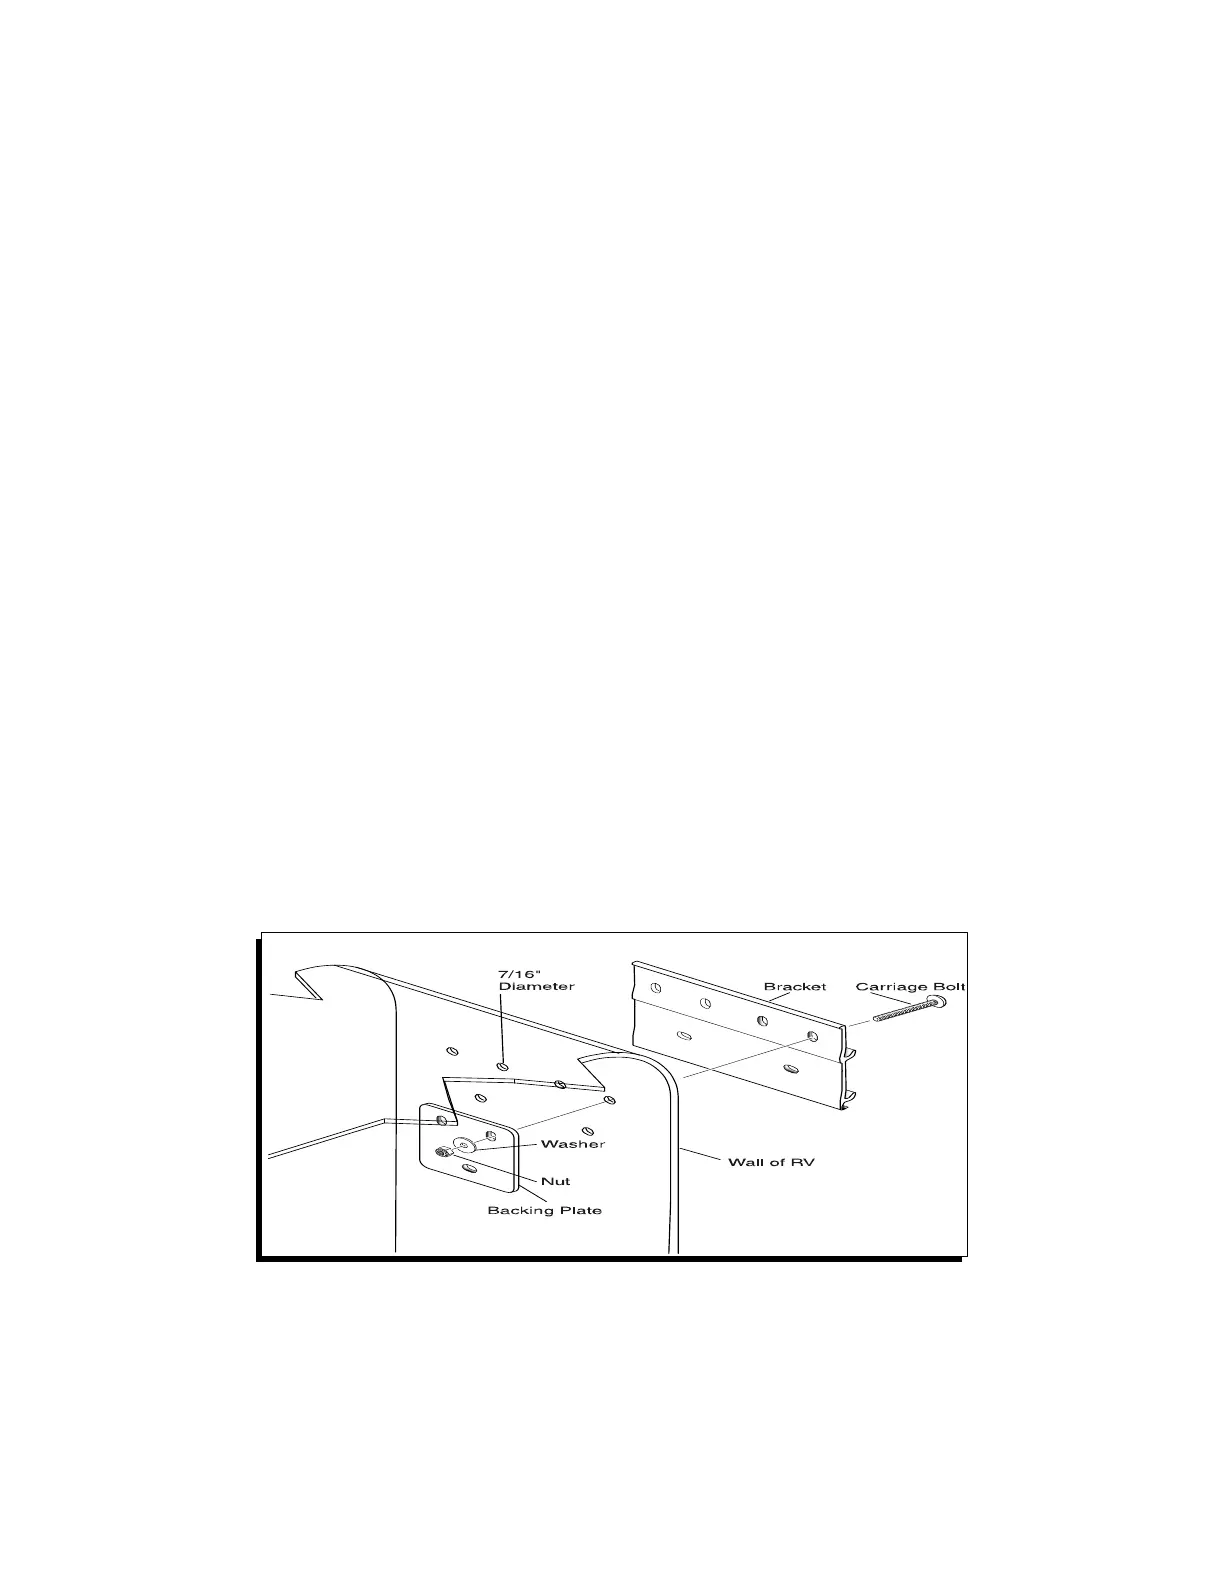
7.
Pre-drill six 7/16” holes per mounting bracket through the pilot
holes.
8.
Apply a liberal amount of silicone caulking around each hole
before installing the brackets.
9.
Install the two(2) outer brackets, and then the center bracket (if
required) with six 7/16” carriage bolts, washers, nylon nuts and
two(2) backing plates per bracket. (Figure 3)
(FIGURE 3)