Page 9
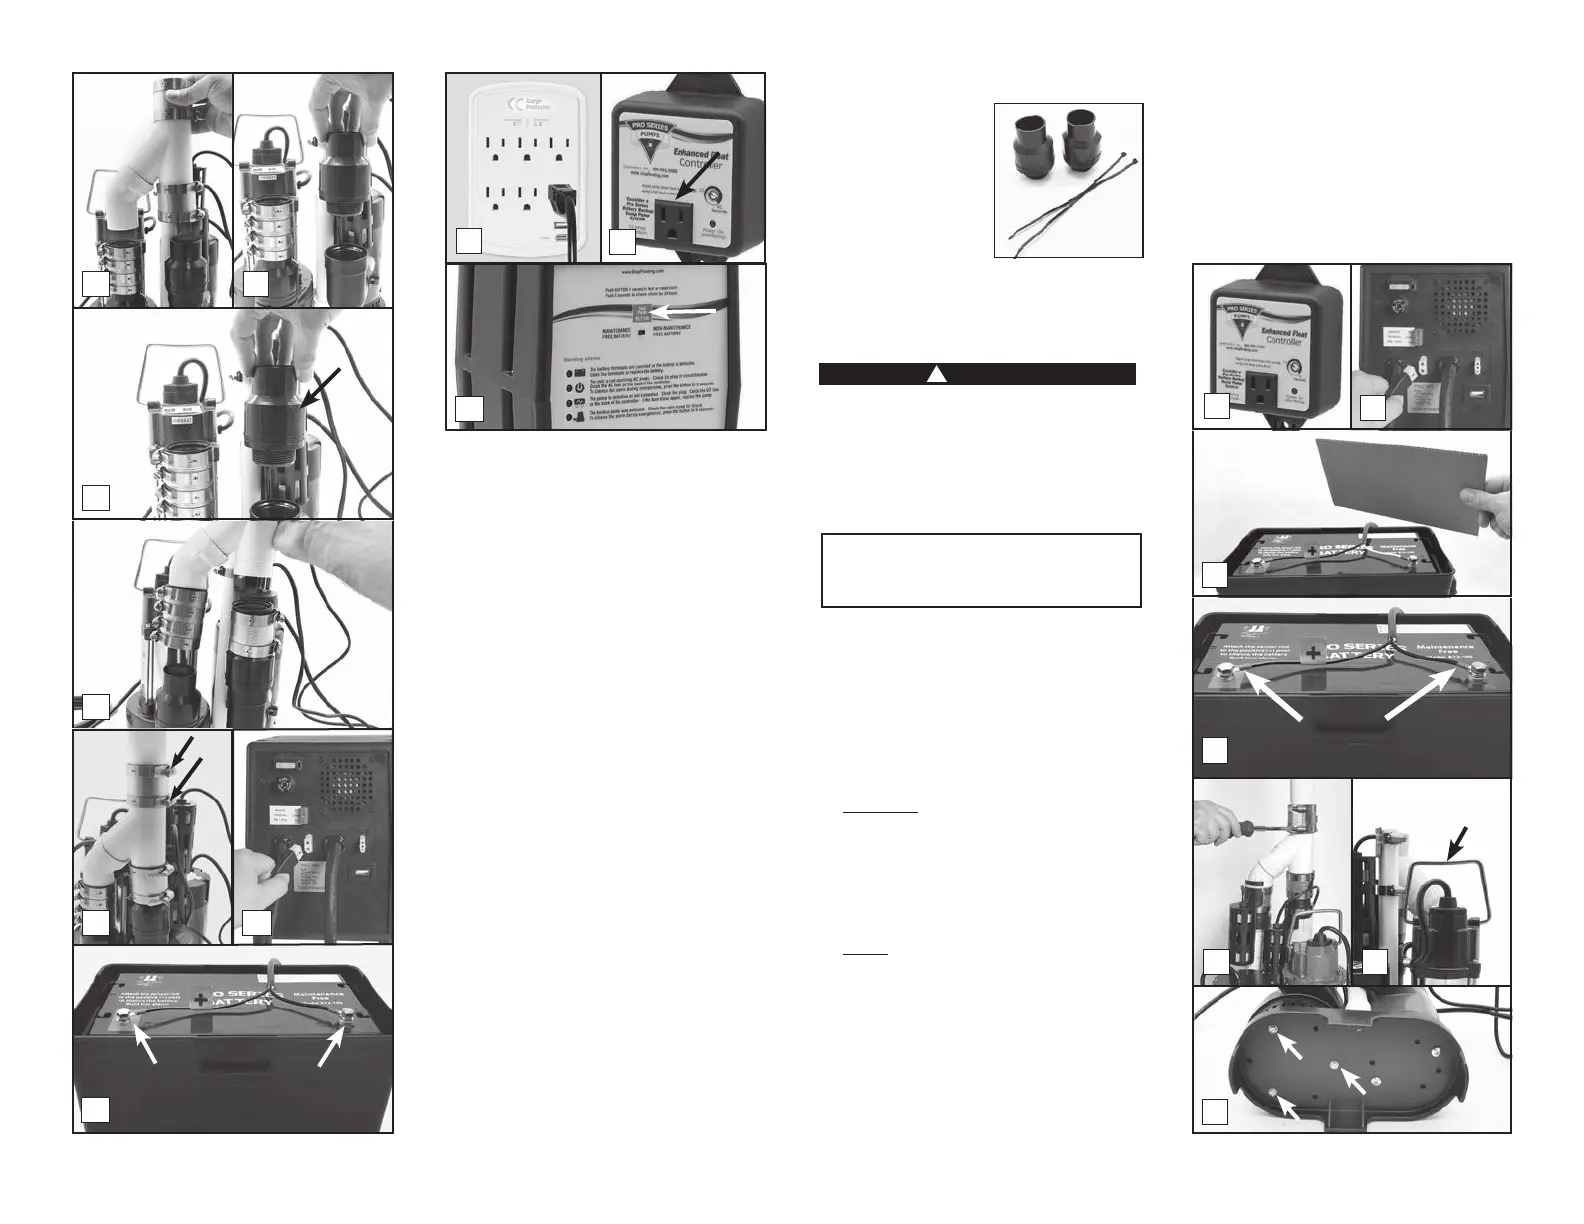
12. Now, reverse the process. Replace the
ewing the adapter
assembly into the new pump.
13. Screw the pump to the pump stand.
14. Ease the wye assembly back onto the
check valves, and tighten the hose clamps.
15. Lower the pumps into the sump pit by the
handle on the primary pump.
16. Ease the wye assembly back into the no-
hub coupling on the discharge pipe and
tighten the hose clamps.
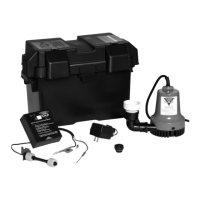
17. Connect the backup pump to the back of
the backup control unit.
18. Connect the battery wires to the battery
bolts, RED to the POSITIVE (+) post and
BLACK to the NEGATIVE (-) post. Replace
the cover on the battery box.
19. Plug the power cord from the backup
control unit into the outlet. You should
provide additional protection for the
system by using a surge protector.
20. Plug the primary pump into the receptacle
on the blue Enhanced controller and then
plug the power cord from the controller
into the wall outlet.
21. If any of the alarms are sounding, press
the RESET button for 1 second.
22. After the backup pump is replaced, be sure
sump pit with water and observing the
pump through several full cycles.
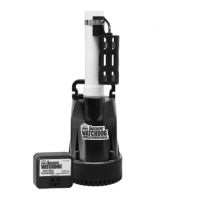
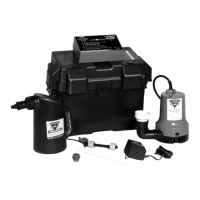
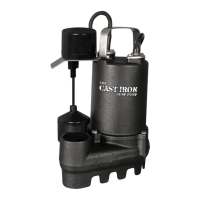
REPLACING THE PRIMARY PUMP
Before you begin this
process, you will need
a new AC pump, new
check valves, and new
wire ties. The check
SLIP on the other end.
The check valves also have a pre drilled
air bleed hole. The air bleed hole is
required to help prevent an air lock within the
system. See page 12 for part numbers.
!
DANGER
Risk of electrical shock or battery explosion,
which can cause serious injury or death.
Wear eye protection. Work in a well-
ventilated area. DO NOT smoke or allow a
spark or ame in the vicinity of the battery.
Avoid dropping metal tools on the battery.
Review the safety instructions on page 2.
YOU WILL BE DISCONNECTING ALL THE
WIRES. BE SURE THEY DO NOT FALL
INTO THE SUMP PIT.
1. Unplug the primary pump, the blue
controller, and the power cord for the
backup control unit from the wall outlet.
2. Unplug the backup pump from the back of
the backup control unit.
3. Remove the cover of the battery box and
fan the area around the top of a vented
battery with a piece of cardboard (or another
nonmetallic material) to remove any hydrogen
or oxygen gas that may have been emitted
from the battery.
4. Remove the battery wires from the battery
posts. Be sure they DO NOT touch each
other while one is connected to the battery.
5. Slowly loosen the no-hub coupling on the
top of the combination pump assembly to
separate the pipes. The water trapped in
the pipe will pour out into the sump as the
no-hub coupling is loosened.
6. Lift the pump assembly out of the pit by
the handle on the primary pump. Tip the
assembly over the sump pit to drain any
remaining water.
7. Lay the pumps down and remove the three
(3) screws holding the primary pump to
the sump foot. The strainer on the primary
pump will separate from the pump when
the screws are removed. SAVE THESE
8. Loosen the hose clamps on the no-hub
connector on top of the primary pump and
9
10
14
11
20
18
19
5
6
Lift
7
4
16
17
21
Remove
Negative
Bolt
Positive
Bolt
3
1
2