24
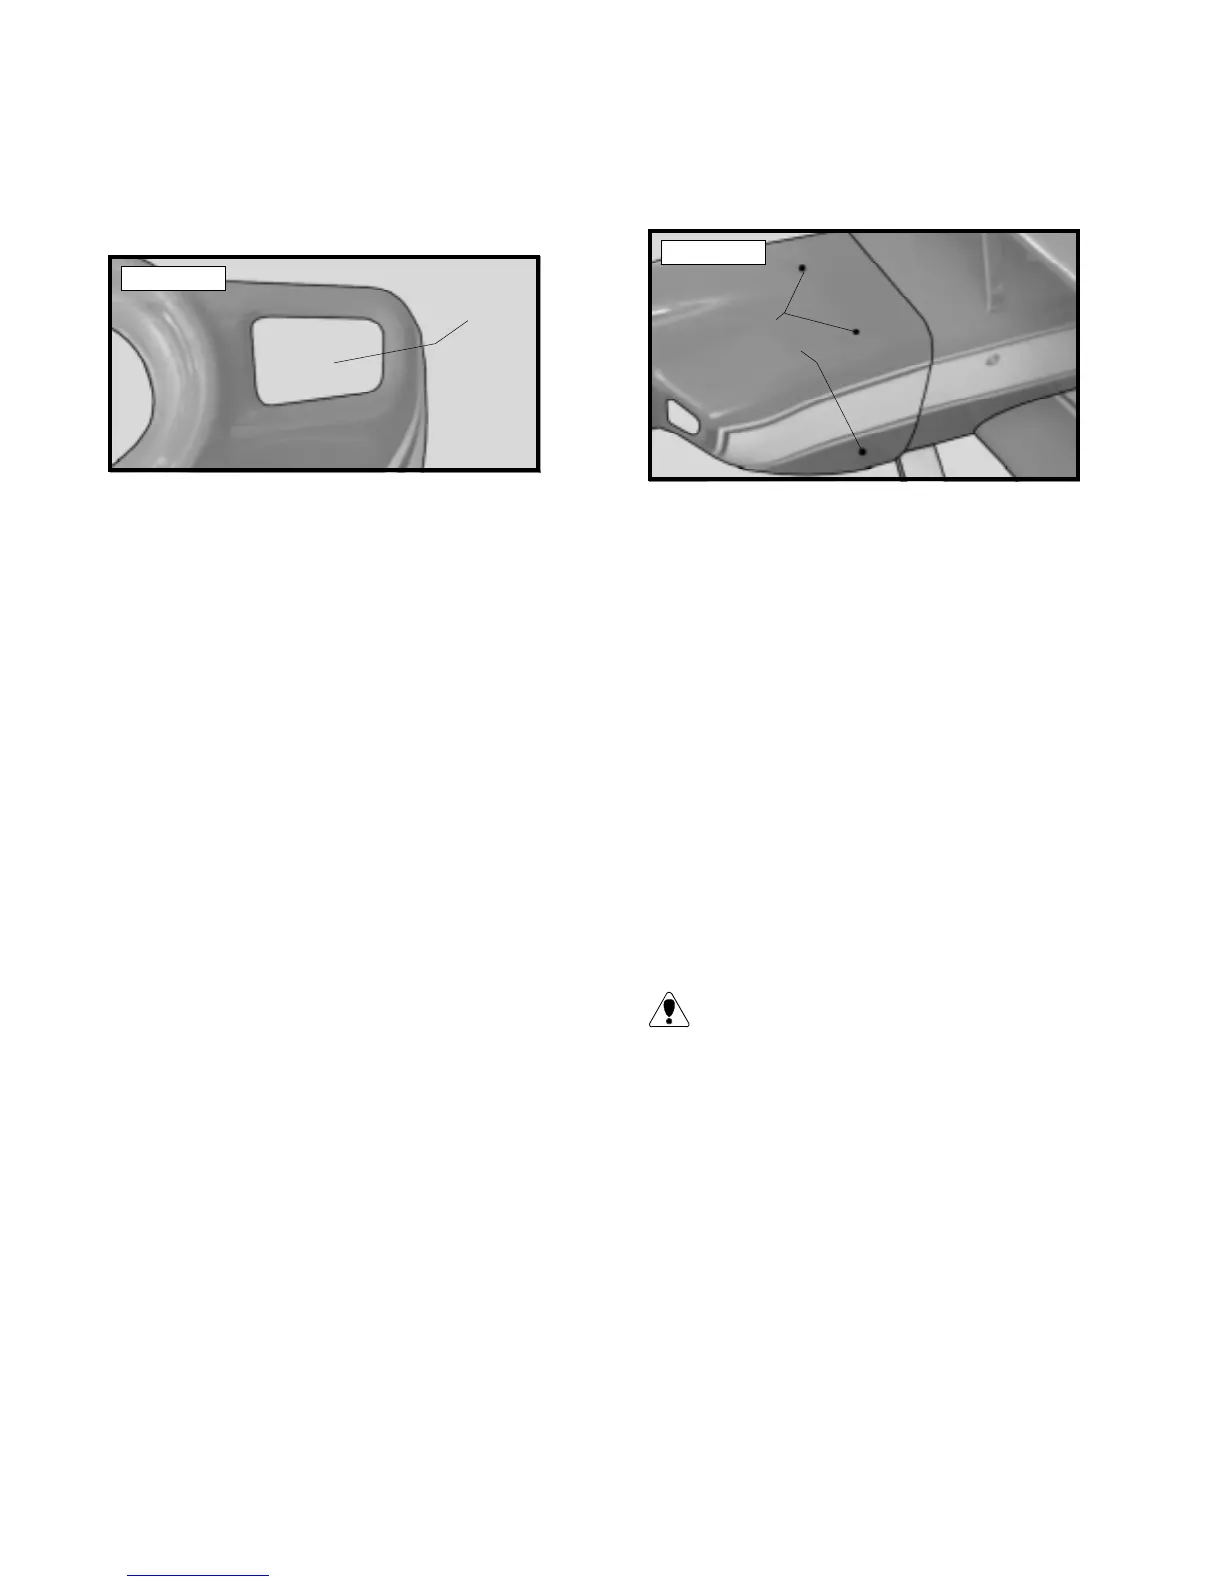
o2) Using a Dremel Tool with a sanding
drum attachment, carefully open the two air
inlets in the front of the cowl. Trim away a
small amount at a time so you don't remove
too much material. See photo # 41 below.
Photo # 41
o 3) Slide the cowl onto the fuselage. In-
stall your spinner backplate onto the en-
gine and secure it in place. Use the
backplate to align the front of the cowl.
The spinner backplate diameter should
match the outer diameter of the spinner ring
on the cowl, not fit inside it. It may also
be necessary to trim the bottom of the cowl
so it does not interfere with the landing
gear.
o 4) With the front of the cowl aligned
with the spinner backplate, double check
that the cowl lines up with the fuselage.
When satisfied with the fit, use a couple of
pieces of masking tape to hold the cowl
firmly in position.
o 5) The cowl is held in place using four
3mm x 6mm wood screws threaded into the
firewall. Two screws are located on the
top, one on each side towards the bottom
of the cowl. Use a ruler and pen to locate
and mark the mounting screw locations.
o 6) Using a 1/16” drill bit, drill four pi-
lot holes through the cowl and about 1/2”
into the firewall at the locations you
marked.
Photo # 42
o 8) Locate and the areas of the cowl that
need to be removed for access to the high and
low speed needle valves, glow plug, muffler
and if necessary, engine head clearance.
o 9) Remove the cowl and make these cut-
outs using a Dremel Tool with a sanding drum
attachment. Holes for the needle valves can
be cut using a drill bit. We highly suggest the
use of a Dubro Fuel Filler Valve to fuel the
airplane. This should be mounted to the cowl-
ing at this time also.
o 10) Install your muffler (stock or Pitt's
Style) and connect your fuel and pressure lines
to the fuel tank and fueling valve.
If you are using a two stroke engine with
a stock muffler a 1” muffler extension
will be necessary. No extension is necessary
if using a four stroke engine or a two stroke
engine with an aftermarket Pitt's Style muf-
fler.
o 11) Once you are satisfied with the fit of
the cowl and all access holes have been cut,
remove the cowl and paint it with Coverite
21st Century Gloss Clear # COVR1265 to pre-
vent raw fuel from damaging the paint.
o 12) After the clear coat has dried, connect
the fuel lines to the muffler, fuel filler valve
and carburetor. Reinstall the cowl and secure
it in place. Install the prop and spinner.
MAKE
CUT OUT
(BOTH SIDES)
o 7) Remove the cowl and enlarge the holes
in only the cowl using a 5/64” drill bit. Rein-
stall the cowl and secure it in place using the
four wood screws. See photo # 42 below.
MOUNTING HOLE
LOCATIONS