1616 1717
go-e app and connectivity
11 kW 22 kW
Local (WiFi hotspot) or worlwide* (WiFI or cellular connectivity) controlling and monitoring
Adjustment/check of the charge (voltage, current, power, energy)
Adjusting the current level in 1 ampere steps
Start/stop function and Scheduler
Management of RFID chips/cards (up to 10 users per charger) / Access control (RFID/App)
OCPP 1.6*
Electricity meter (total kWh and total amount per RFID chip)
kWh limit mode / ECO mode* / Daily Trip Mode*
Push notications*
Cable unlock functions
Flexible energy tarifs with intelligent charging management*/**
Static load balancing*
Photovoltaic connection via go-e Controller (separate product) or
open API interface (programming required) or alternative energy management system*
LED adjustment
Management of the charging levels via button on the charging station
Updateable for later functions (Smart home, etc.)*
Automatic unlocking of the charging cable in the event of a power failure
1-/3-phase switching via app or automatically with go-e Controller- even during the charging process
Synchronisation of charging processes with the cloud and display of the past charging processes*
Documented public API interfaces: HTTP , MQTT, Modbus TCP
*Internet connection of the Charger required
**Contract with an electricity provider whose exible electricity tari is integrated in the go-e app is required. Several 100 taris are
stored. The number of taris is constantly being expanded.
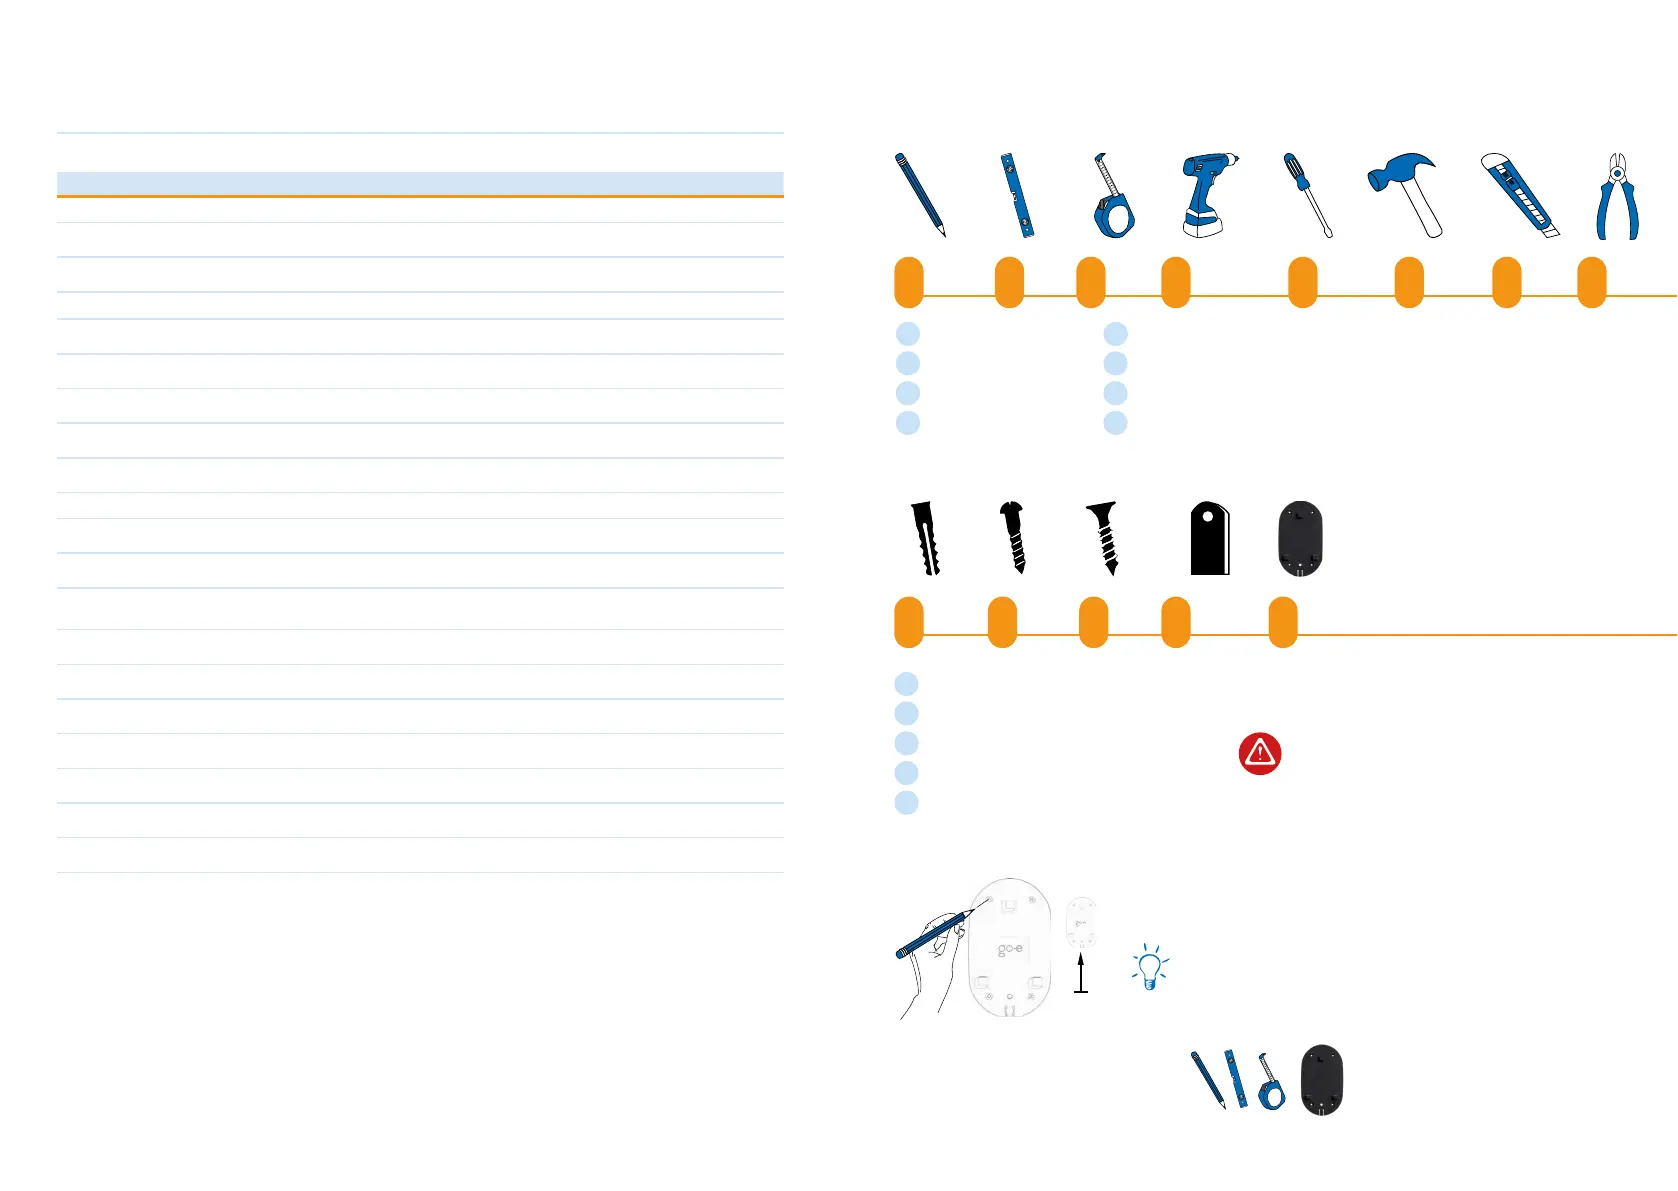
1.
4X
1 M - 1.45 M
It is not necessary to open the go-e
Charger as part of the installation pro-
cess. The device must also never be
opened in other respects.
Mount the go-e Charger approx. 1.00 to 1.45 meters
above the ground, depending on your personal fee-
ling of well-being.
Place the wall bracket in the desired mounting posi-
tion. Use a spirit level to align it straight. Mark the
four drill holes with a pencil by using the wall bracket
as a template.
4X5X 1X
i k mj l
Dowel 8 x 40 mm
Screws for wall bracket 4.5 x 50 mm
Screw for U-piece 4 x 50 mm
U-piece (optional anti-theft device)
Wall bracket
i
k
l
m
j
Pencil
Spirit level
Measuring tape
Drilling machine
a
c
d
b
Screwdriver
Hammer
Cutter knife
Side cutter
g
h
f
e
ha
c
eb
d f g
7. Technical data Gemini & Gemini 2.0 8. Installation
Required tools
Enclosed mounting material
Installation and operating manual go-e Charger Gemini / go-e Charger Gemini 2.0 | V 1.0Installation and operating manual go-e Charger Gemini / go-e Charger Gemini 2.0 | V 1.0